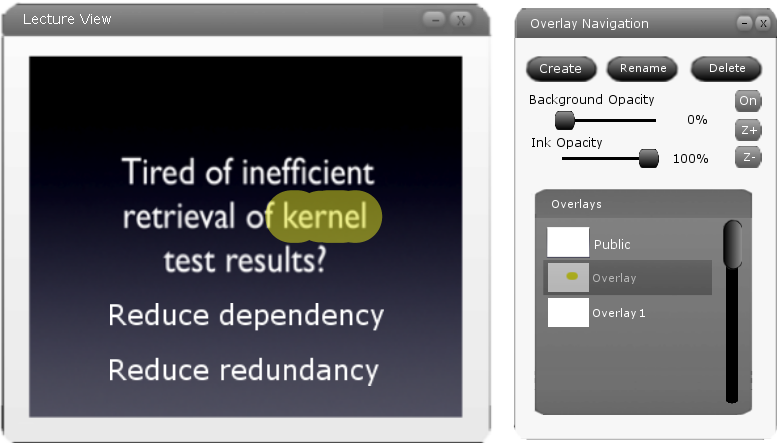
The user accesses a variety of viewing options for an overlay in the Overlay Navigation window. These options consist of Background Opacity and Ink Opacity sliders, an On/Off view button, and two z-axis control buttons, Z+ and Z-. These setting apply only to the currently selected overlay. The layout of these options in the Overlay Navigation window can be clearly seen in Figure 1 of section 2.5. This scenario begins on slide 3 of the sample lecture created in section 2.2 with two generic overlays created and some highlighting done in "Overlay". The starting setup of the Overlay Navigation and Lecture View windows can be seen below in Figure 1.

Figure 1: Beginning setup of Overlay Navigation and Lecture View windows.
The user first changes the opacity settings for the current overlay by adjusting the Background Opacity and Ink Opacity sliders. The exact values of the sliders are displayed as a percentage just to the right of the sliders. The sliders are set to their defaults when the user creates a new overlay. The default setting for Background Opacity is 0% and the default setting for Ink Opacity is 100%.
The user controls the opacity of a white background present in every created overlay with the Background Opacity slider. In this scenario the user moves the slider all the way to the right. As the user slides Background Opacity to the right, the white background appears and obscures the public overlay. Figure 2 shows the result of sliding the Background Opacity slider all the way to 100%.
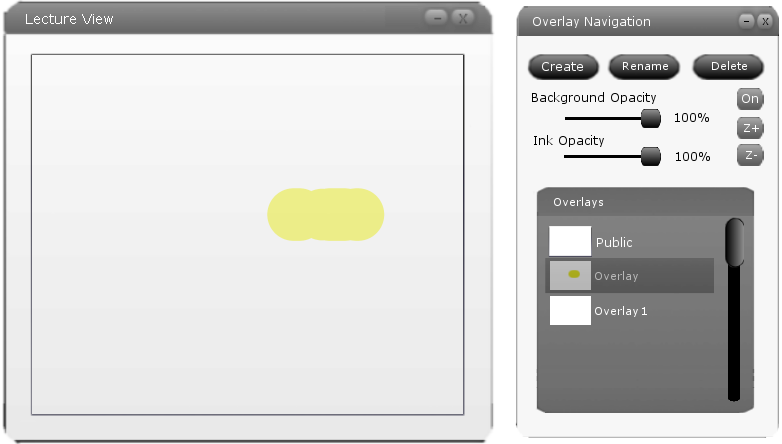
Figure 2: Overlay with 100% Background Opacity.
The user controls the opacity of all drawing done on the overlay with the Ink Opacity slider. The yellow highlight is the only drawing on this particular overlay. Next, the user moves the slider to 50%. As the user slides Ink Opacity to the left, the yellow highlight becomes more tranparent as shown in Figure 3. This provides a clearer view of the background underneath.
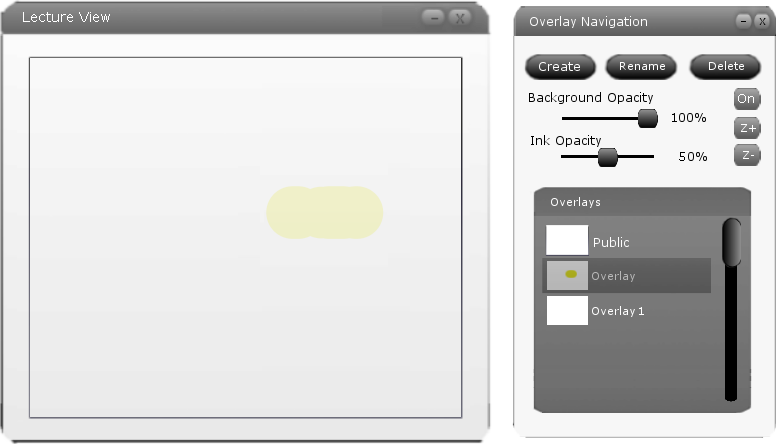
Figure 3: Overlay with 50% Ink Opacity.
The user turns the current overlay on and off using the On/Off view button. While set to On, the Ink and Background of the current overlay are visible relative to their opacity settings. While set to Off, the Ink and Background of the current overlay are invisible. When an overlay is created, the On/Off view button is set to On by default. The user clicks on the On/Off button and the Background and Ink of "Overlay" become transparent. This is shown in Figure 4.
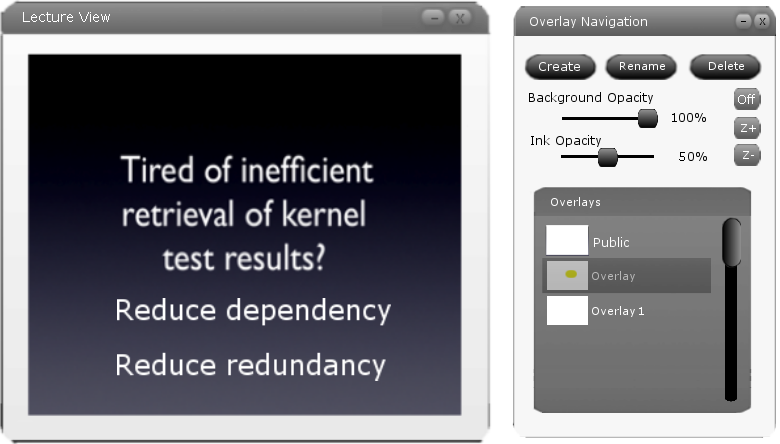
Figure 4: Overlay with view set to Off.
The user changes the z-axis position of the current overlay with the Z+ and Z- buttons. In this scenario the user changes the z-axis position of "Overlay". The user first selects "Overlay". Then the user clicks the Z+ button to move "Overlay" up one level. This moves the overlay down the list in the Overlay scroll box. The result can be seen below in Figure 5. The user then clicks the Z- button to move "Overlay" down one level. This moves the overlay up the list in the Overlay scroll box and back to its original postion on the z-axis seen in Figure 4 above. The user can never move the z-axis position of the Public overlay or move an overlay below the Public overlay.
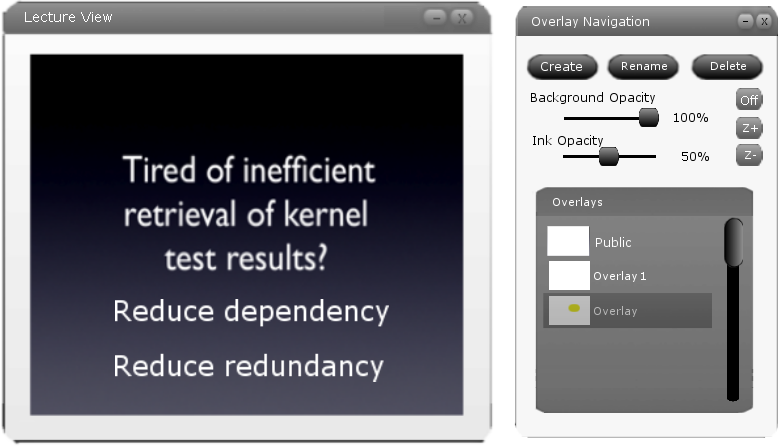
Figure 5: Overlays after Z+.