2.3.1 Navigation
The Slide Navigation Window displays small images representing slides in the current presentation (Note: The "next/previous slide" and "first/last
slide" buttons can be found in the Presentation Viewer window). The user can find the Slide Navigation Window on the left side of the main UI.
|
 |
|
 |
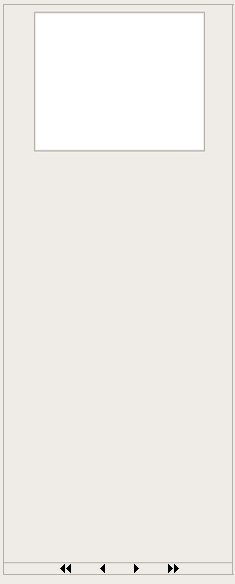
| Figure 2.4.1: Slides window with only one (empty) slide |
|
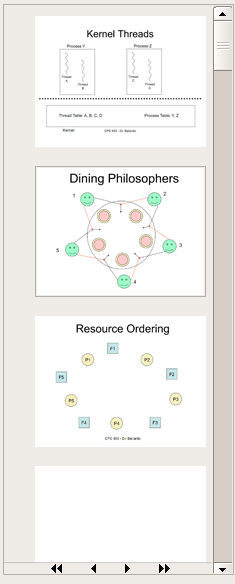
Figure 2.4.2: Slides window with many slides |
|
Depending on how many slides are within a presentation, a scrollbar may show up allowing the user to locate a thumbnail of any
slide within their presentation. The currently active slide's thumbnail is outlined with a thicker line, indicating that slide
is selected.
- Changing Active Slide
- Click once on the thumbnail of the desired slide, or
- Click once on one of the single arrow buttons to move forward/backward one slide, or
- Click once on one of the double arrow buttons to change the active slide to the first/last slide
- Changing the Order of Slides
- Click and hold the thumbnail of the desired slide and drag it to the desired location.
- Deleting a Slide
- Click once on the desired slide's thumbnail and press the "Delete" key on the keyboard, or
- Click and hold the thumbnail of the desired slide and drag it outside of the Navigation Window
|
2.3.2 Expanding and Collapsing
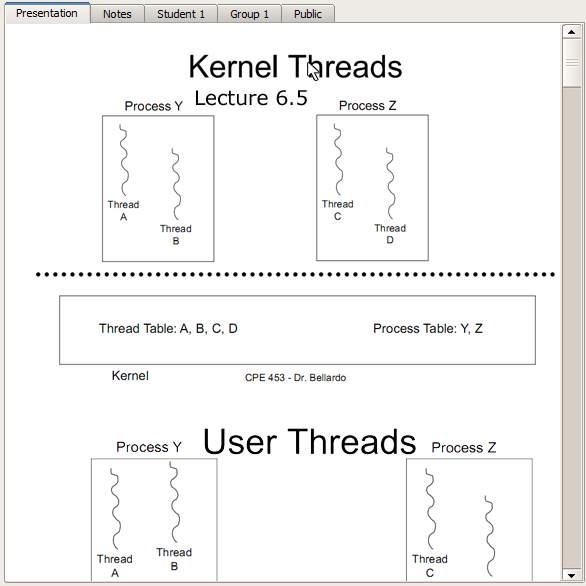
The user may at any point expand or collapse elements of the slide show from the presentation viewer, making more room on the slide. This is accomplished by clicking on the text which the user wishes to collapse. This will hide all subordinate text and move the next header on the slide up.

Figure 2: Double click the header...

Figure 3: And the topic collapses.
Prev: Slide navigation
| Top: Functional requirements
| Next: Viewing a lecture

