2.6 Reports
Figure 2.8.1 shows an example of the reports tab after a few graded items have been added to a class.
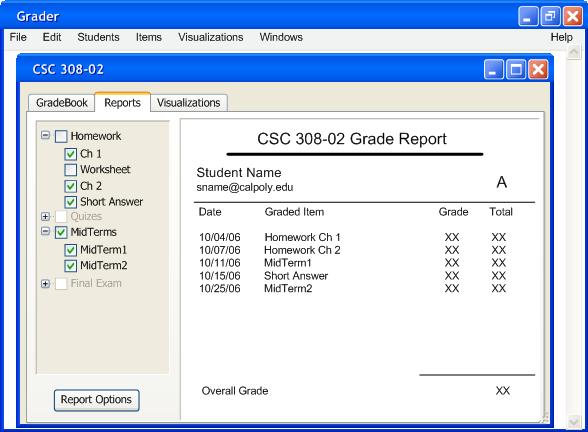
Figure 2.8.1
The panel on the left allows the user to choose which graded item will be printed on the report. Checking or unchecking the boxes of a parent item will check or uncheck its children. A tentative layout of the report will appear on the left according to the current options. Clicking the Report Options button will open the dialog in figure 2.8.2.
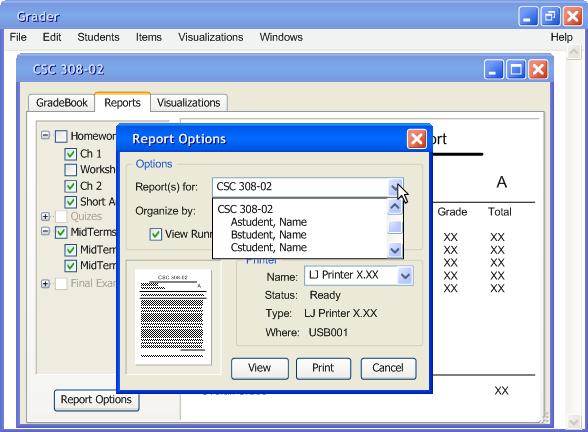
Figure 2.8.2
The default options creates reports for the entire class and organize it by date. The user can also select individual students to create reports for. All other options will be unchecked.
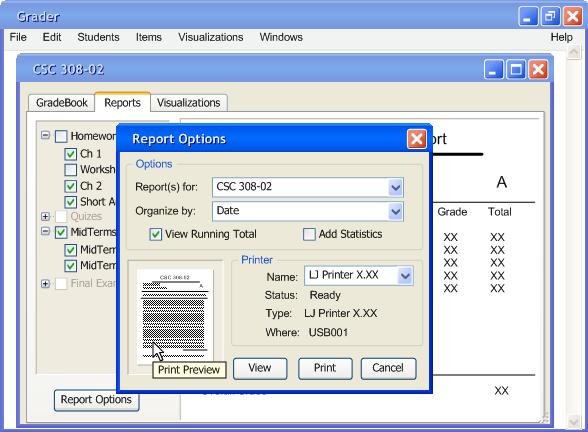
Figure 2.8.3
Double-clicking on the thumbnail in the lower left-hand corner will open a print preview window, where the user can print all or some of the reports. The user can also print the reports by clicking the print button, or the user can view the reports in the main reports tab by clicking the view button.
View brings the user back to the tab with the updated options.
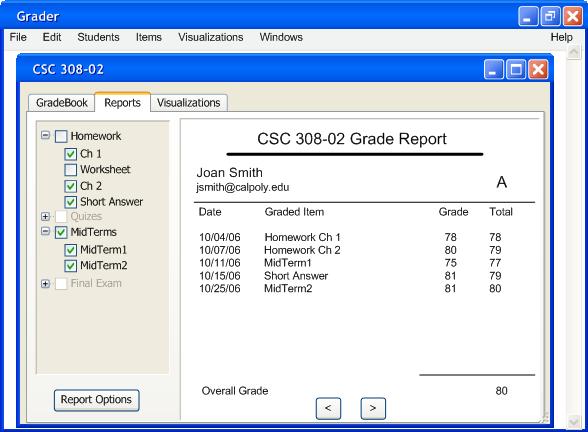
Figure 2.8.4
Here the user can view the individual reports or tab through the class reports by clicking the left and right arrows.