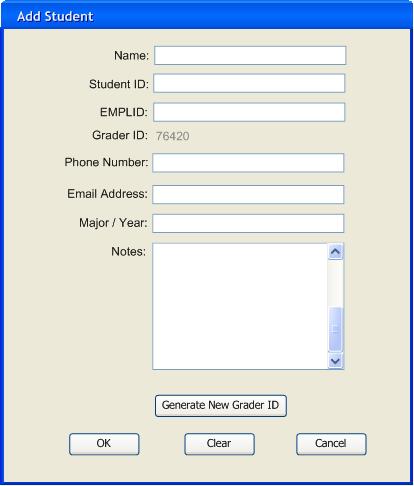
Figure 2.3.1: Add Student Dialog
Adding a student to a gradebook is a fundamental and commonly exercised routine to any grading application. The 'Add Student' dialog is designed to offer a simple interface with space for essential student information. This scenario describes the user adding a student to a gradebook. Students' names and IDs are the first two columns found in a gradebook and appear as the first two fields in the 'Add Student' dialog. Six additional data fields are contained in the 'Add Student' dialog.
The user begins the add student process by clicking the 'Students' drop down menu on the top menubar and then clicking on 'Add...'. The system returns the 'Add Student' dialog as seen in Figure 2.3.1.
The 'Add Student' dialog becomes the active window, by pressing the OK or Cancel buttons at the bottom of the dialog the user can return to the previous active window (i.e. the gradebook).
The student's Name and Student ID are the first two textual entry spaces. Student ID corresponds to a student's Cal Poly UNIX username. EMPLID is a (9-digit) unique campus-wide identification number assigned to each student by Cal Poly. Grader ID is a (5-digit) immutable field used for student grade generation and access, details found in section 2.7. The last four fields are provided as optional space for student information. Email Address and Phone Number are for student contact information. The Notes box holds any additional information on the student. If a user suspects a Grader ID has been compromised a new one can be generated by clicking the Generate New Grader ID button. The Clear button erases all the fields.
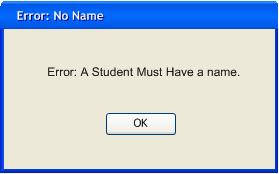
At the bare minimum, when adding a student, the Student Name and Student ID fields need to be occupied. For example, if the user clicks the OK button without entering a student name error message appears as seen in Figure 2.3.2 below.
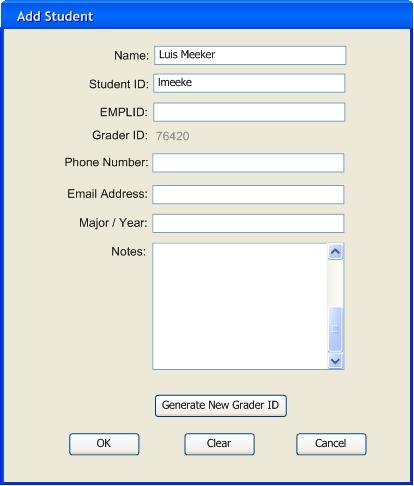
A partially completed 'Add Student' dialog is illustrated in Figure 2.3.3 below. This is a valid student entry that does not produce any errors upon submission to the gradebook.
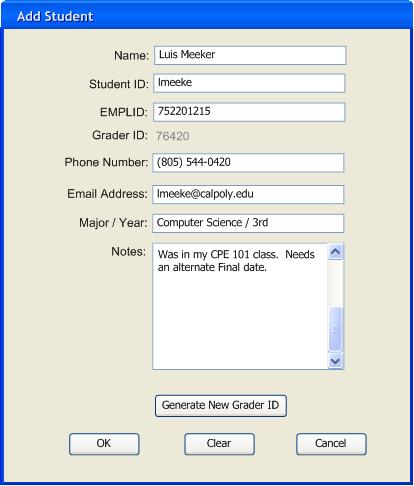
Adding a student through the process described above is the most intuitive method. The 'Add Student' dialog can also be accessed by double-clicking an empty student name cell on the gradebook. If the user has selected a name and uses the drop-down menu method of adding a student, the selected student and all subsequent students are moved down one row. Lastly, entire rosters of students can be added from Student Information Services (SIS), SIS details are given in section 2.2. A fully completed Add Student dialog is shown in Figure 2.3.4 below.
To remove a student from the gradebook the user left-clicks on the student's name in the gradebook, the system responds by highlighting the name in blue and the user presses the delete key on their keyboard. Adding and removing students is only available to users who have proper permissions.
As the grading period progresses students tend to add and drop classes. Instructors must keep their rosters concurrent with administrative records. To synchronize a gradebook roster the user pulls down the Student drop down menu and clicks on Synchronize. The system brings up the dialog shown in Figure 2.3.5 below.
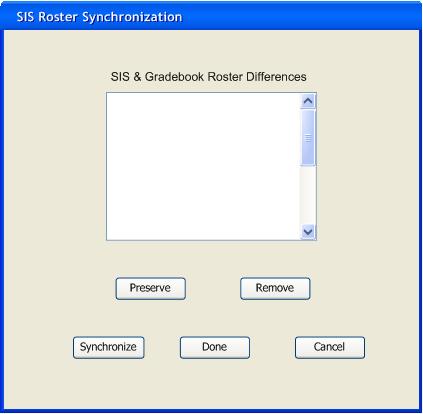
The user can click the Synchronize button as many times as they wish to keep updating the student roster of the currently opened gradebook. Clicking Done returns the user to their previous work. Cancel reverts changes of the last synchronization, if applicable, and returns the user to their previous work. Under certain circumstances students might be added to a gradebook that are absent from SIS obtained rosters. In this case students' names not appearing in the SIS roster, but present in the gradebook are listed in the white scroll box in the SIS Sychronization Dialog. A populated dialog post-SIS-sychronization is seen below in Figure 2.3.6.

To resolve SIS and gradebook roster differences the user clicks on the name of the student they wish to keep or remove from the gradebook and clicks the preserve or remove button. Preserve retains the student in the gradebook and remove deletes the student from the gradebook. If the remove button is pressed an "Are you sure you want to remove this student from the gradebook?" message appears, prompting the user to finalize their intentions. Multiple students can be preserved or removed from the gradebook by the user holding the 'control' key and clicking on student names.
If the user tries to click the Done button while roster differences remain, a dialog presenting three choices appears as seen in Figure 2.3.7.
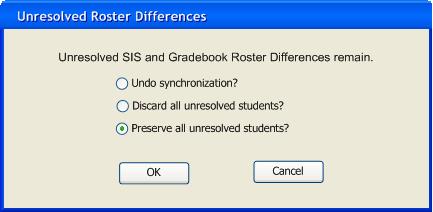
The user can only select one of the choices. The first choice returns the user to the version of the class before the synchronization invocation. The second choice saves the students the user has chosen to preserve thus far and discards the unresolved students. The third choice saves all the unresolved students to the active class. By default the third choice is selected upon the dialog's appearance.