2.2. Adding a Class
This introductory scenario shows an individual user adding a class to the grade book. Adding a class is mostly done at the beginning of the quarter. In this scenario, the user is assumed to have just started the Grader program. Hence the user has a brand new grade book with no entries and the standard default settings for all options.
To add a class, the user selects the File -> New Class command. In response, the system displays the dialog shown in Figure 2.2.1.
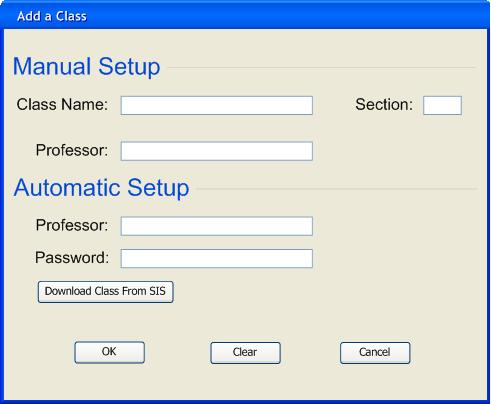
Figure 2.2.1: Add a Class dialog.
The figure shows the class adding dialog that contains a number of data-entry fields for the various components of the class. The first section is for Manual Setup. The ‘Class Name’ field is a one-line string that is the name of the class. The ‘Section’ field contains the section number of the class. The ‘Professor’ field is for the name of the professor of the class.
To automatically set up the class, the user fills in the fields in the Automatic Setup section, as shown in Figure 2.2.2.
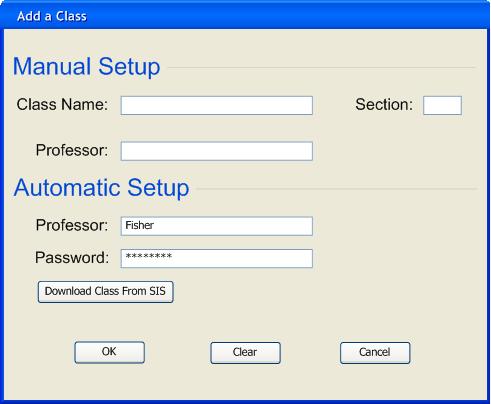
Figure 2.2.2: Adding a Software Engineering class automatically.
The ‘Professor’ field is the name of the Professor. The ‘Password’ field is the Professor’s password for SIS. After the fields are filled in, the user clicks the “Download Class From SIS” button. The system then logs in to SIS, and displays the dialog shown in Figure 2.2.3.
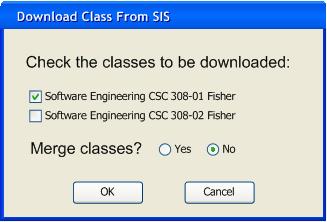
Figure 2.2.3: Download Class From SIS dialog.
The ‘Download Class From SIS’ dialog shows the classes associated with the login information provided in the previous dialog. The user checks the boxes of the classes that he wishes to download, and leaves the boxes unchecked of the classes that he does not wish to download. In this example, the user has selected the first section but not the second. The ‘Merge classes?’ option, if enabled, will combine all selected classes into one grade book. If disabled, it will download the selected classes into separate grade books. The user presses the ‘OK’ button after selecting the class, and the class is added to the grade book as shown in Figure 2.2.4.
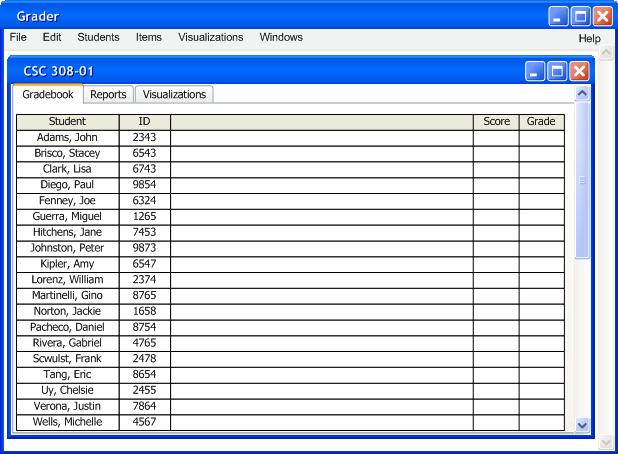
Figure 2.2.4: Automatically created grade book with downloaded student names but no graded items.
The ‘Gradebook’ tab of the class window shows the roster and grades for the class. The ‘Reports’ tab allows for printing reports of grades (see Section 2.6). The ‘Visualizations’ tab displays grade information graphically (see Section 2.5).
To manually set up the class, the user enters information by typing. Figure 2.2.5 shows the result of the user having filled in information for the new class “Software Engineering CSC 308”.
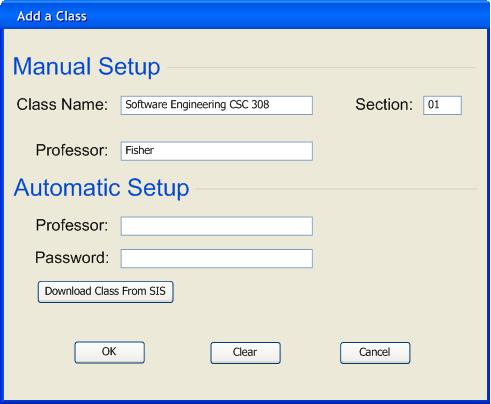
Figure 2.2.5: Adding a Software Engineering class manually.
The class has a name, section number, and professor.
To confirm the adding of the software engineering class, the user presses the ‘OK’ button in the main “Add a Class” dialog. At this point, the software engineering class is added to the user’s grade book without any students in the roster, as shown in Figure 2.2.6.
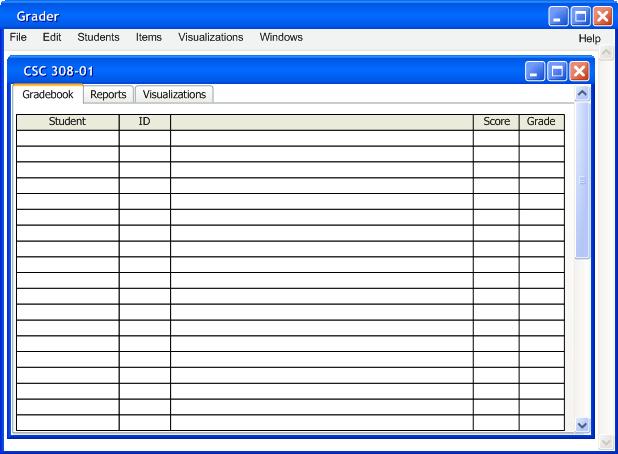
Figure 2.2.6: Manually created grade book with no students and no items.
To clear all information entered in an “Add a Class” dialog, the user presses the ‘Clear’ button. In response, the system clears all typing areas and restores all other data-entry fields to their default states. To cancel the adding of a class entirely, the user presses the ‘Cancel’ button. In response, the system removes the dialog from the screen without adding a class.
After customizing and confirming a class, the class data is entered in an online working copy of the user’s grade book. In order for the class to be permanently saved in the grade book, the user must invoke the File -> Save command.
Another way to create a class is to import a grade book template. A grade book template contains items but no students. To import a grade book template, the user uses the File -> Import command. The user then selects the template file from the file browser that is displayed, similar to opening a saved file. The template is then loaded, as shown in Figure 2.2.7.
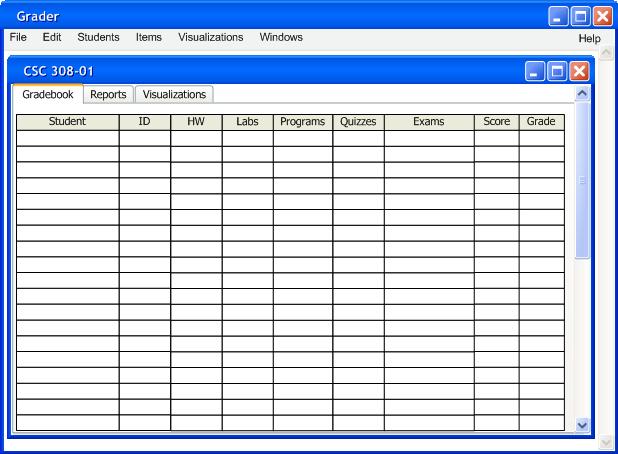
Figure 2.2.7: Loaded template.
Similarly, the user can save a template by using the File -> Export command, which saves a template of the current grade book’s items.
Prev: User Interface Overview | Next: Adding and Editing Students | Up: Functional Requirements | Top: Index