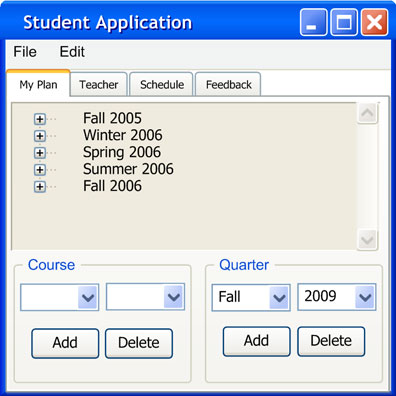
The following scenario is a continuation of section 2.7.4. After the student deleted multiple quarters from the plan, the content of the "My Plan" tab appears as shown in Figure 2.7.5.1:
Figure 2.7.5.1: My Plan dialog
A tree view of quarters appears in the main dialog. Each quarter can be collapsed to reveal courses planned for that quarter. There are two sets of "Add" and "Delete" buttons on the bottom of the window for adding courses and quarters. The left combo box in the course section holds department names while the right combo box holds the course numbers. In the quarter section, the left combo box holds quarter names while the right combo box holds the years. To plan CSC 101 for Winter 2006, the student selects "CSC" from the department combo box and "101" from the course combo box. Then, the student selects "Winter 2006" in the tree view of quarters and presses “Add”. The system displays the following in Figure 2.7.5.2:
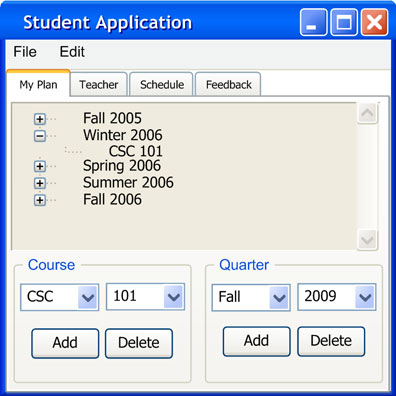
Figure 2.7.5.2: Adding a course
The Fall 2005 element collapses and a newly added entry is displayed in the dialog. The student proceeds to add and select another course as shown in Figure 2.7.5.3:
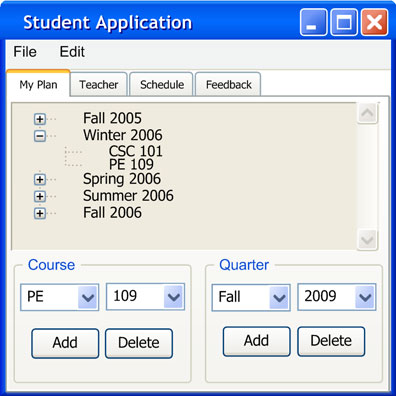
Figure 2.7.5.3: Multiple courses added
The student saves the course plan to the server by selecting File->Save->Save to Server. The system responds by storing the student plan in the student scheduler database under the student’s login name. The student may retrieve this information by running the Student application. In addition, the master Scheduler may access the student database for fine tuning campus schedules.