2.1.2.3 View Menu
The following scenarios shows a teacher navigating through the View menu. It is assumed that the teacher has started the application and logged in.
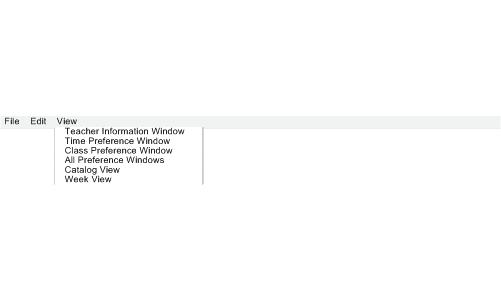
The teacher begins by selecting View menu, the application responds by displaying all the item inside the menu shown in Figure 1. There are six items in the View pull down menu. The six items are Teacher Information Window, Time Preference Window, Class Preference Window, All Preference Windows, Catalog View, and Week View .
Figure 1: View menu.
This scenario shows a teacher who just wants to see the Teacher Information window only.
The teacher begins by going to the View menu and select Teacher Information Window shown in Figure 2.
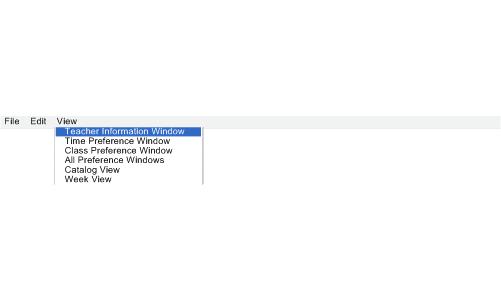
Figure 2: Selecting Teacher Information Window in View menu, this will display only the Teacher Information window.
The system responds by closing all other windows and only the Teacher Information window will be displayed shown in Figure 3. Notice that the window is enlarge for easier viewing and editing. Teachers can use the same method of going to the View menu and selecting Time Preference Window or Class Preference window to only display that particular window.
![]()
Figure 3: Teacher Information window.
The next scenario shows a teacher restoring the original view of the Teacher application. It's assumed that the teacher started the application, login, and has selected one of the options inside of the View menu.
The teacher starts by going to the View menu, and select All Preference Windows shown in Figure 4.
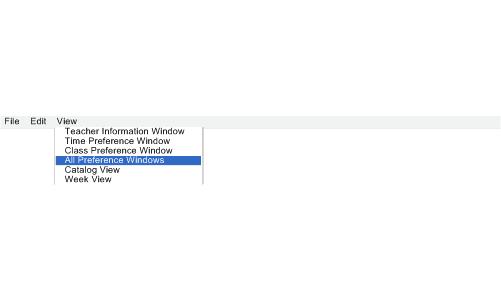
Figure 4: Selecting All Preference Windows in View menu, this will bring up all three Preference windows.
The application responds by displaying all of the preference windows program started originally.
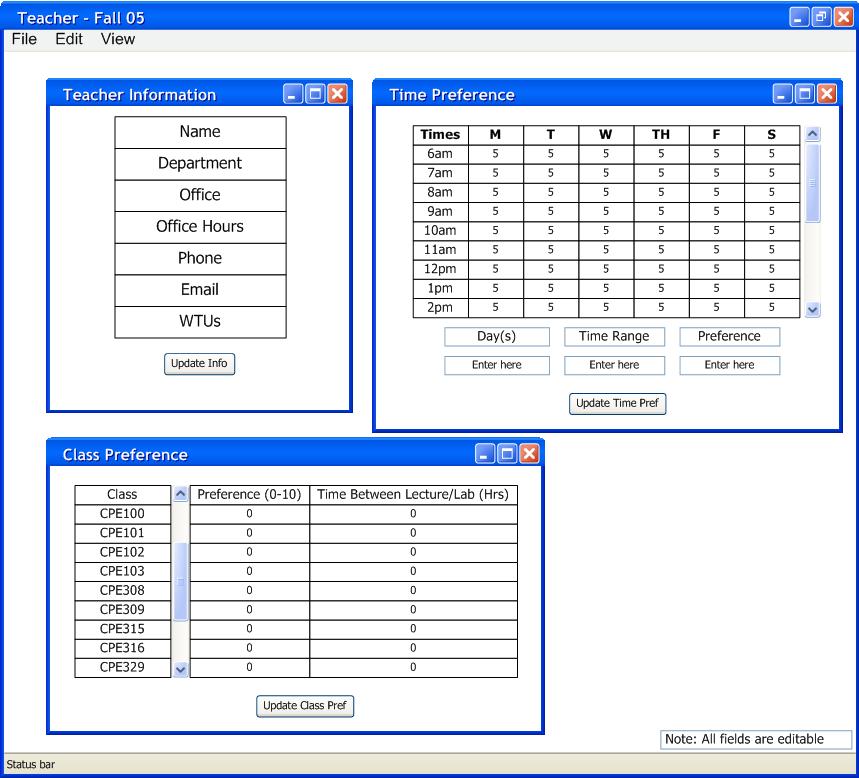
Figure 5: Displaying all three preference windows.
The next scenario will show a teacher using the View Catalog View and View Week View in the View menu. It's assumed that the teacher has already logged in.
The teacher begins by going to the View menu and selecting Catalog View shown in Figure 6.
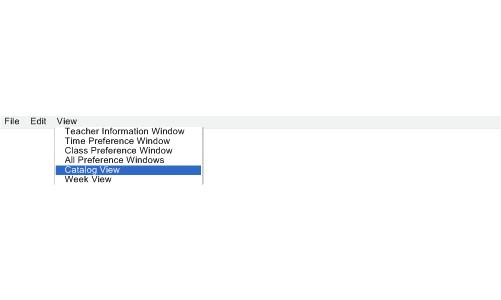
Figure 6: Selecting Catalog View in View menu.
The application responds by displaying the Catalog View shown in Figure 7.
Figure 7: Displaying Catalog View.
When a user views the Catalog view, the system displays it like the above picture. It starts with the Department Name in large print, and then lists every offered course, in numeric order, with each courses sections displayed beneath it, also in numeric order.
The teacher then goes to the View menu and selects Week View shown in Figure 8.
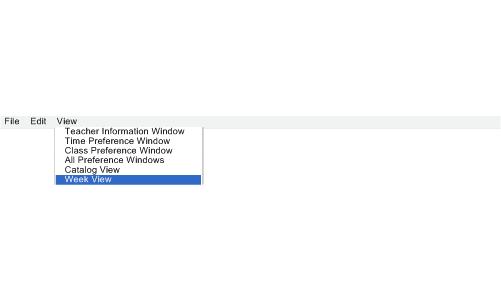
Figure 8: Selecting Week View in View menu.
The system responds by displaying the teacher's schedule in a week format shown in Figure 9.
Figure 9: Displaying Week View.
For every course for this teacher the course title is displayed in the timeslot for when its scheduled.
Prev: Edit menu | Next: None | Up: Teacher UI | Top: index