2.7.2 Course View
- In order to view the schedule by Course, the user selects the “view” option in the menu bar, then chooses the “By Course” option in that menu item.
- 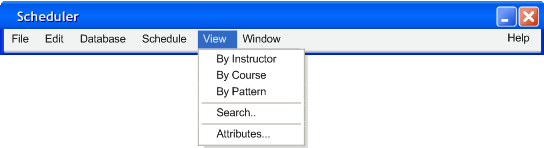
Figure 2.7.2 - 1
- The tool then displays the dialog shown in Figure 2, and the user selects the number from the drop down box and then presses Ok.
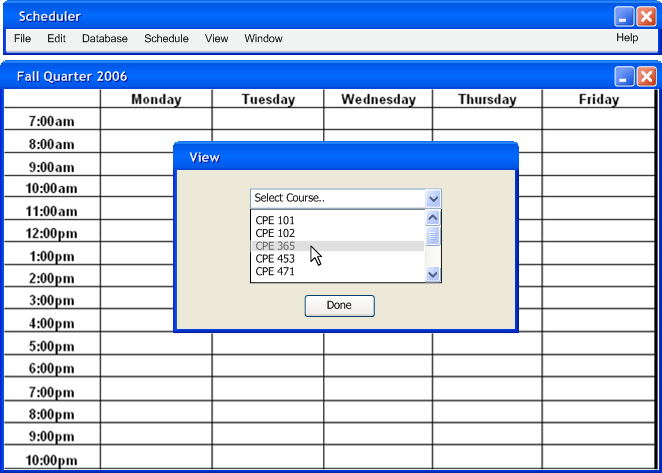
Figure 2.7.2 - 2
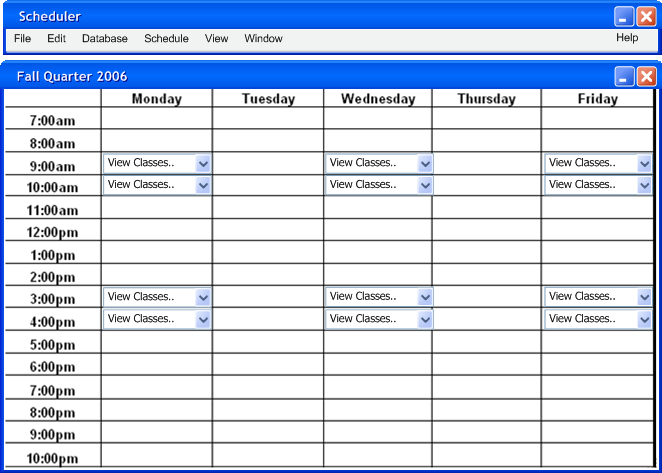
- The tool displays the updated Schedule in Calendar view with the grid locations that the course is currently scheduled for.
Figure 2.7.2 - 3
- Clicking on the drop down box displays a small window containing the details of that day & time.
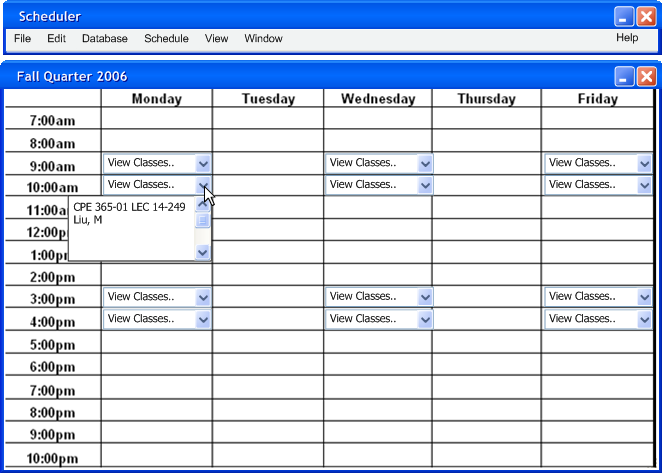
Figure 2.7.2 - 4
The default setting of the tool is to display all of the classes in drop down boxes like in Figure 2.7.2-4. This setting is changed in the Options menu, where the user selects how many classes must be in the same TimeChunk before the drop-down box method is used. Figure 2.7.2 - 5 shows how the previous operation would result if this threshold were set to '2' instead of '1'.
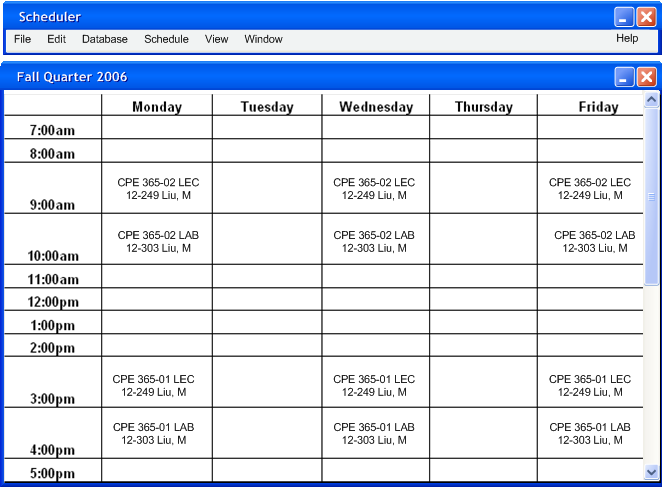
Figure 2.7.2 - 5
Prev: View by Instructor | Next: View by Pattern | Up: functional | Top: index