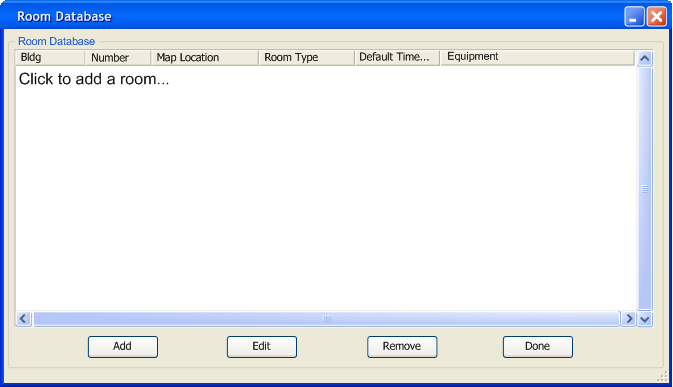
The database that holds all the classroom information. This is accessed by the database > room > permanent or term, shown in figure 2.5.3-1.
Figure 2.5.3-1: Room database Dialogue.
The user edits Bldg, number, map location, room type, default time availability, and equipment. The meaning of each of the columns is explained below.
Bldg: The building number of the given classroom.
Number: The room number of the given classroom.
Map Location: The grid location on a grid ed Cal Poly campus map.
Room Type: What type of room it is. The default types are Lecture, lab or activity.
Default Time Availability: What times the class room can be used and cannot be used.
Equipment: The equipment within the room.
The user adds a room by clicking the last record 'Click to add a room', depicted in Figure 2.5.3-2, or by clicking the add button. The program displays the 'Add a room' dialogue , shown in figure 2.5.3-3, when the user presses the 'Add' button. The user edits a selected record by double clicking the record, shown in figure 2.5.3-9, or clicking the 'Edit' button. The 'Edit' is shown in figure 2.5.3-10. To remove a record the user clicks a record a record and presses 'Remove.' The user presses 'Done' to commit the changes to the server.
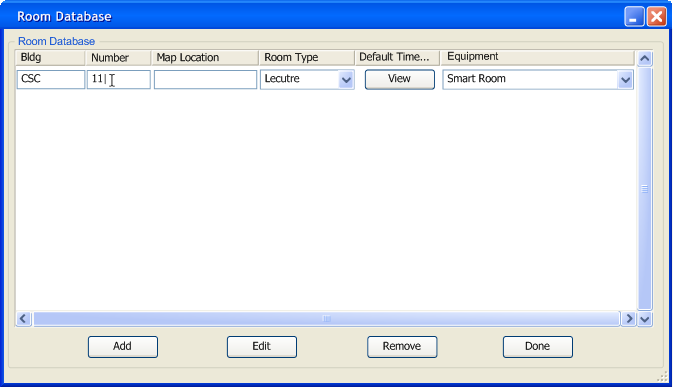
Figure 2.5.3-2: Adding a room within the general view.
The user adds a room record by entering the data into each text area. The restrictions listed for each column above apply to the input.
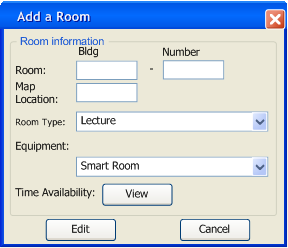
Figure 2.5.3-2:Add a room dialogue.
The user enters the building number, room number, map location, whether it is a lecture or lab, the available equipment, and the times the class is available. The Lecture / Lab combo box is shown in figure 2.5.3-3. When the user clicks on the equipment combo box they displays what is available in the class room, as shown in figure 2.5.3-6. The user may setup the time availability of the classroom by clicking the button 'View'. Figure 2.5.3-7 depicts this dialogue. Once the user finishes setting up a classroom , they can press 'Add' to commit the change to the database.

Figure 2.5.3-3:Lab or lecture combo box.
The user views the current room types and adds them by double clicking 'Add a new room type...'. The 'Room Type Editor' displayed is shown in figure 2.5.3.4.
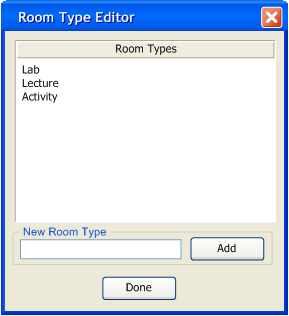
Figure 2.5.3-4: The room type editor.
The user adds room types by entering a new type into the 'New room type' text box. The new type is listed in the 'Room Types,' list area.
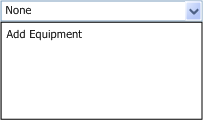
Figure 2.5.3-5: Equipment combo box.
The user views the current equipment, or double clicks 'Add Equipment' to add equipment in the dialogue box show figure 2.5.3 -6.
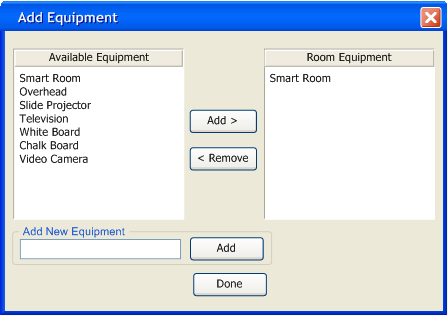
Figure 2.5.3-6: Add Equipment dialogue.
On the left is the equipment that has been added to other class rooms. The right side is the current equipment available in the classroom. The user selects one or more equipments on the left and click 'Add' to add it to the current classroom. Also, removing classrooms is completed by selecting one or more equipments on the right and clicking 'Remove'. If a piece of equipment is removed and no other classrooms contain it then, it will be removed from the available equipment list. If an equipment is not available on the left, then the user can add it by typing the name of the equipment into the text box labeled 'Add New Equipment'. The user must click the button 'Add' next to the text box. The equipment is seen on both the available and room equipment list. Once the user finishes, they can press 'Done.'
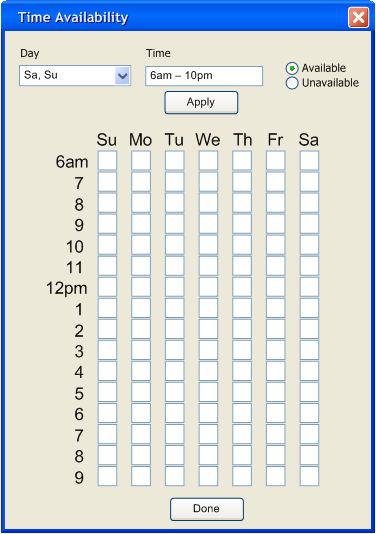
Figure 2.5.3-7 Time Availability dialogue.
The user changes when a particular class is available by choosing if the classroom is available or not. In the day box the user can select a pattern of a days or enter a few other days.The user can enter a time period in the format " [Starting Time]{AM/PM} - [Ending Hour]{AM/PM}." The starting time must be before the ending time. Clicking apply will put an A for available or U for unavailable into the deserted time slots. Once the user has finished they click the 'Done' button. A filled in version of the dialogue is displayed in figure 2.5.3-8.
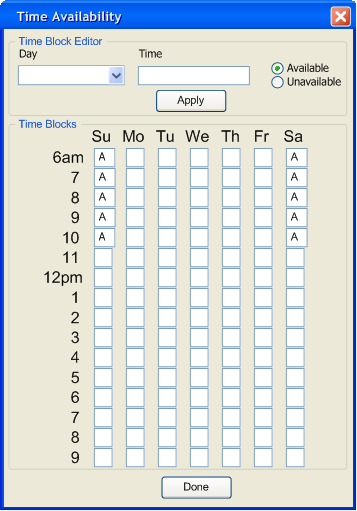
Figure 2.5.3-8 - A filled in time availability dialogue.
The user made the room only available from 6am to 10am on Sunday and Saturday.
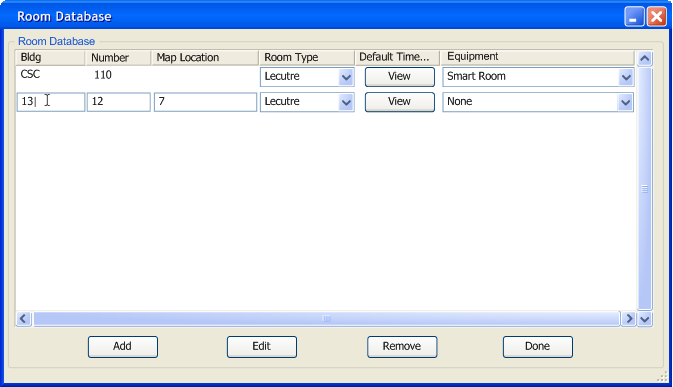
Figure 2.5.3-9: Editing a room record within the database view.
The user edits the columns for building, number, map location, room type, default time availability, and equipment. The constraints on the values that can be edited are described above.
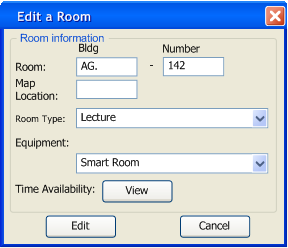
Figure 2.5.3-10: Editing a room that is already in the database.
The user edits the bldg number, room number, map location, lab or lecture classroom. equipment and time availability. The building number, room number and map location are required. The Lab/ Lecture combination box is described in figure 2.5.3-3. The equipment combination box is shown in figure 2.5.3-4. The time availability dialogue is shown in figure 2.5.3-6. Once the user has completed editing the record they can press 'Edit' to commit the change or 'Cancel' to discard any changes.
The user continues to add records to the database. A fully populated database looks like figure 2.5.3-11.
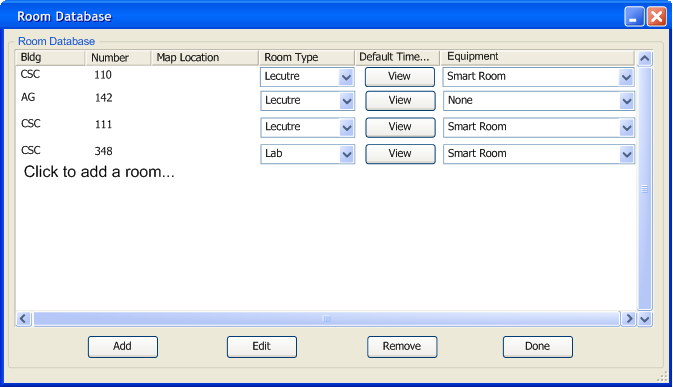
Figure 2.5.3-11:Fully populated room database.