Figure
2.4.3.1 Courses
Figure
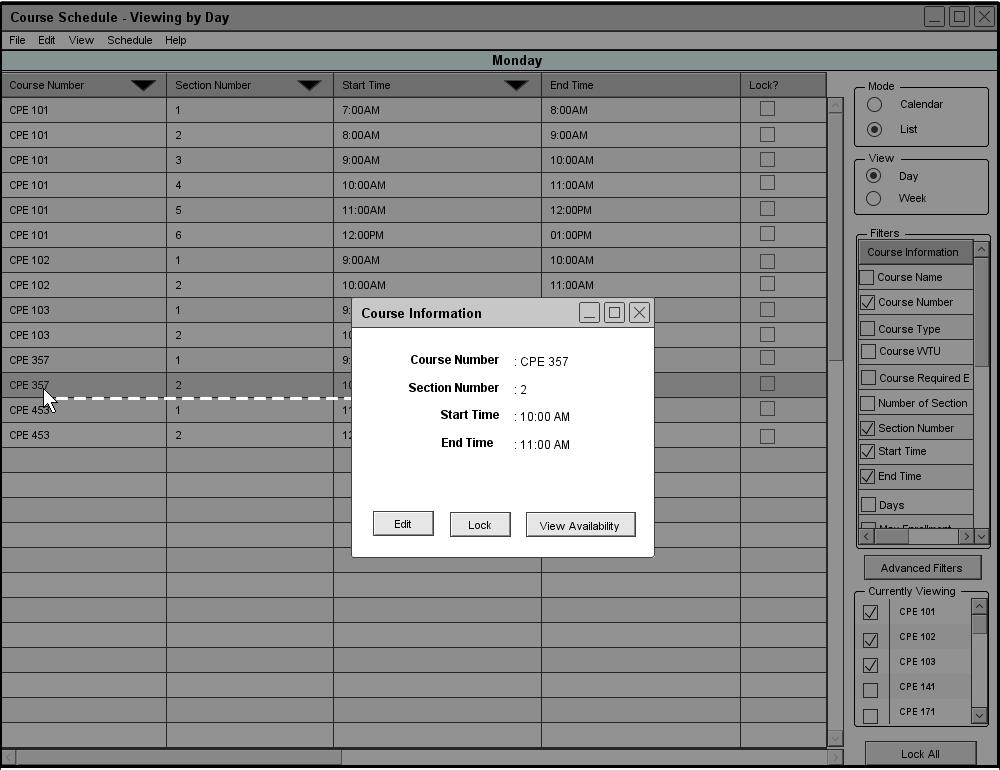
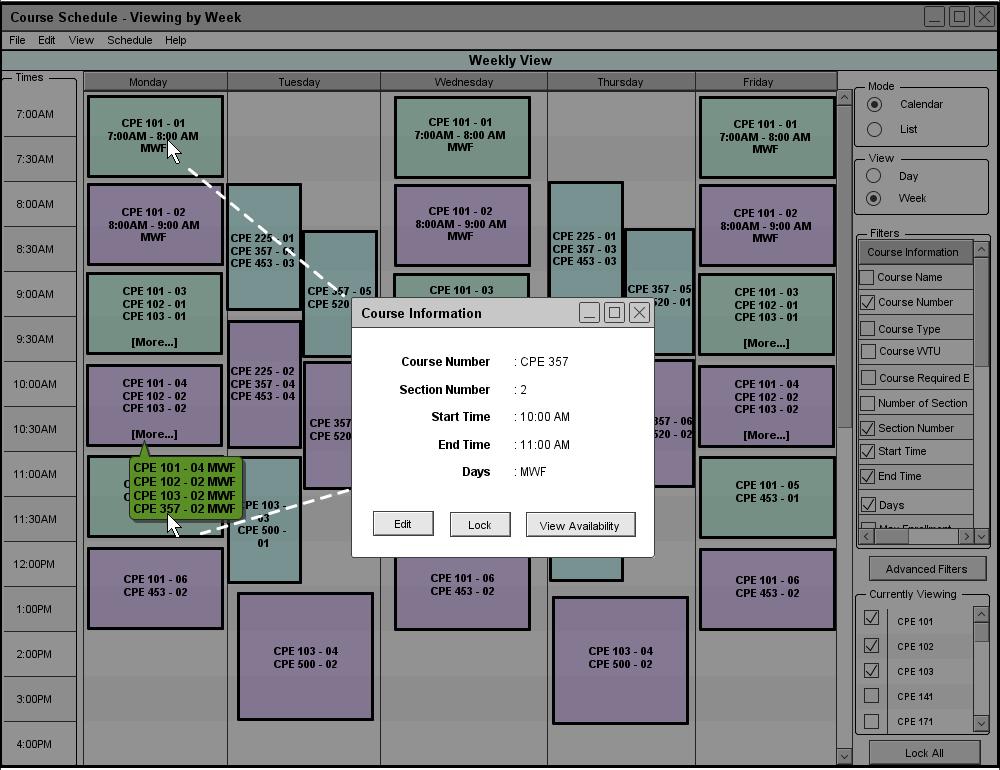
When a user selects a class, the system responds by displaying information regarding the selected class. The use may click edit to continue.
The user can select a course to edit by selecting a course in list view shown in figure 43.
When a user selects a class, the system responds by displaying information regarding the selected class. The use may click edit to continue.
The system will respond by displaying the information window for the selected course shown in figure 44.
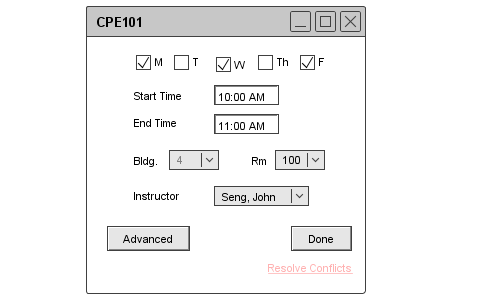
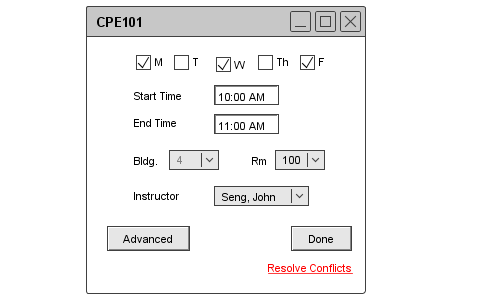
The dialog contains editable information regarding a selected course.
The user can edit days when a class is offered by checking off days. M stands for Monday, T stands for Tuesday, W stands for Wednesday, Th stands for Thursday, F stands for Friday.
Users enter Start time and end time in the text fields in the following format:
HH:MM AM/PM
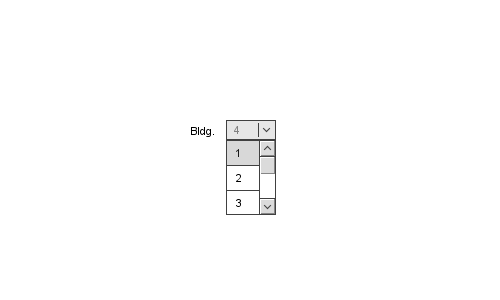
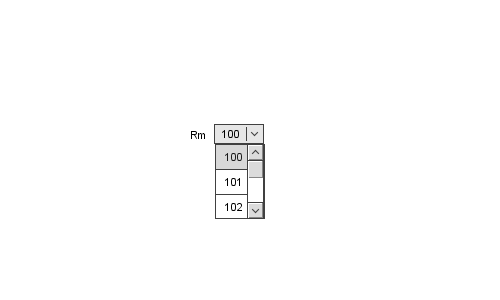
Users enter locations with a drop down menu interface as shown in figure 45 and figure 46.
Users select professors by clicking on the professor drop down menu and selecting a professor.
If any changes cause a conflict, the system will display a small notice at the coner of the window as shown in figure 47.
If a conflict exists click "Resolve Conflicts " and refer to section 2.4.4 for conflict resolution tips.
If no conflict exists the user can click Done, the system will respond by removing the dialog. The use may also click Cancel to cancel the whole operation
For more information on the advanved menu refer to section 2.3.1 .
prev: manual editing | next: locking | up: up | index: index.html