2.4.3 Classroom Records
The administrator must oversee classroom record keeping operations. Each classroom can added to the database individually. Initially the classroom database is empty as seen in figure 2.4.3-1 below. To add a classroom the admin must either select the option from the pulldown menu (not shown) or left click on the add button at the bottom of the window.
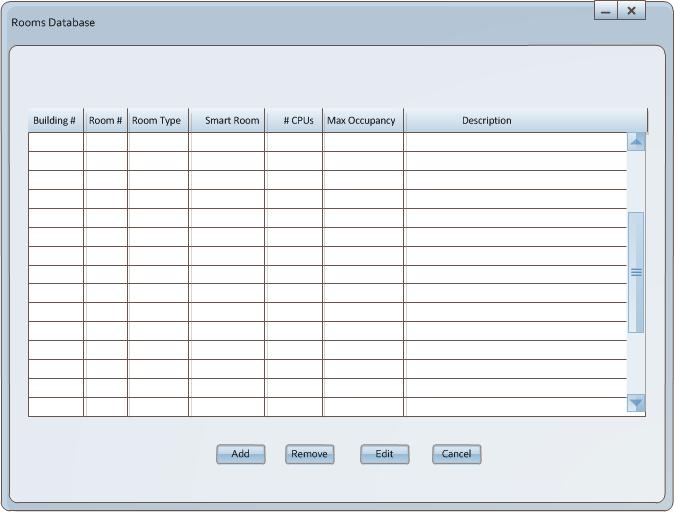
Figure 2.4.3-1: Classroom Database.
The admin left clicks on the add button from the window. The resulting classroom
record creation tool is displayed as shown in figure 2.4.3-2. The classroom
consists of a building #, deparment designation, floor #, classroom number,
description, classroom type, number of computers, maxium occupancy, and
coordinates. Available classroom types are LAB or LEC (lecture) and can be a
Smart Room as well designated as SMART and is either true or false.
The description is used to note unique features and assets of the room. For more
information on coordinatates refer to building tool further down the page.
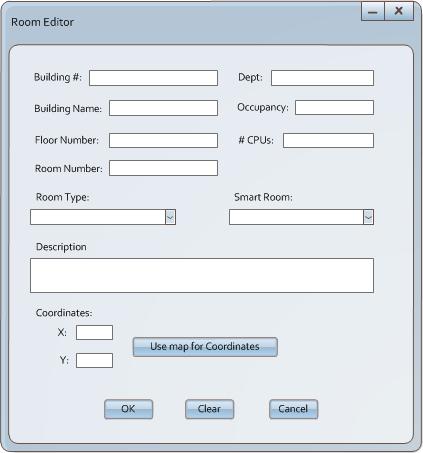
Figure 2.4.3-2: Add Room.
The admin enters the room information into the appropriate fields as shown in figure 2.4.3-4. Once the data is entered the administrator can left click clear to clear all fields and start over (not shown) or the administrator can cancel the room creation process by left clicking on the Cancel button. The administrator can also left click the OK button to add the room to the Rooms Database.
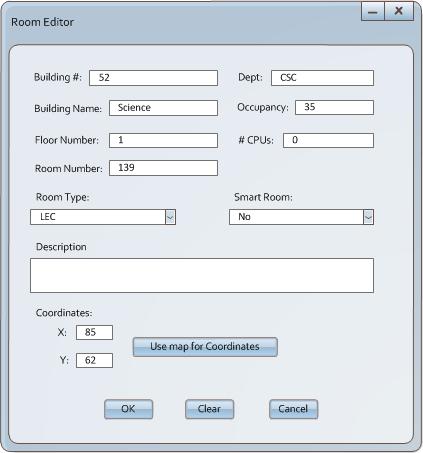
Figure 2.4.3-4: Add Room with Data.
The admin now left clicks the OK button to commit the room to the database. The admin now sees the record is successfully added to the main classroom database as shown in figure 2.4.3-5.
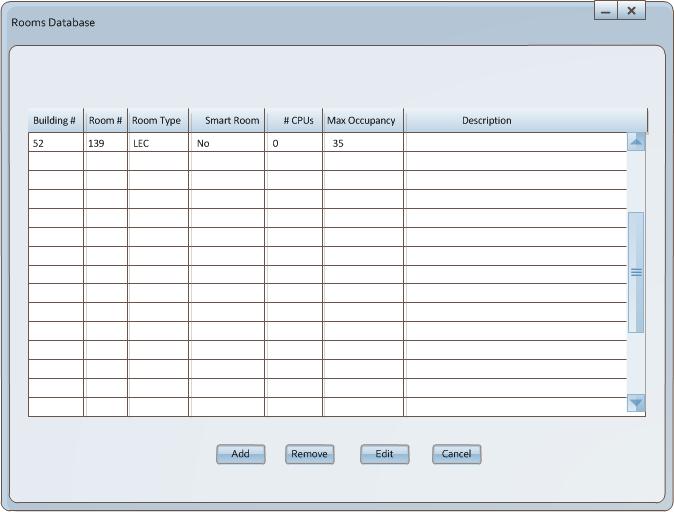
Figure 2.4.3-5: Successful Commit.
The admin can also opt to create classrooms en masse using the building
generation tool. The tool can started either from the context menu by right
clicking in the database data region and selecting create building (not shown) or the admin can select add building from the drop down menu (not shown). Once started tool displays as shown in figure 2.4.3-6. The tool has a field for building number, building name, # of floors, and room ranges for each floor. The tools also has a field for X Y coordinates based on a map integrated into the system.
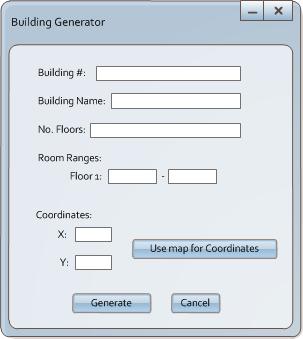
Figure 2.4.3-6: Building Generator.
The admin now enters information into the fields. Note that after entering 2 into the # of floors field the tool displays a range for each floor as shown in figure 2.4.3-7. The administrator can now opt to either manually enter the X Y coordinates or use the map (this feature was not discussed in previous section but functions in the exactly the same way).
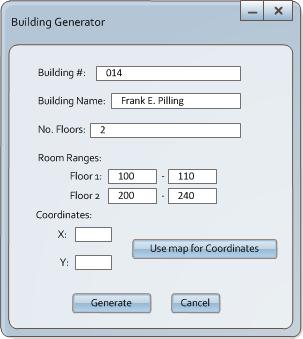
Figure 2.4.3-7: Building Generator with Floors.
To use the map option the admin selects the use map button. A map of the campus is displayed as shown
in figure 2.4.3-8. Using a mouse the admin can left click on the location of the building which closes the map and enteres the coordinates into the X Y fields. The X Y fields are used to calcuate distance between classrooms to help ensure adequite time is available for faculty travel between locations.
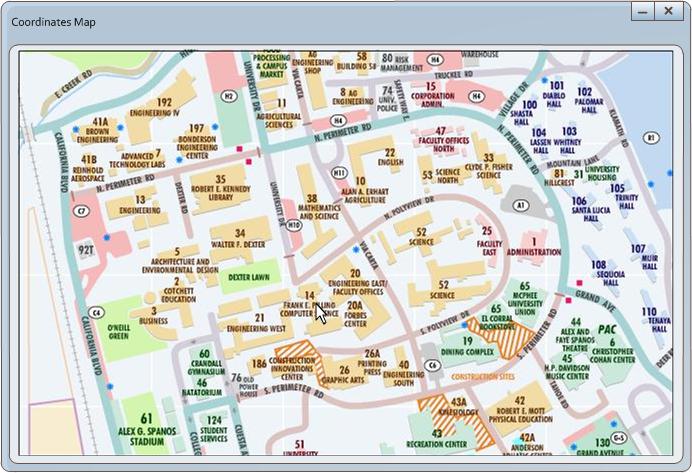
Figure 2.4.3-8: Using Map for Coordinates.
The admin left clicks on the image of building 14 on the map. The Coordinate Map windows closes and the coordinates are auto entered for the building into the building generation tools as shown in figure 2.4.3-9. If the administrators accidentally clicked the wrong coordinate space they can always click the Use Map button again.
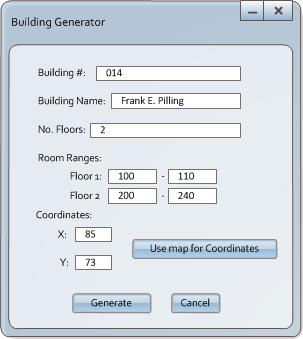
Figure 2.4.3-9: Building Generator with Map Coordinates
The admin now selects the generate button. The rooms will be automatically generated and added to the classroom database after which the tool will close. Each room will be generated using administrator set default values. The result of which can be seen in figure 2.4.3-9.
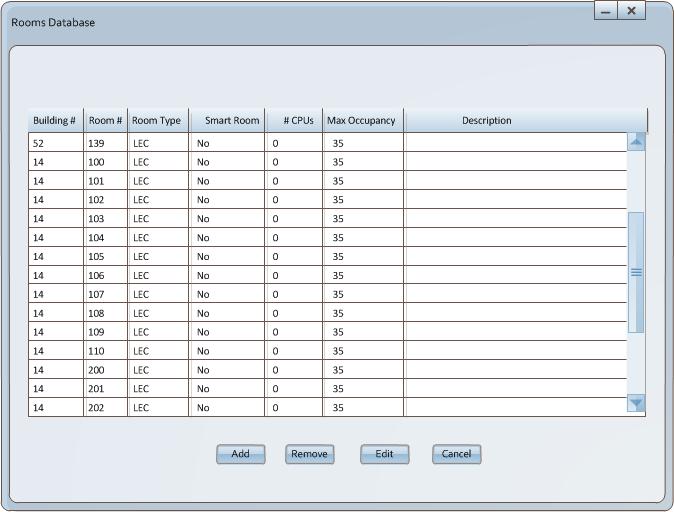
Figure 2.4.3-9: Rooms Generated.
Prev: Course Records
| Next: [none]
| Up: Database Administration
| Top: index