- 2.1 User Interface Overview
- 2.2 Managing Questions
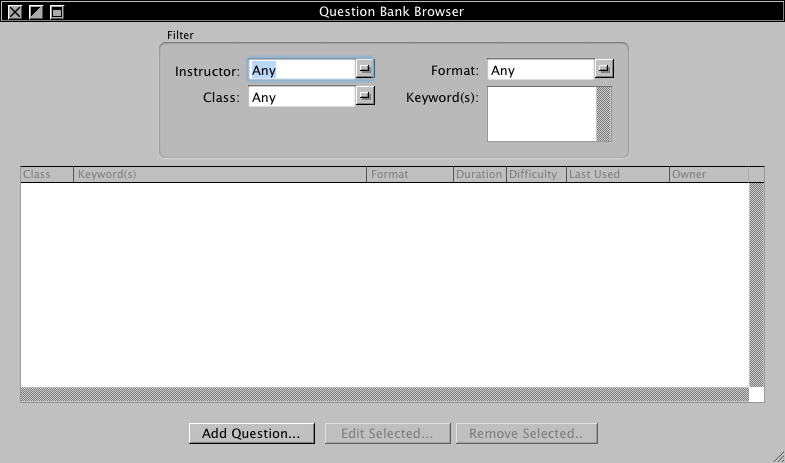
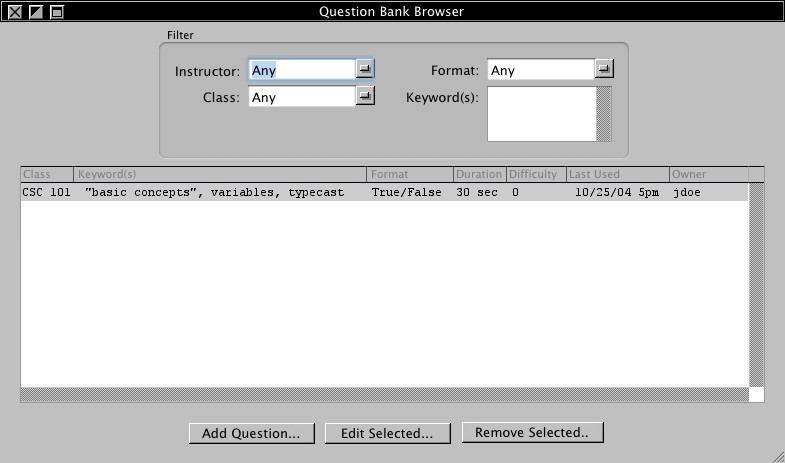
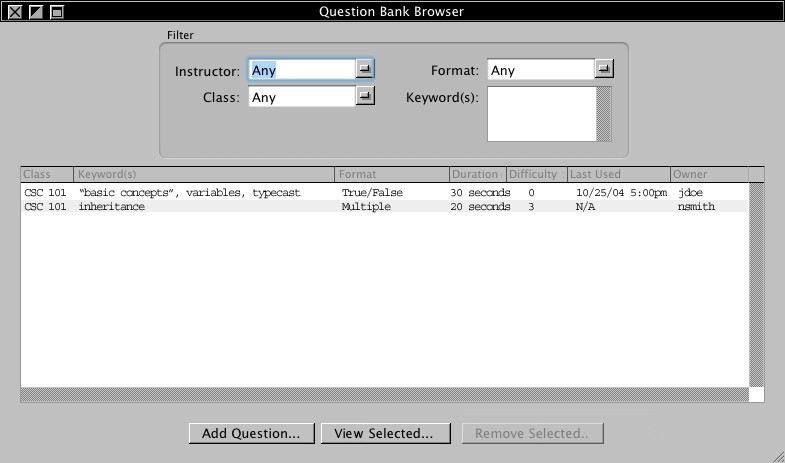
- Figure
1: The Manage Question Bank window
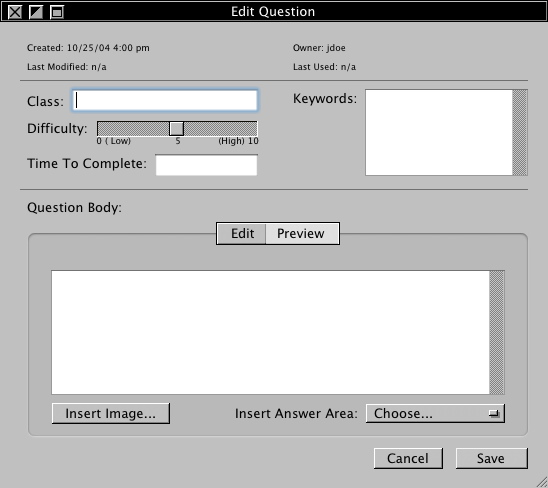
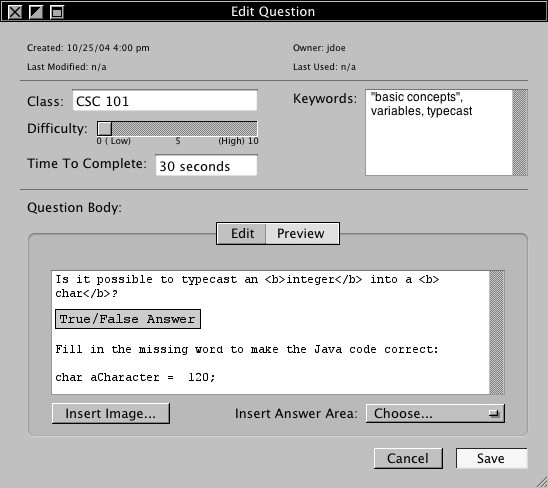
- Figure 2: The Edit
Question dialog box
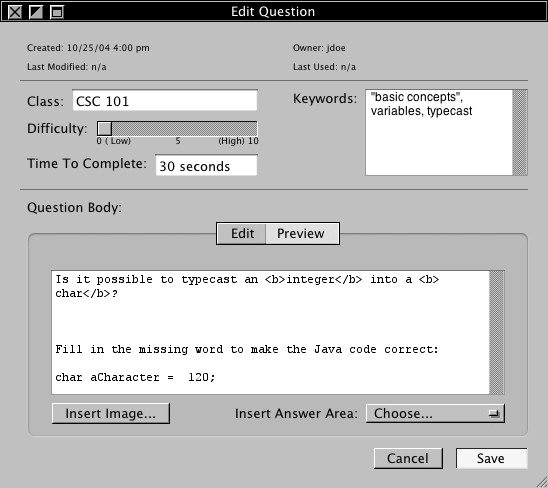
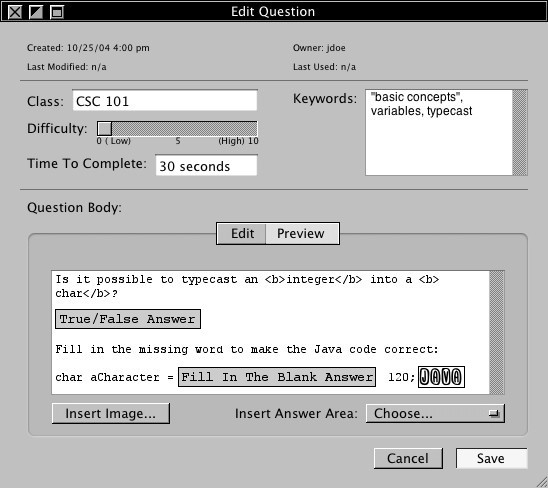
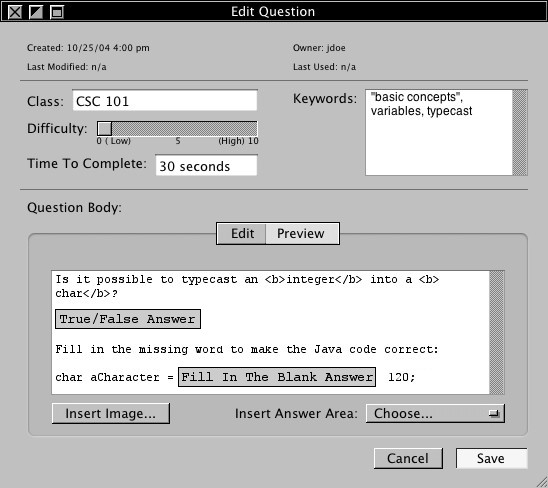
- Figure
3: The Edit Question dialog box with partial input
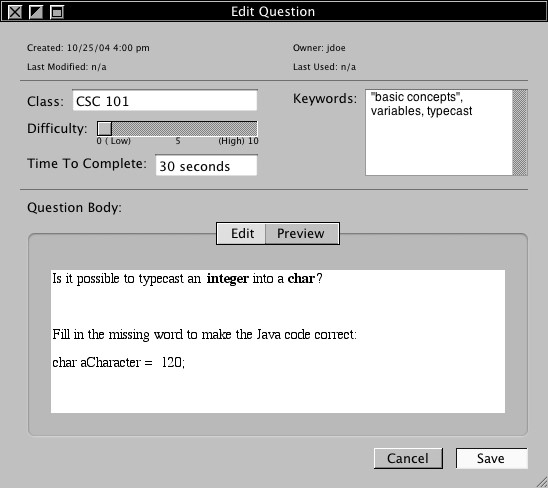
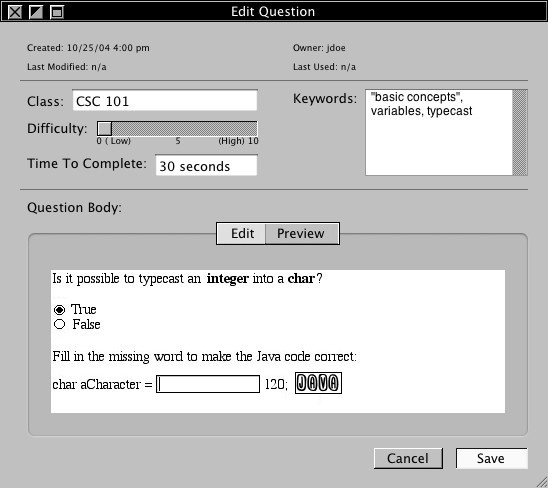
- Figure
4: The
Preview tab
- Figure 5: The "Answer
Types" drop-down menu
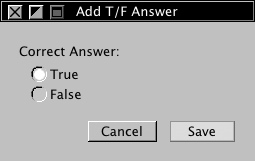
- Figure 6: Choosing
options for a True/False question
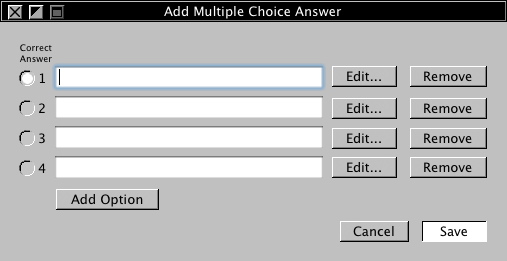
- Figure
7: The
Add Multiple Choice Answer window
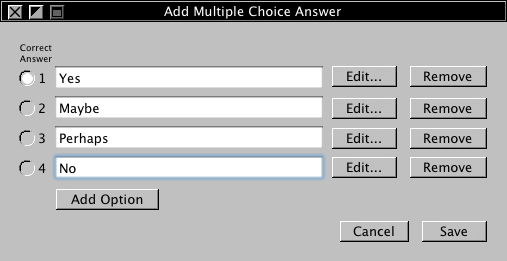
- Figure
8: The
filled-in Add Multiple Choice Answer window
- Figure
9: The
filled-in Add Multiple Choice Answer window with a removed
option
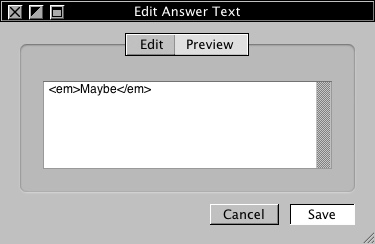
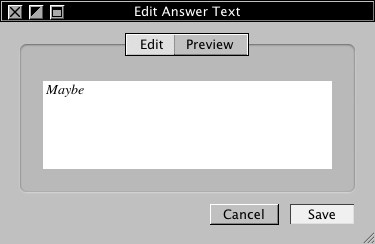
- Figure
10: The
Edit Answer Text window
- Figure
11: The Edit
Answer Text window preview
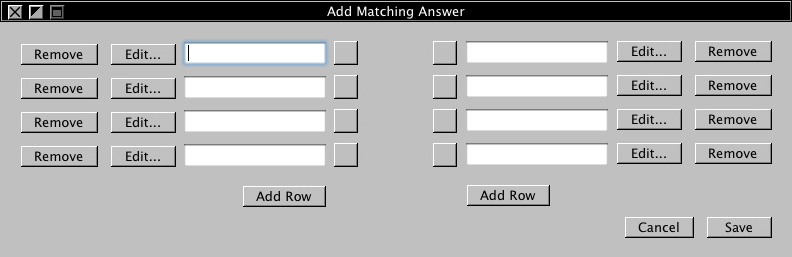
- Figure
12: The
Add Matching Answer window
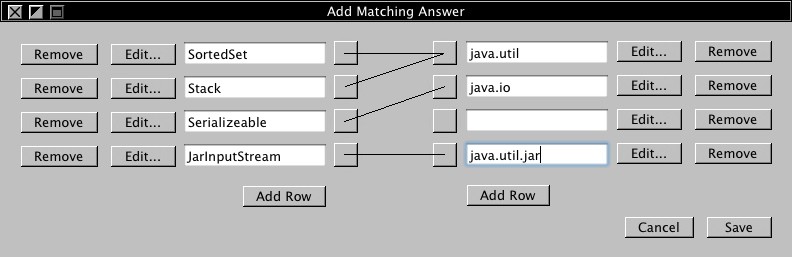
- Figure
13: The Add
Matching Answer window, filled in
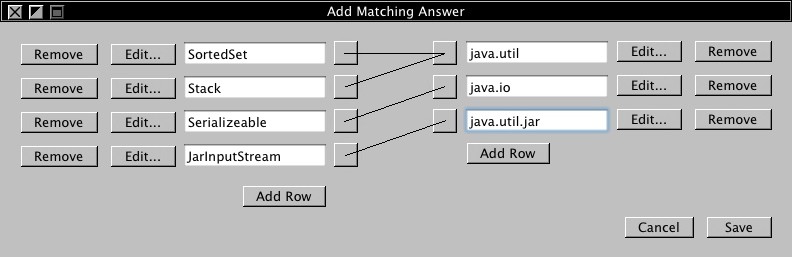
- Figure
14: The
Add Matching Answer window, filled out and with the empty
option removed
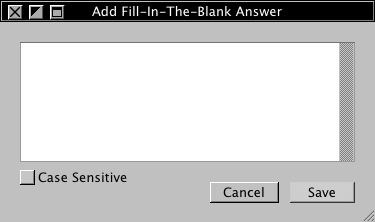
- Figure
15: The
Add Fill-In-The-Blank Answer window
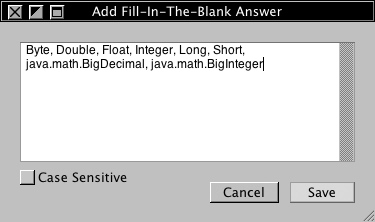
- Figure
16: The
Add Fill-In-The-Blank Answer window, filled out
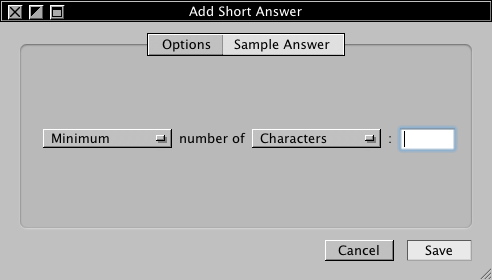
- Figure
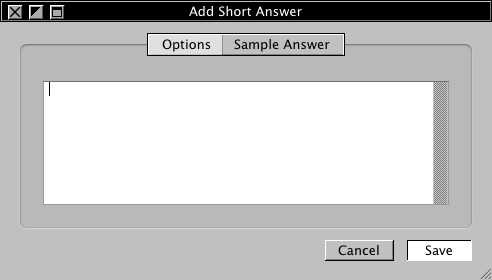
17: The
Add Short Answer window
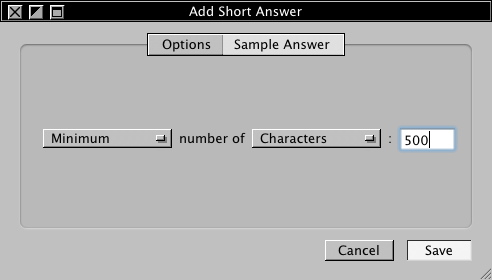
- Figure
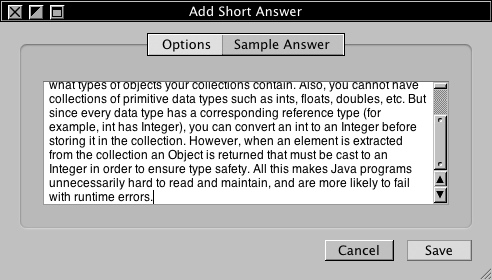
18: The
Add Short Answer window, filled out
- Figure
19: The
Add Short Answer window's "Sample Answer" tab
- Figure
20: The
Add Short Answer window's "Sample Answer" tab,
filled out
- Figure
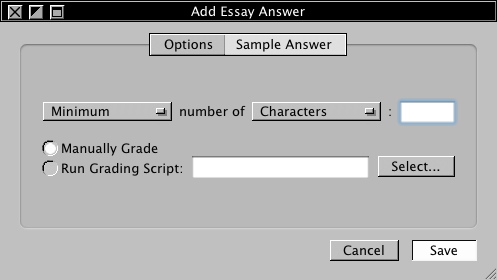
21: The
Add Essay Answer window
- Figure
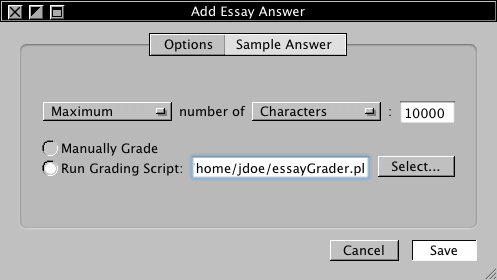
22: The
Add Essay Answer window, filled out
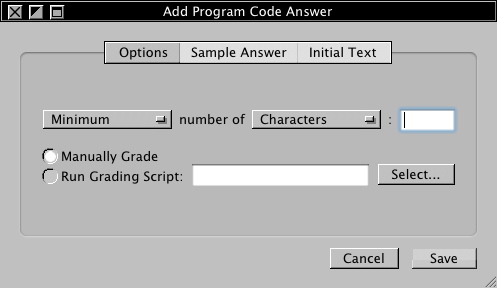
- Figure
23: The
Add Program Code Answer window
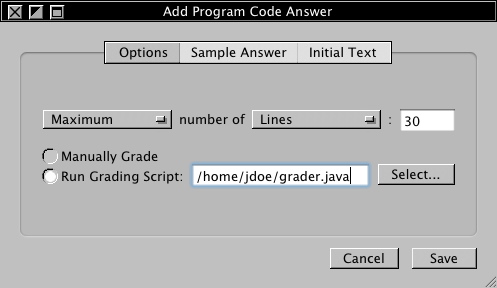
- Figure
24: The Add
Program Code Answer window, filled out
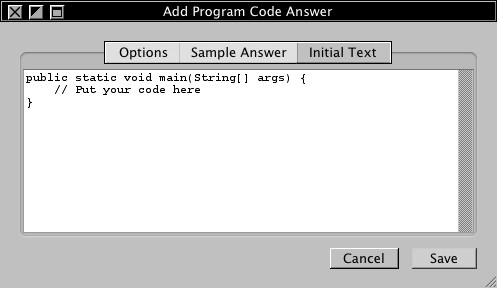
- Figure
25: The
Add Program Code Answer window's "Initial Text" tab
- Figure
26: The
Edit Question window, with an answer area inserted
- Figure
27: An
added answer area
- Figure 28: An
inserted image
- Figure
29: Previewing
question after adding image
- Figure
30: The
Manage Question Bank window with one row
- Figure 31: Editing
a question
- Figure 32: Question
Bank window non-owned question selected
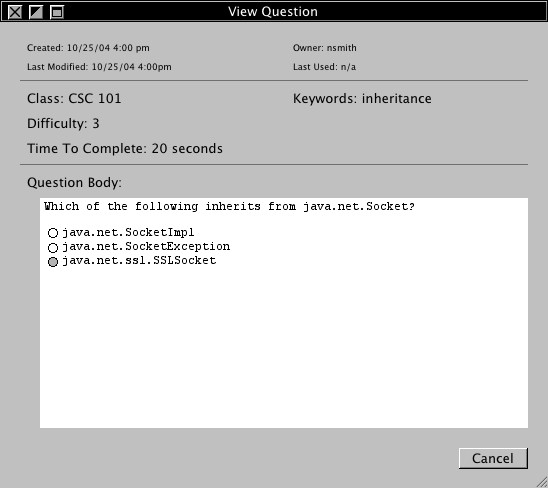
- Figure 33: Viewing
a question
- Figure
34: Question
Bank window with many questions
- Figure
35: Question Bank window with many questionsn
- Figure
36: Question
Bank window with filtered list of questions
- Figure
37: Question
Bank window with a row selected
- Figure 38: Confirm
delete dialog box
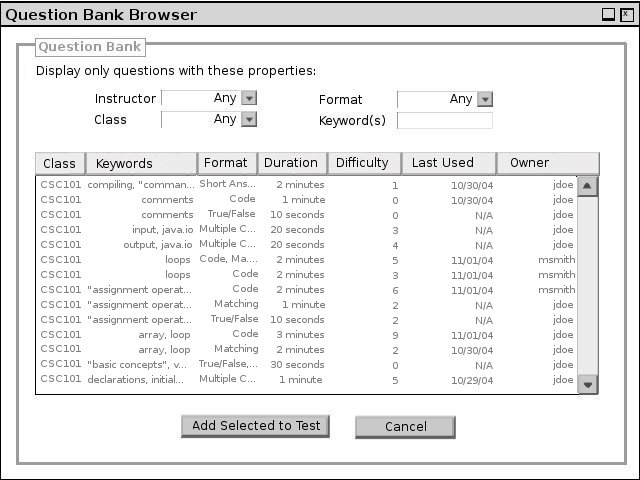
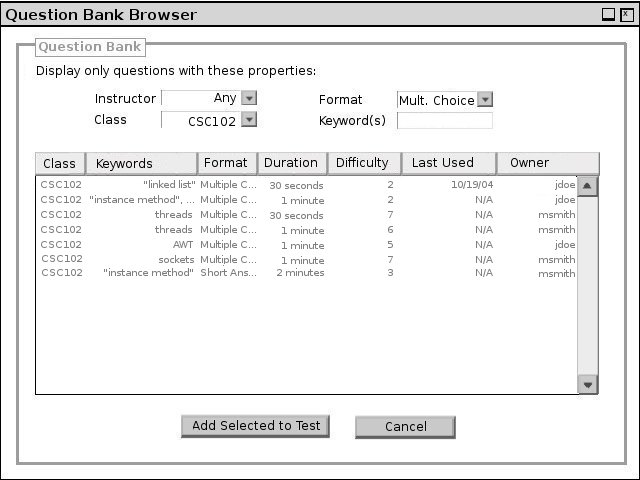
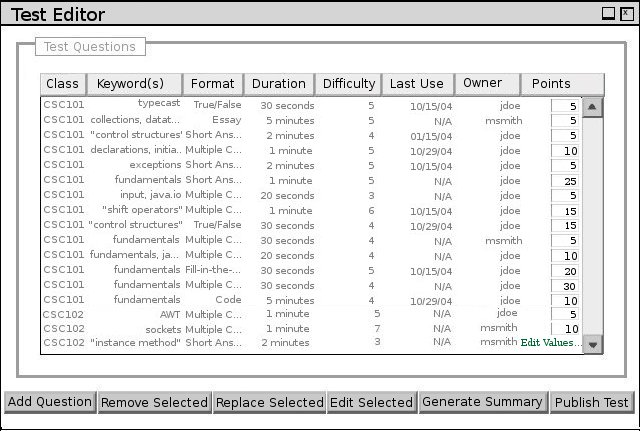
- 2.3 Creating A Test
- Figure 1: Basic Window Layout
- Figure 2: Basics Tab
- Figure 3: Classes
Drop down menu.
- Figure 4: Basics Tab
(Filled In)
- Figure 5: Basic Generated Test
- Figure 6: Difficulty Tab
- Figure 7: Difficulty
Tab (Filled In)
- Figure 8: Generated Test with Basic info and Difficulty.
- Figure 9: Question Types
Tab
- Figure 10: Question
Types Tab (Filled in) (Version 1)
- Figure 11: Question
Types Tab (Filled in) (Version 2)
- Figure 12: Generated Test form Basic, Difficulty and Question Type Tabs.
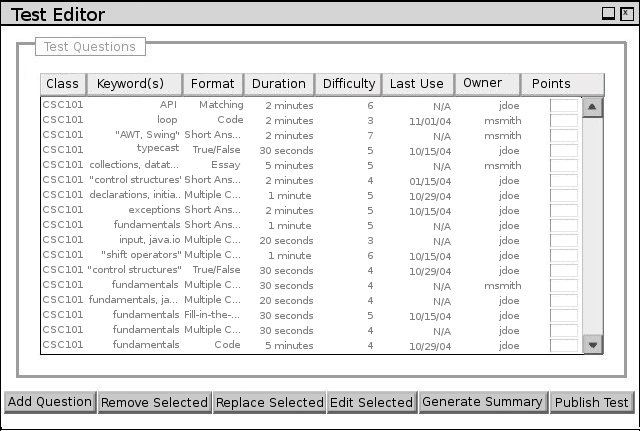
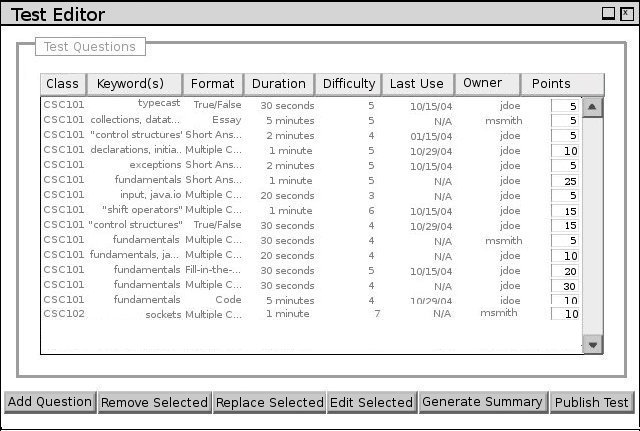
- Figure 13: Test Edit
Window
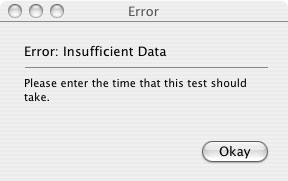
- Figure 14: Time Error
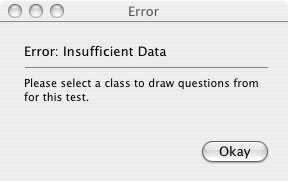
- Figure 15: Class
Error
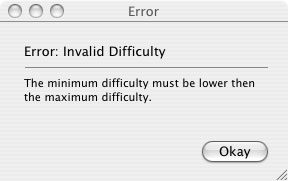
- Figure 16: Difficulty
Error
- Figure 17: Percentage
Errors
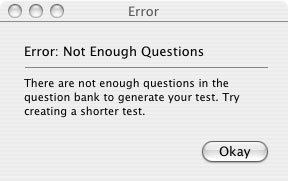
- Figure 18: Insufficient
Questions
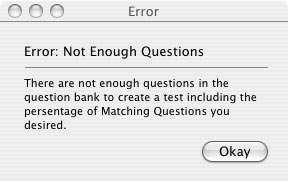
- Figure 19: Insufficient
Questions of specific type
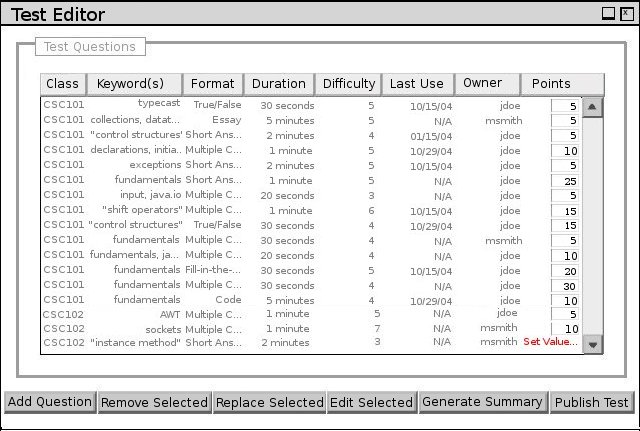
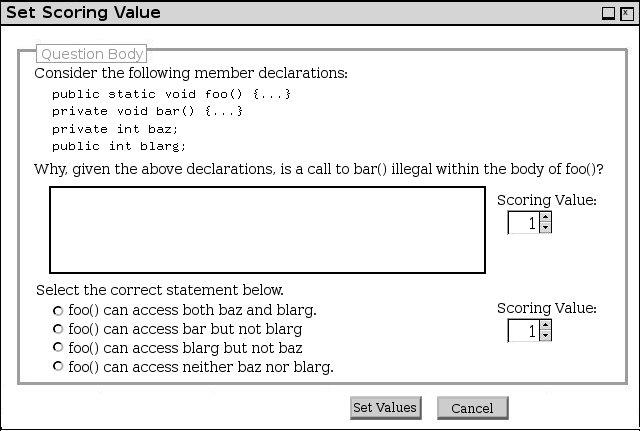
- 2.4 Editing A Test
- 2.5 Test Taker Proctor
- 2.6 Taking A Test - Student Users
- Figure 1. Example of Student user screen view after logging in for non-proctored exam.
- Figure 2. Example of Student user screen view after logging in for proctored exam.
- Figure 3. Dialog Box invoked by �Open� command in the File menu, displaying all available tests.
- Figure 4. Full drop-down menu from the �Open Test� dialog box.
- Figure 5. Dialog Box invoked by �Open� command in the File menu, displaying available proctored tests with the test �CSC-101: Midterm 1� selected by the user.
- Figure 6. Example of Instructions and Summary provided at the beginning of a Test.
- Figure 7. Student test screen view with labels.
- Figure 8. Top: Commands available in view menu when both clocks are visible on screen. Bottom: View of example clock window.
- Figure 9. Top: Commands available in View menu when Actual time is visible but Time Remaining clock is hidden by Student or no time limit was set. Bottom: View of example clock window.
- Figure 10. Top: Commands available in view menu when neither clock is visible on screen. Clock window is closed. No clock window is shown because neither the actual time nor test clock is being displayed.
- Figure 11. View menu commands with �Show Test Clock� grayed out because not time limit has been set.
- Figure 12. Dialog box invoked by selecting �Questions Per Page� from the View menu.
- Figure 13. Example of Student using the �Test Question Setup� dialog box invoked by selecting �Questions Per Page� from the View menu.
- Figure 14. Example of test with three questions per page displayed.
- Figure 15. Commands available in view menu while .
- Figure 16. Commands available in View menu when Actual time is visible but Time Remaining clock is hidden by Student or no time limit was set.
- Figure 17. Commands available in view menu when neither clock is visible on screen. Clock window is closed
- Figure 18. Example of Question Index window as shown at the beginning of a Student�s test.
- Figure 19. Example of Question Index window for test view with three questions per page.
- Figure 20. Example of Question Index view during a test in progress.
- Figure 21. View of the Student user Options menu.
- Figure 22. Question Index with example of Instructor/Proctor flags (questions 8 & 14).
- Figure 23. Student screen view shown with an Instructor/Proctor comment alert.
- Figure 24. Example of an Instructor�s or Proctor�s message.
- Figure 25. Example of Proctor
- Figure 26. Comment Editor window with three sample comments.
- Figure 27. Dialog box invoked by the �Add Comment� command of the Options menu
- Figure 28. Window opened from the �Add Comment� dialog box to provide additional information.
- Figure 29. Example of a �Select Questions for Comment� dialog box.
- Figure 30. Example of a �Select Questions for Comment� dialog box with user�s selection.
- Figure 31. Dialog box used to edit Student comments.
- Figure 32. Dialog box invoked by the Remove command. Confirms the users desire to delete a comment before permanently removing the data.
- Figure 33. Example of multiple choice question.
- Figure 34. Example on an answered Multiple Choice question.
- Figure 35. Example of Multiple Answer question.
- Figure 36. Example of Multiple Answer question.
- Figure 37. Example of a unanswered Short Answer question.
- Figure 38. Example of a Short Answer question with a Student�s response.
- Figure 39. Example of an unanswered True / False question.
- Figure 40. Example of a True / False question with a Student�s response.
- Figure 41. Example of Multiple Answer question.
- Figure 42. Step 1 - A Student selects an answer to match by clicking the arrow box next to it. In this example, the user has selected �SortedSet.� Note: when the cursor is placed over the arrow box, the corresponding answer becomes bold.
- Figure 43. Step 2 - The cursor appears with a black arrow pointing to the selected answer (�SortedSet�).
- Figure 44. Step 3 - The Student now drags the black arrow over an arrow box next to the �matching� answer in the opposite column. In this case, the matching answer is �*java.util.� Note that the answer next to the arrow box again becomes bold.
- Figure 45. Step 4 - The Student now clicks on the arrow box and moves the cursor away from the selections. The arrow remains in place indicating a match between �SortedSet� and �*java.util.�
- Figure 46. Example of Multiple Answer question.
- Figure 47. Confirmation dialog to remove a match from a Matching Answer question.
- Figure 48. Example of an unanswered Fill-in-the-Blank question.
- Figure 49. Example of an answered Fill-in-the-Blank question.
- Figure 50. Example of an unanswered Essay question.
- Figure 51. Example of an answered Essay question.
- Figure 52. Example of a Program Code question with a code framework provided by the instructor.
- Figure 53. Example of an answered Program Code question.
- Figure 54. Dialog box showing the original, unaltered version of text provided in the answer- textbox.
- Figure 55. Dialog box to confirm reset.
- Figure 56. Dialog box which appears when a Student tries to open other programs of minimize Test Tool during a closed test.
- Figure 57. Dialog box invoked by Submit button to confirm submission of test.
- Figure 58. Submission dialog box with warning notice for one incomplete question and example of warning for multiple incomplete questions.
- Figure 59. Submission dialog box with a notice that Student flags remain.
- Figure 60. Excerpt of submission dialog box with a network error warning.
- Figure 61. Dialog box to edit the saved viewing options (Preferences) for a Student user.
- Figure 62. Example of Student view of a Graded Test.
- Figure 63. Example of the View menu while a when a user is viewing a Graded Test.
- Figure 64. Example of a Graded Test Summary.
- 2.7 Grading
- Figure 1: Starting the Grader function
- Figure
2: Main Grading screen with a test already taken, viewing by
question
- Figure
3: Grade Test dialog
- Figure
4: Test that was just graded
- Figure
5: Grader screen at bottom of test showing totals
- Figure
6: Post Grade dialog
- Figure
7: Test that was just posted
- Figure
7: Test that was just posted
- Figure 8 (To be done)
- Figure 9 (To be done)
- Figure
10: Choosing to view a test by Student
- Figure
11: The Student Test selections dialog
- Figure
12: Viewing test by student
- Figure
13: Edit Score dialog
- Figure
14: Edit Score dialog with changed Earned value
- Figure
15: Test with question 2 grade edited
- Figure
16: Adding an instructor comment for a graded test
- Figure
17: Selecting questions to add comments to
- Figure
18: Select Students dialog for choosing which students receive the
comment
- Figure
19: Add comment dialog filled out
|