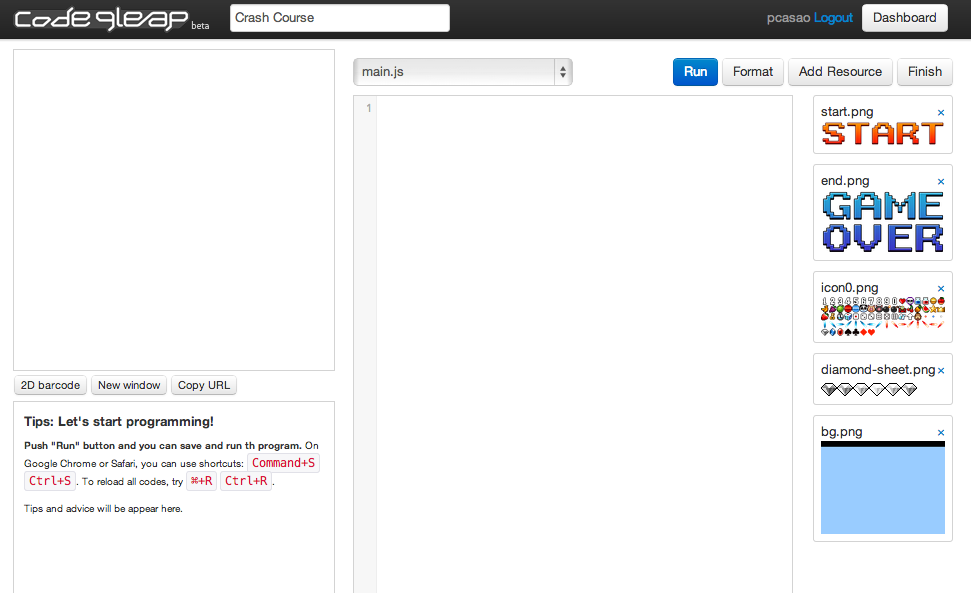
Figure 1.01: Codeleap Interface
Before we begin, I’ll talk about Javascript and the Browsers that we’ll be using. After that, I’ll explain the platform on which we’ll be working. This will include setting up an account and a general explanation of the interface.
Subsections
01 Javascript/HTML5
02 Browsers
03 Using code.9leap.net
enchant.js is a game library written for Javascript. Unlike other programming languages, Javascript code is executed right inside the browser. In order to use Javascript, we simply include Javascript tags on an HTML page and include the .js file that we want to use.
To learn more about Javascript, you can find some excellent tutorials here.
enchant.js should work in any browser that’s HTML5 compatible. That being said, so far the most reliable browser I’ve seen it run in is Chrome. Although I’ve seen some lag in FireFox and Safari, projects should work fine in either browser.
code.9leap.net is a website dedicated to hosting games written in enchant.js. After signing up, you can start developing and sharing your work right away.
First, create an account in order to fork the code provided in each section. You can access the site here.
The interface with all the assets that we’ll need are pictured below in Figure 1.01.
The top left frame is where the game will appear. The dropdown menu in the center allows us to select which text file we’re editing. For this guide we will only make changes to the main.js file. On the right side is the list of the assets that we will use. To run your game, simply click on the blue RUN button up and to the right of the screen.
The various main.js files will contain numbered comments. The number before the comment indicates the section of the tutorial in which we will make changes.
For debugging purposes, you’ll want to examine the Javascript Console. You can view errors and output messages to it (similar to printfs) using:
console.log(“input log text here”);