Figure 2.4.1.1
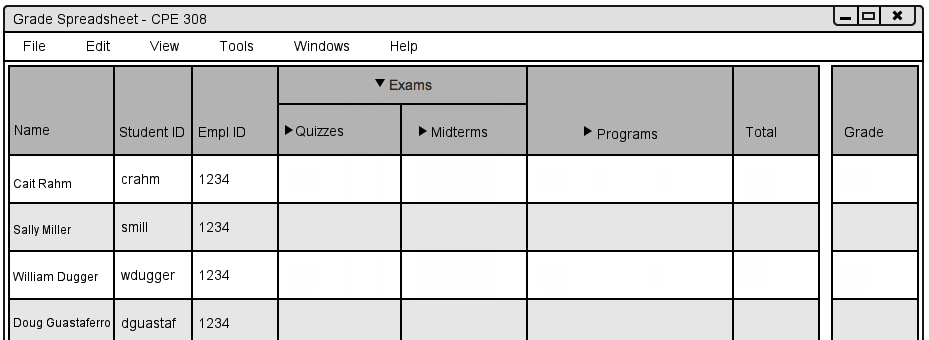
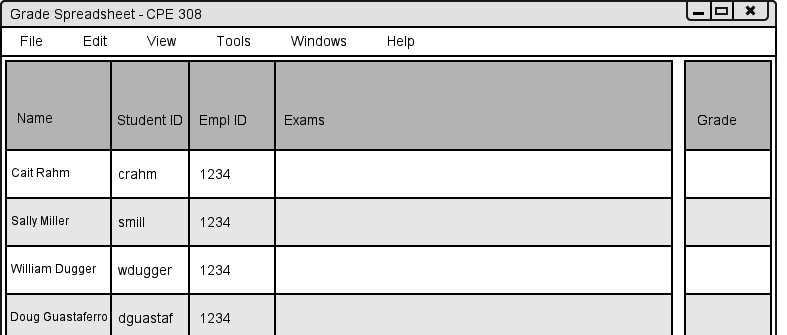
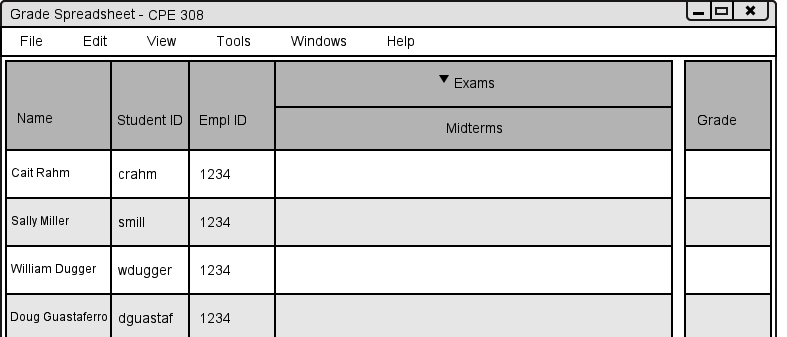
After the instructor finishes adding students as described in Section 2.3, the Grader Tool displays the spreadsheet window without any categories as seen in Figure 2.4.1.1.
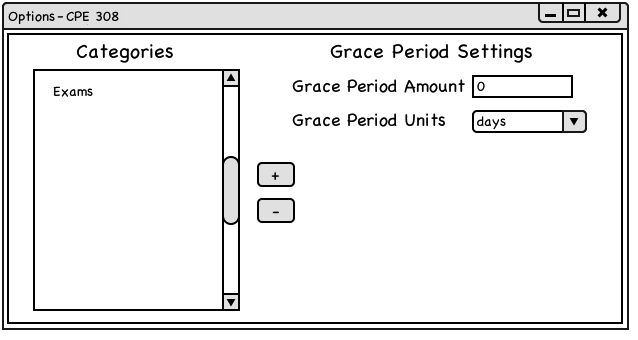
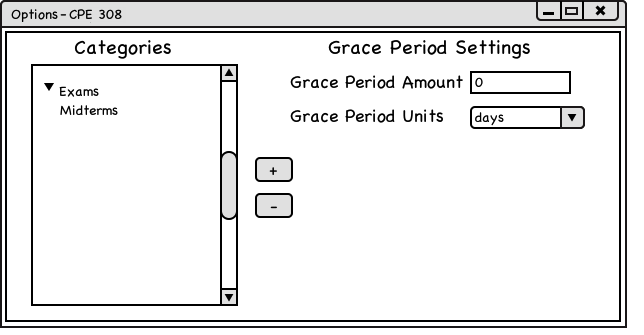
In this scenario, the instructor wants to add categories to the spreadsheet. To add categories, the instructor selects Tools -> Class Options from the menu toolbar. The Grader Tool displays the Class Options window shown in Figure 2.4.1.2. Notice that the Categories section is blank because the instructor has not added any categories yet.
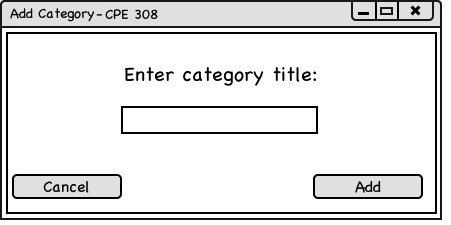
To add a new top level category, the instructor clicks on the + button. The Grader Tool then displays a dialog box seen in Figure 2.4.1.3 where the instructor enters a category name consisting of letters and digits.
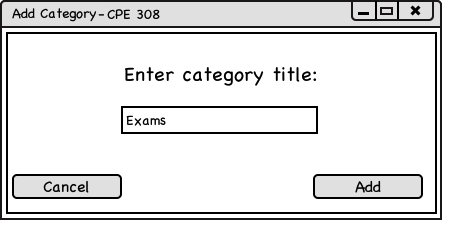
In this example, the instructor adds a category titled Exams by entering the title into the dialog box as seen in Figure 2.4.1.4.
Clicking Add adds the category to the spreadsheet and closes the dialog box. Clicking Cancel closes the dialog box and returns to the Class Options window seen in Figure 2.4.1.2 without adding the category to the spreadsheet. In this scenario the instructor clicks Add, adding Exams to the list of categories as seen in Figure 2.4.1.5.
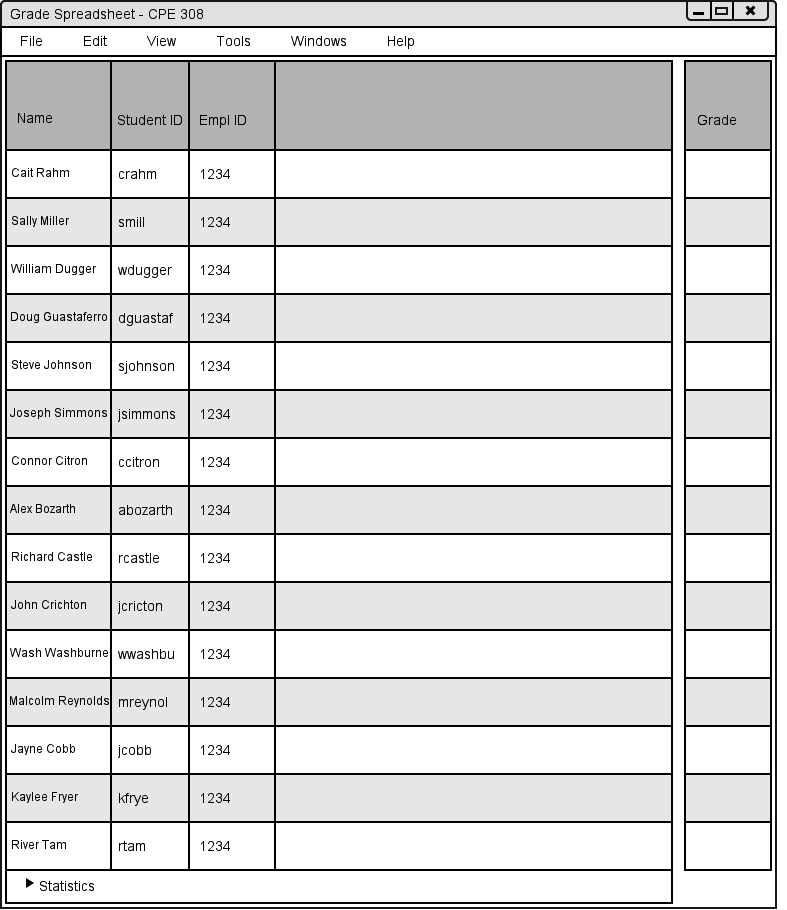
The instructor then clicks on the X on the top right of the window, closing the Options window. The Grader Tool then displays the spreadsheet with the Exams category added, shown in Figure 2.4.1.6. Note: In this Figure and all subsequent figures, only the first four students are shown to avoid unnecessary page elongation.
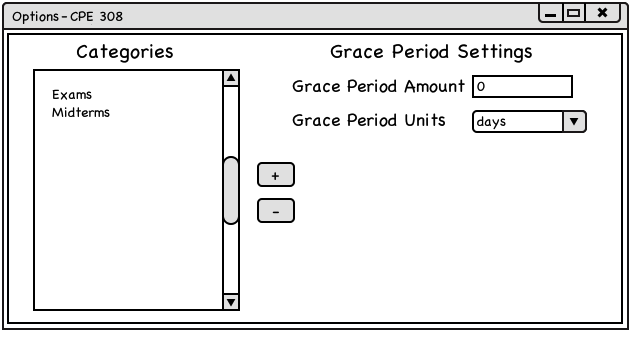
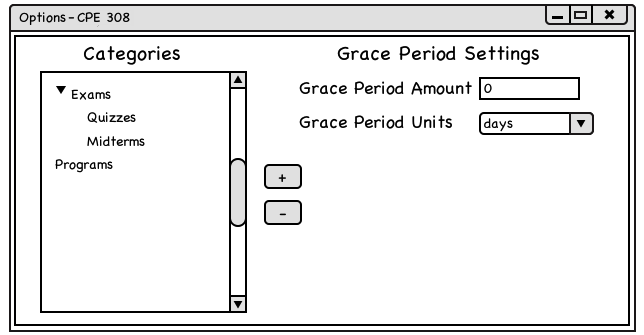
Next, the instructor wants to add a sub category to the Exams category. The instructor follows the same steps as detailed above to add a new category titled Midterms to the list of categories. The updated categories list is shown in Figure 2.4.1.7.
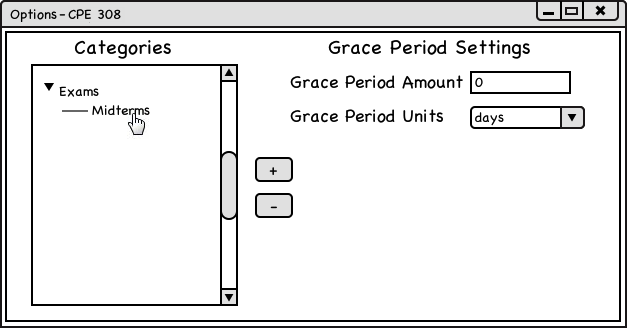
The Grader Tool automatically adds categories as top-level categories. To nest Midterms inside Exams, the instructor clicks on Midterms and drags it just under Exams until the Grader Tool displays a line to the left of Midterms and a black triangle appears next to Exams, shown in Figure 2.4.1.8
The instructor then releases his/her mouse to nest the category under Exams. Figure 2.4.1.9 shows the updated categories list.
The instructor then closes the window to navigate back to the spreadsheet. Figure 2.4.1.10 shows the updated spreadsheet with the nested category Midterms inside Exams.
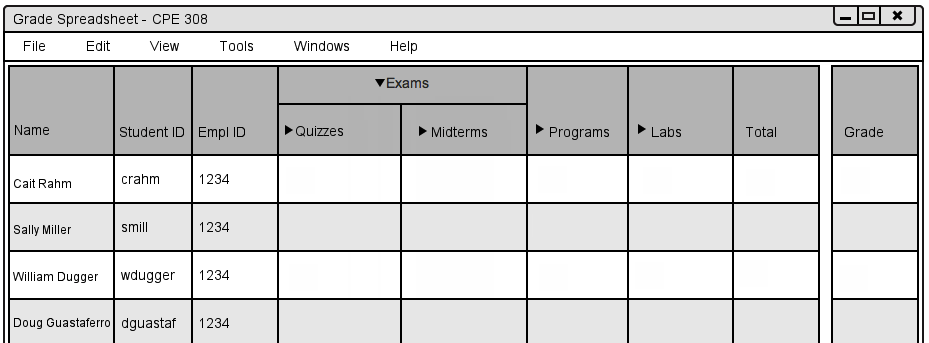
The instructor repeats this process to create any number of categories with no limit on the number of nested categories. Figure 2.4.1.11 shows an example of a possible category list.

Figure 2.4.1.12 shows the spreadsheet view using the categories defined in Figure 2.4.1.11.
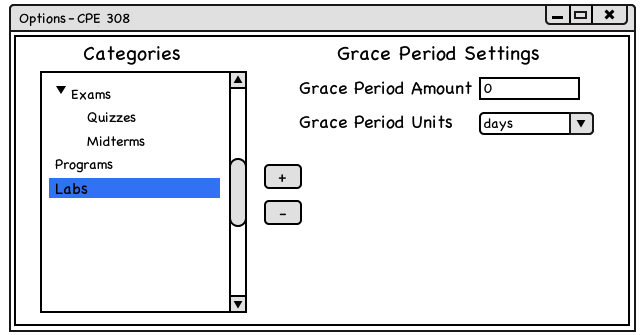
To delete a category, the instructor selects Tools -> Class Options from the top menu. The Grader Tool displays the Class Options window. The instructor selects one of the categories by single clicking on any category. The Grader Tool highlights the category to signify it has been selected as shown in Figure 2.4.1.13.
With the category selected, the instructor clicks on the - button to remove the category. The Grader Tool removes the category from the list instantly, displaying the remaining categories as seen in figure 2.4.1.14. Note: Deleting a category with nested categories will delete that category along with all nested categories.
The Grader Tool updates the spreadsheet accordingly as seen in Figure 2.4.1.15