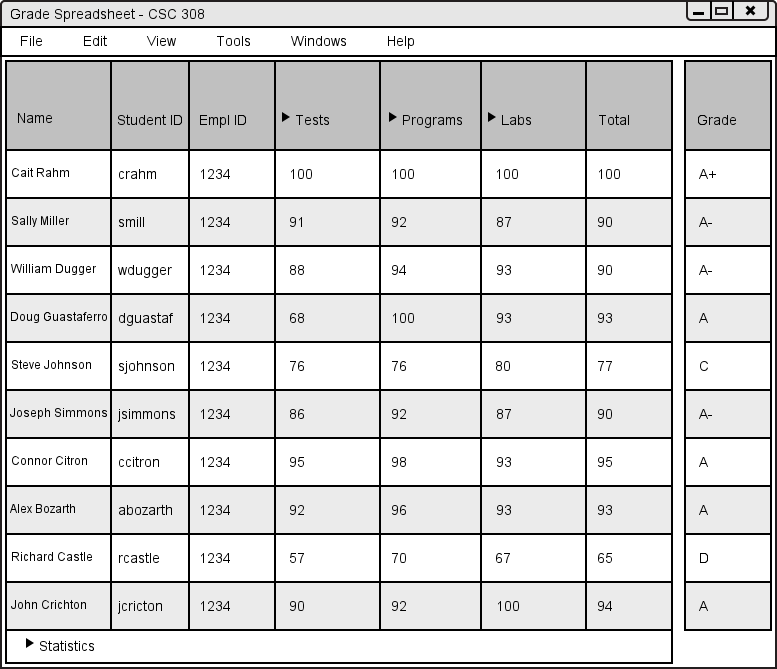
In this scenario, the teacher wants to synchronize his current class to the official records with Student Information Services. Figure 2.3.1.1 shows the teacher's view of his spreadsheet before he does this.
Figure 2.3.1.1: Spreadsheet Before Synchronization.
To begin the roster sync process, the teacher selects Roster Sync from the Tools menu. For reference, the menu reference is here. Grader responds by displaying the SIS Log In prompt.
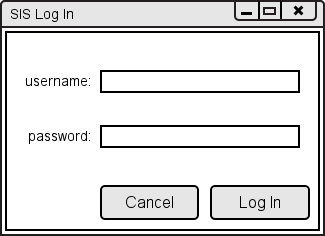
Figure 2.3.1.2: SIS Log In prompt.
A teacher then enters their SIS log in information in the given text fields and clicks the submit button to proced to the Roster Sync window below. If SIS takes more than a moment to retieve the class data the dialouge seen in Figure 2.3.1.3 is displayed. If a teacher clicks the cancel button they are returned to the main spreadsheet.
![]()
Figure 2.3.1.3: The initial Import Class dialogue.
This dialogue is identical to the one in Figure 2.2.1.2, and follows the same procedure as on that page through to Figure 2.2.1.5. Go to that page for a more in-depth view of the class importing process. The teacher follows that procedure and selects a class to sync his roster to. The Importing from SIS dialogue displays on the screen.
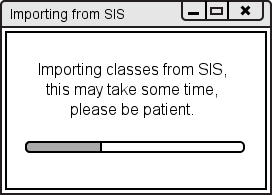
Figure 2.3.1.4: Importing from SIS dialogue.
Grader searches the SIS records and adds a new student to the Class Spreadsheet for every student found that isn't in the class already (by Student ID, rather than name). After the class is successfully synchronized, the following Class Spreadsheet window will open, seen here after assignments and grades have been added via methods found in sections 2.4 and 2.5 of the Functional Requirements. Note that there are five more students in the class than before.
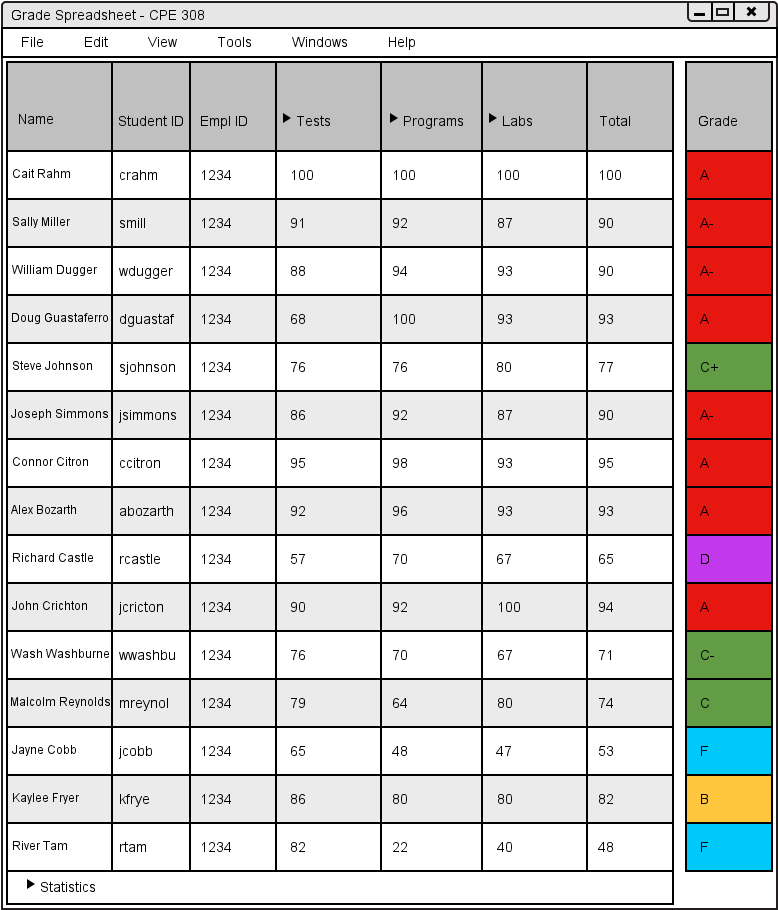
Figure 2.3.1.5: Completed Spreadsheet.