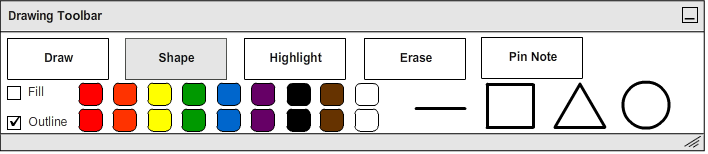
The student can create simple shapes easily using the Shape Tool. When the student clicks the "Shape" Button, an option menu will appear below it, as shown in Figure 3 below.
Figure 3: Shape Tool.
The student selects the desired shape (Line, Rectangle, Triangle, or Circle) from the shape options, and then indicates if he wants his shape to be filled or outlined using the checkboxes and what color the fill and outline should be using the color palettes. He then clicks on the lecture slide where he wants the shape to go and sizes it by continuing to hold the cursor down and dragging it outwards. When he releases the cursor, the shape is placed. To delete a shape, the student clicks the unwanted shape and presses the "Delete" key on the keyboard.
A practical example of a student using the shape tool to take notes is shown below in Figure 4.
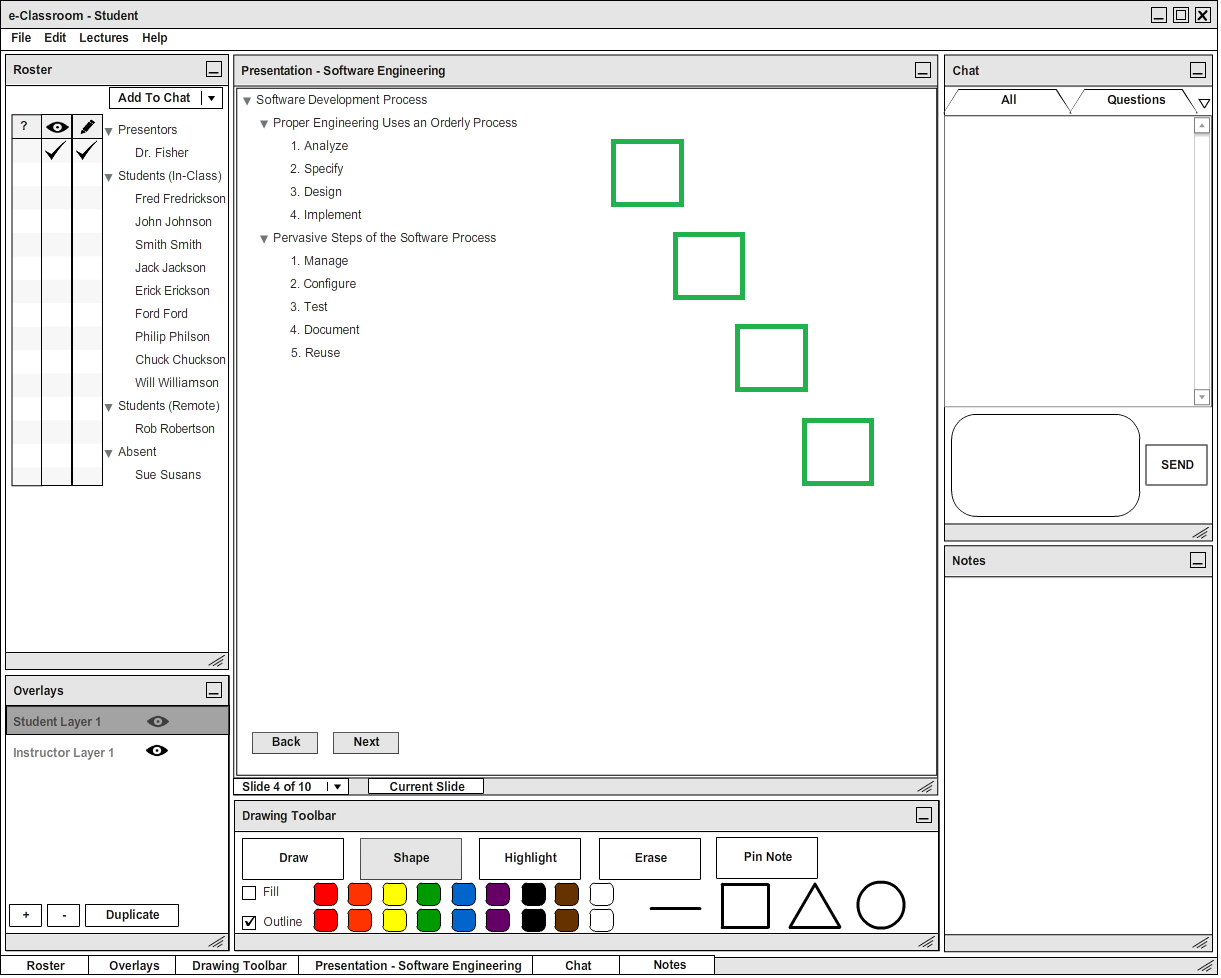
Figure 4: Example of using the shape tool to outline a waterfall diagram.
To create this image, the student selects the Shape Tool and then checks the outline box and unchecks the fill box. He then Selects the color green for the outline and clicks the square icon. To create the shape, the student clicks on the slide where he would like the box to be positioned, and drags the cursor outward until the box reaches the desired size. The student then repeats this process four times to outline the waterfall diagram.
When a student clicks on an existing shape, small black circles will appear on the corners or edges of the shape as shown in Figure 5 below.
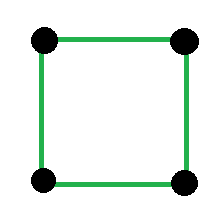
Figure 5: Resizing grips that appear on a shape when it is clicked.
The student may resize a shape by clicking and holding any of the black circles while dragging the cursor. He then releases the cursor to place the shape. If the student tries to extend the shape beyond the borders of a slide, the shape will not proceed any farther than the borders, as shown by the red rectangle in Figure 6 below. A student may move an entire shape by clicking and holding anywhere inside the shape's edges and dragging the cursor to the desired position.
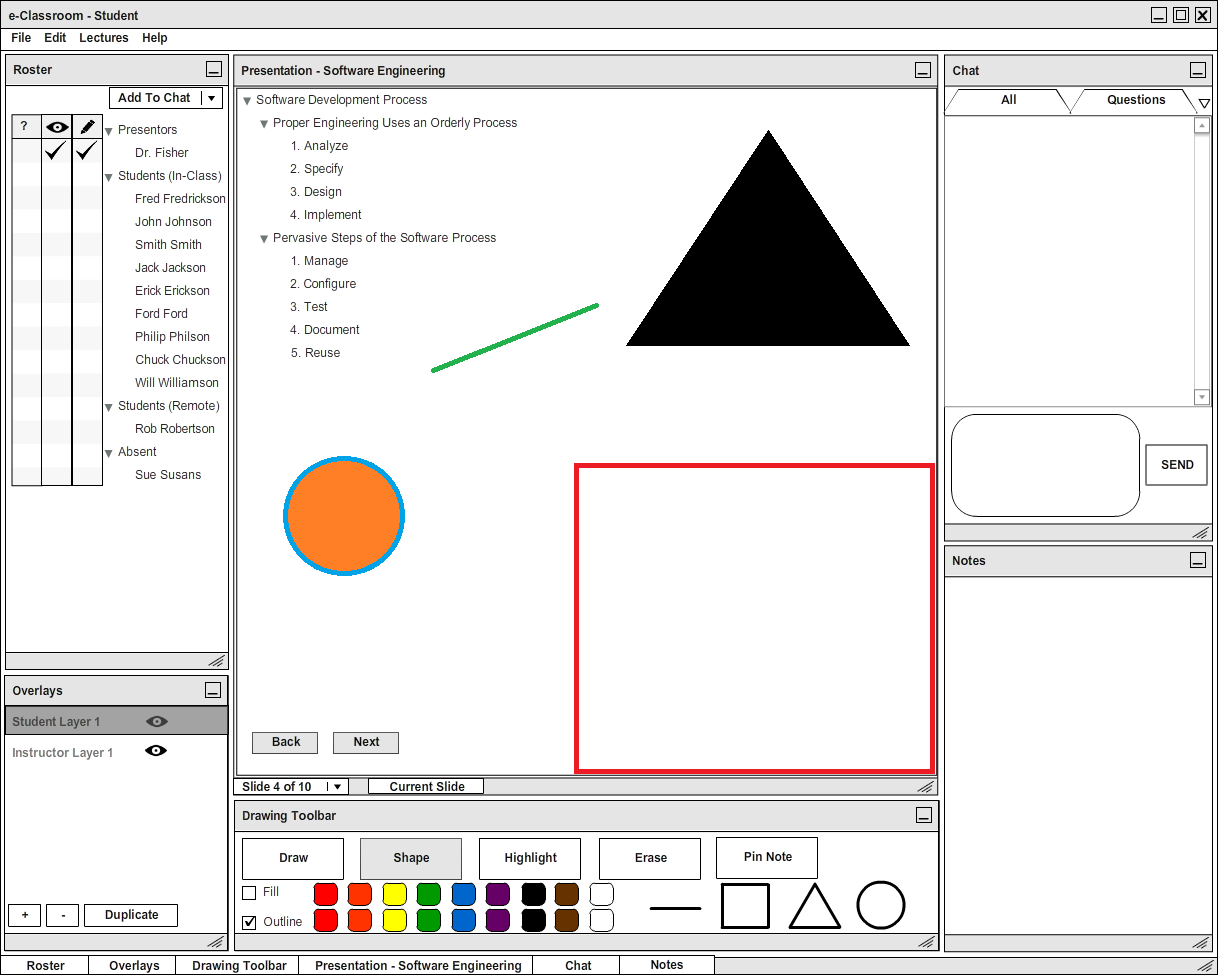
Figure 6: Examples of various shapes that can be created using the Shape Tool.