To create a new presentation "from scratch", the instructor selects the 'File > New' menu item. This opens a new presentation window, with one initial topic, as shown in Figure 2.2.1.1. A presentation document is also immediately available upon opening E-Class.
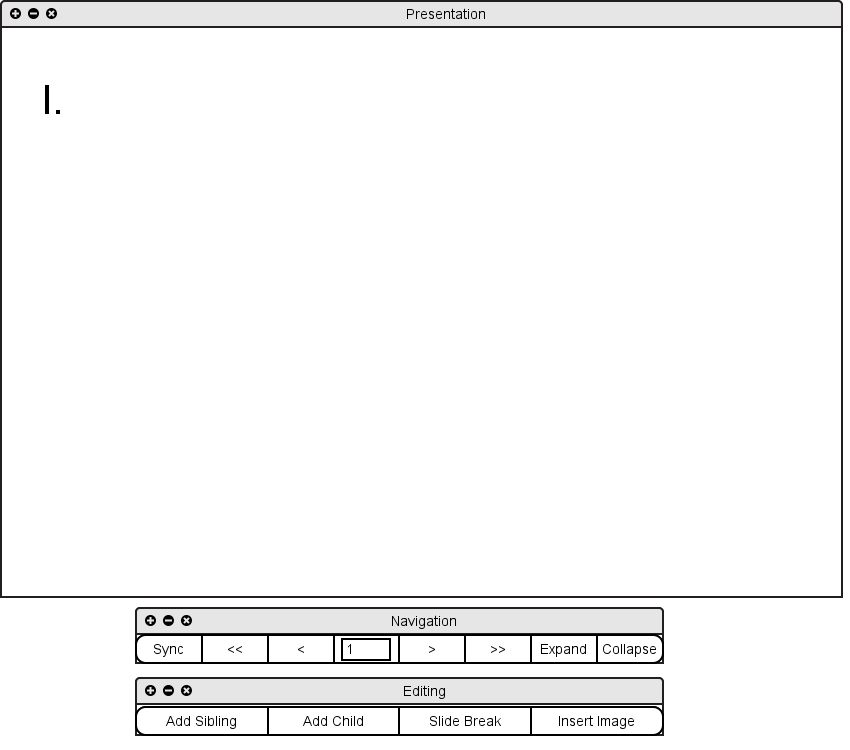
Figure 2.2.1.1: Blank presentation document
An editing toolbar provides four commands: 'Add Sibling', 'Add Child', 'Insert Image', and 'Slide Break'.
The 'Add Sibling' command adds a new topic at the same level as the one currently selected, and selects it for editing. If there is not space on the current slide, a new slide will be inserted containing the new topic, and the window will display this slide. The 'Add Child' command functions similarly, but adds the new topic as the first "child" (nested one level deeper) of the selected topic.
The 'Slide Break' command breaks the content of the current slide across two slides, such that the selected topic is the first topic on the second slide.
The 'Insert Image' command opens a file-selection dialog allowing the instructor to select an image file. The image is added to the presentation below the text of the selected topic; if necessary, the image is scaled down to fit within the width of the slide.
Figure 2.2.1.2 shows the result of the instructor having entered content for the initial topic, then selected 'Add Sibling' and entered content for the second topic.
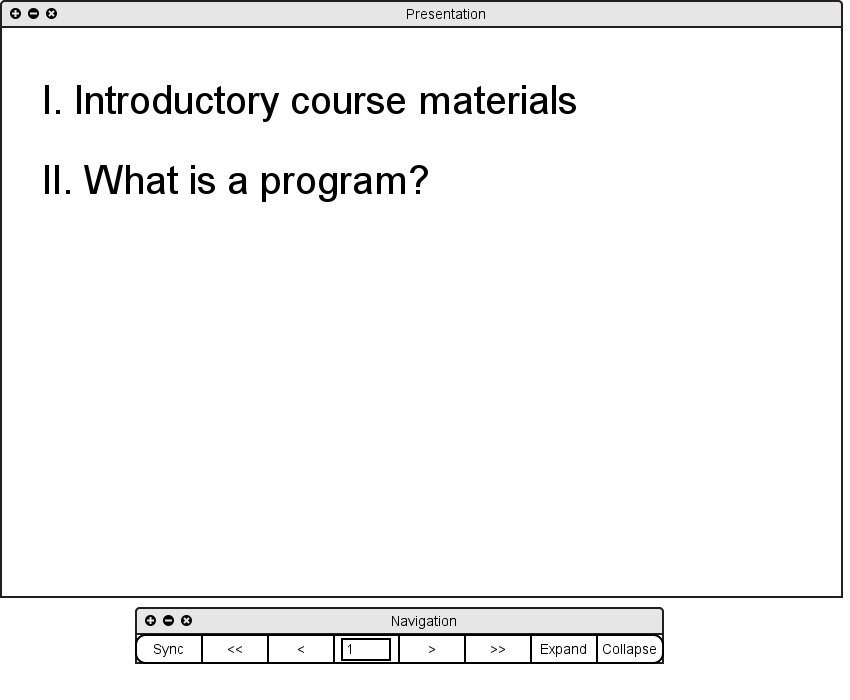
Figure 2.2.1.2: Beginnings of a presentation document
Figure 2.2.1.3 shows the result of the instructor having next selected 'Slide Break'.
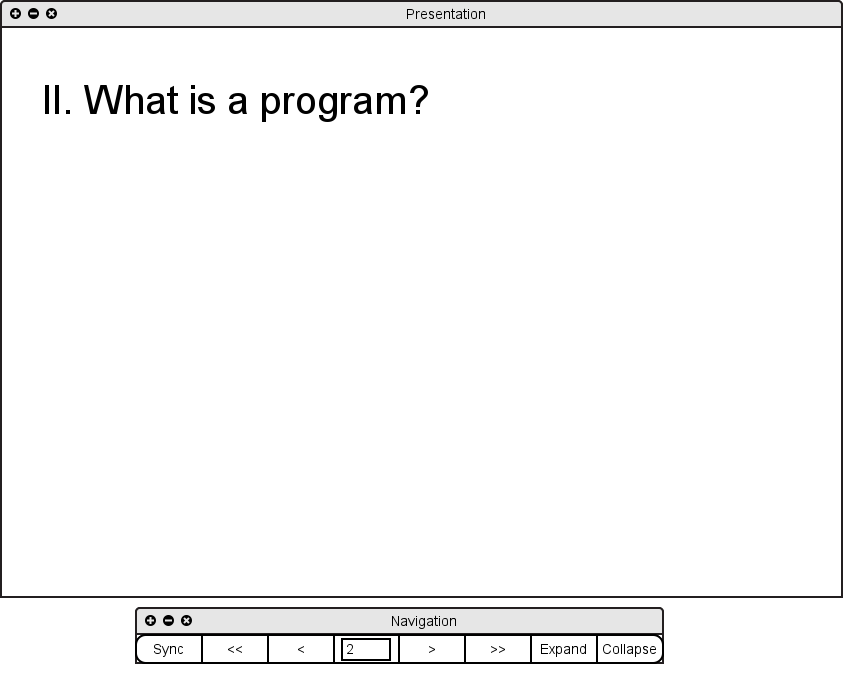
Figure 2.2.1.3: Content broken onto a separate slide
Figure 2.2.1.4 shows the result of the instructor having used the 'Add Child' and 'Add Sibling' commands several times to create a hierarchy of topics on the second slide.
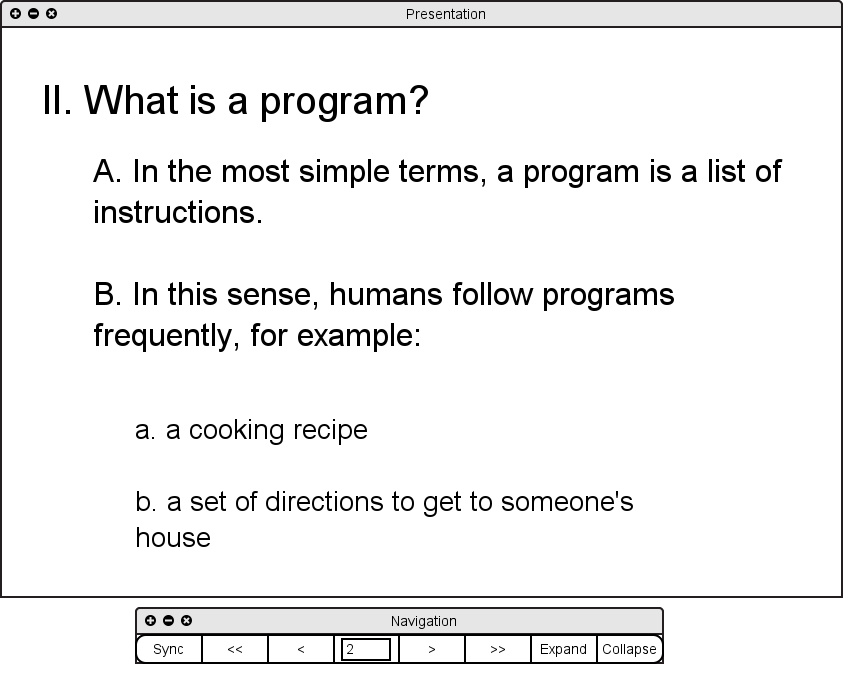
Figure 2.2.1.4: Completed second slide of presentation