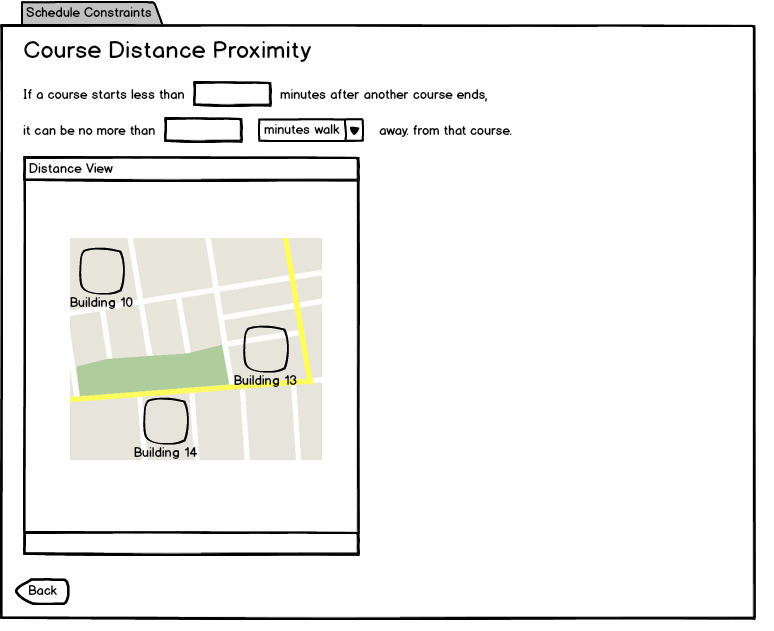
The scenario in this section illustrates the administrative function of adding a course distance constraint. This constraint gives the admin the ability to make sure that, in the situation that a professor is teaching two courses, and one course finishes, then other begins within a certain timeframe after that course finishes, the course that is starting has to be a closer than a certain distance. This ensures that the professor has time to walk between his or her classes.
The user selects Distance Proximity from the Schedule Constraints tab, and the system displays the dialog shown in Figure 1.

Figure 1: Initial distance proximity dialog.
The user enters integers into the minutes and time cutoff fields, as shown in figure 2.
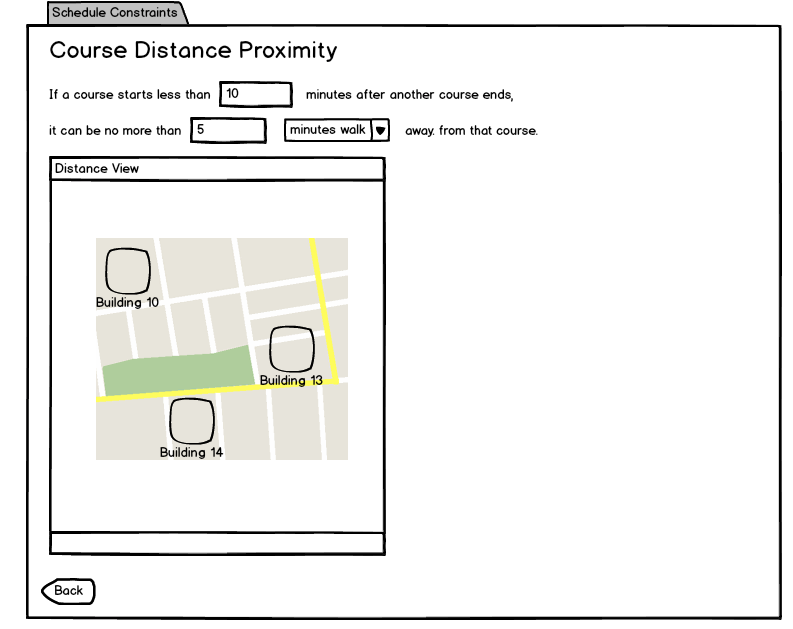
Figure 2: Distance Proximity Data Entry.
The user clicks on the drop-down to select the appropriate distance measurement, as seen in figure 3.
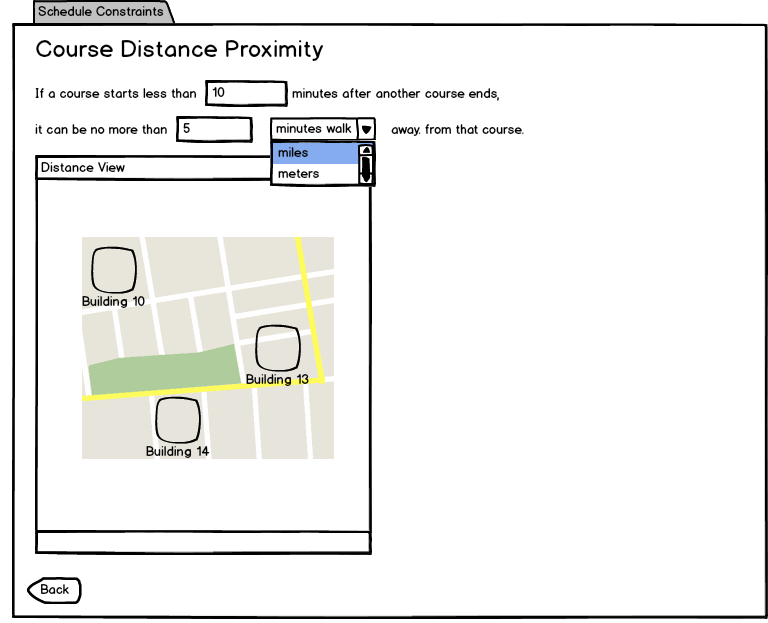
Figure 3: Distance Dropdown.
The user finishes entering distance data, and an arrow appears on the map, as seen in figure 4. The arrow represents the distance the user has entered.
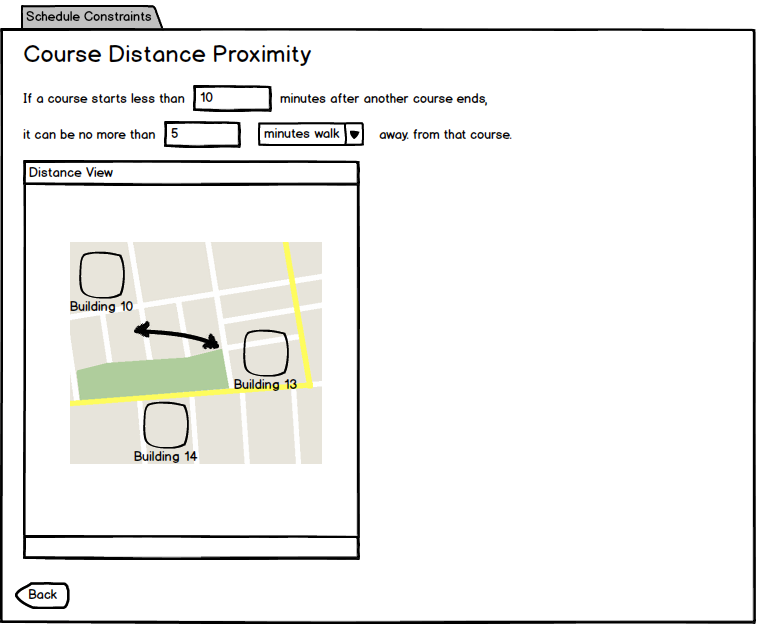
Figure 4: Distance proximity arrow.
The user moves the arrow around on the screen, as seen in figure 5.
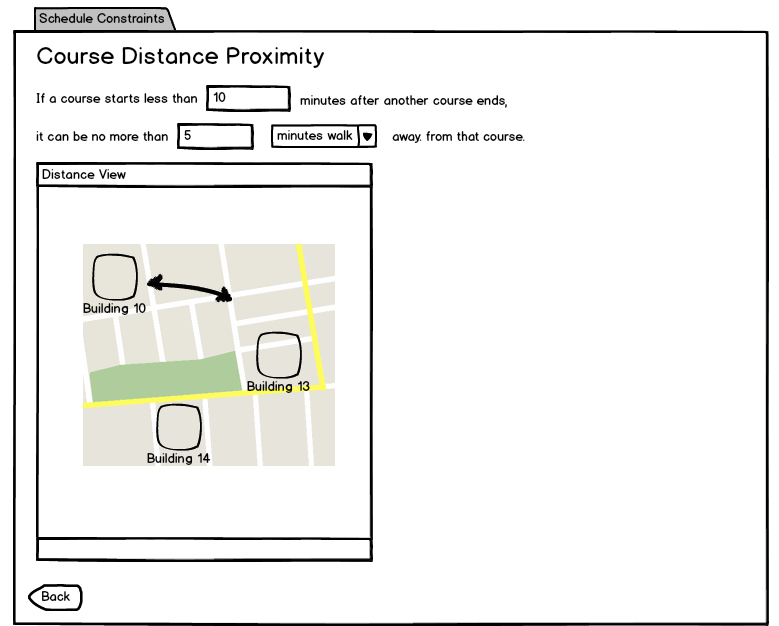
Figure 5: Distance proximity arrow moved.
The user expands the arrow to move from one building to another, and the distance measurement in the text box increases, as seen in figure 6.
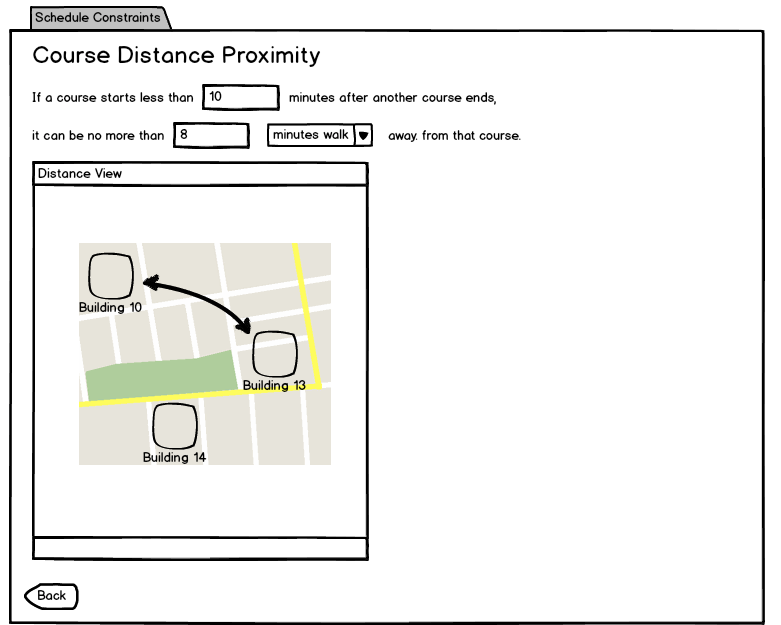
Figure 6: Changing the distance proximity arrow.