This scenario shows the dialogs that the instructor will see when he or she decides to generate an exam.
To generate a test, the instructor selects the Generate Test item in the Test menu, whereupon the system displays the window shown in Figure 2.3.1.
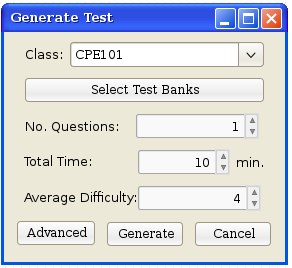
Figure 2.3.1: Simple generate dialog used to generate a short, simple quiz without using the advanced generator.
Here, the instructor can select a class from the drop-down list for which the test will be generated. In addition, the instructor can input the desired number of questions to be included in the exam, the total time the exam should take, and the average difficulty. The instructor should also select the test banks they would like to use to generate the test by clicking the Select Test Banks button, which opens the dialog shown in figure 2.3.2.

Figure 2.3.2: Test bank selection dialog that allows the instructor to select which test banks are to be used for the test generation.
Clicking the Generate button in the Simple Generate Dialog in figure 2.3.1 generates the desired test and displays it to the user, as shown in figure 2.3.3.

Figure 2.3.3: The simple quiz that was generated by using the Simple Generate Dialog in figure 2.3.1.
To generate a test, the instructor can also select the Advanced Generate Test item in the Test menu, whereupon the system displays the advanced generate dialog as shown in Figure 2.3.4.
![]()
Figure 2.3.4: The advanced test editor that allows the instructor to select specific questions for the test.
Here, the instructor may want to select various test banks from which to fetch questions. This can be done using the Select Test Banks button on the upper right corner. Clicking the Select Test Banks button opens the Select Test Banks Dialog in Figure 2.3.2, which allows the user to select multiple testbanks from the list of testbanks available for the current class.
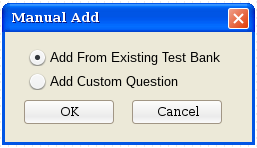
Figure 2.3.5: Manually Add Question Dialog

Figure 2.3.6: Add question from existing test bank dialog
The instructor can select multiple questions from multiple selected test banks (which appear as tabs). The instructor can then add the selected questions to the list of questions in the Advanced Test Generation Dialog using the Add Selected Questions button.
If the instructor wants to add an entirely custom question, which can also then be saved to a test bank, he or she must click the Add Custom Question radio button in the Manually Add Question Dialog in Figure 2.3.5. Selecting this radio button takes the user to the Select Question Type dialog in Figure 2.3.7, which allows the instructor to select a question type for the new custom question.

Figure 2.3.7: Select Question Type Dialog for adding a custom question
After selecting the desired question type from the Select Question Type Dialog, the user is taken to the corresponding Input Custom Question Dialog for the desired question type, as shown in Figures 2.2.3 and 2.2.4 of the Question Bank requirements page.
Finally, after the instructor is ready to generate the test, he or she must press the Generate button, either from the simple generate dialog in Figure 2.3.1 or from the advanced test generate dialog in Figure 2.3.4.
Pressing the generate button will show the newly generated test, as shown in Figure 2.3.3.
If the instructor would like to generate a longer, more difficult test, the instructor can start by using the familiar simple test generate dialog previously depicted in figure 2.3.1, in the configuration shown in figure 2.3.9.
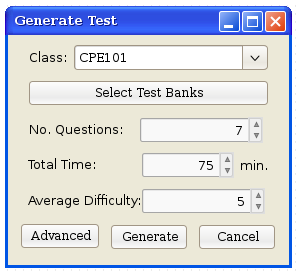
Figure 2.3.9: Simple Test Generation Dialog used to generate more difficult test.
From this screen, the instructor can directly press the Generate button to generate a more difficult test, as shown in figure 2.3.10.
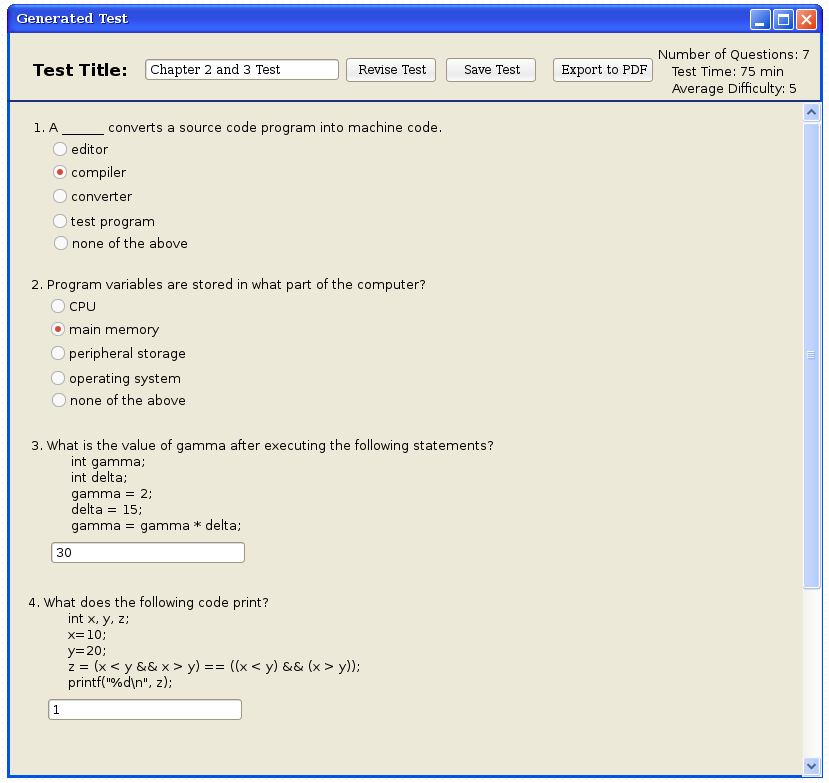
Figure 2.3.10: Viewing a longer, more difficult test.
While viewing a test, the instructor can revise the test by pressing the Revise Test button. This will take the instructor to the advanced test generation dialog as shown in figure 2.3.11, which allows fine-tuning of various aspects of the test. The instructor can also save the test for later use or modification by pressing the Save Test button. If the instructor wants students to take the test without using computers, the test can also be exported as a PDF so that it can be printed by pressing the Export to PDF button.
Pressing the Advanced button in the Simple Generate Dialog as shown in figure 2.3.9 or pressing the Revise Test button while viewing a generated test, as shown in figure 2.1.10, will bring the user to the advanced test generation dialog, which is already loaded with the questions in the generated test, as shown in figure 2.3.11.

Figure 2.3.11: Using the Advanced Test Generation Dialog to edit an already generated test.
From here, the instructor can fine-tune the test that was generated by the simple test generation dialog using the familiar advanced test generation dialog, previously shown in figure 2.3.4. After pressing the generate button, the instructor will be taken to view the generated test, as shown in figure 2.3.10.
This is a graphical user interface that is currently in working progress, and as so it is subject to change.