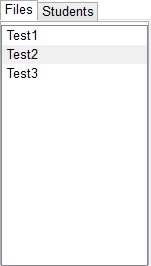
On the left side of the main screen, the user will see the class manager tab in Figure
2.4.1.
Figure 2.4.1: Class manager tab.

Figure 2.4.2: Test deployment window (In-Class)
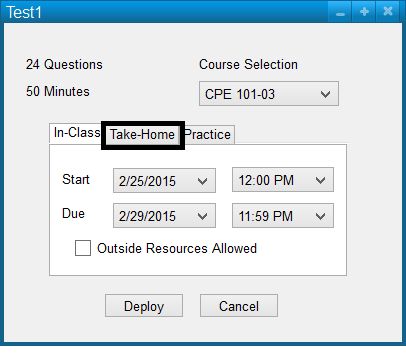
Figure 2.4.3: Test deployment window (Take-Home)
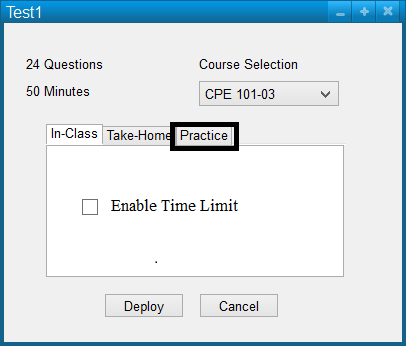
Figure 2.4.4: Test deployment window (Practice)
The test deployment window is what the teacher uses to deploy the tests that he or she
has created. In the top left of the window it displays the number of questions in the
test and the time length of the test. In the top right of the window the teacher selects
what course and section will be required to take it. The middle of the Window is where the
teacher select the type of test to deploy. There are tree different types of tests:
In-Class (Figure 2.4.2), Take-Home (Figure 2.4.3), and
Practice (Figure 2.4.4). In In-Class tests have the teacher select the room
number and the start time. It also allows the teacher to enable/disable the use of
outside resources on the computer. The Take-Home tests allow the teacher to select a start
date and time, and a due date and time. Like In-Class tests, it allows the teacher to
enable/disable outside resources. The Practice test tab allows the teacher to
enable/disable the time limit. Finally, to deploy the test the teacher clicks on the
Deploy button.
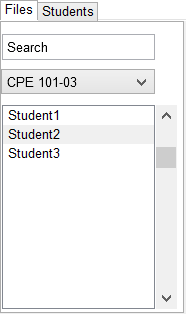
Figure 2.4.5: Student manager tab.
In the search bar at the top the instructor can search through students by name.
If the instructor searches for a student that does not exist they will get an
error message explaining that no such student is in the database. See
Figure 2.12.1 for an example of an error message.
In the selection box under the search bar the instructor can narrow the list of
students by course (i.e. display only the students enrolled in a certain course).
When the instructor clicks on a student's name it brings up the Student Overview
window shown in Figure 2.4.6.
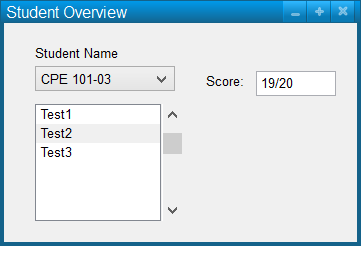
Figure 2.4.6: Student overview window.
The top of the window displays the student's name. Beneath the student's name is the
course selection box. This is in case a student is enrolled in more than one of the
instructor's courses and is used to filter tests by course. Under that is the list
of courses that the student has taken. When the instructor clicks on a test it displays
the score that the student received on the right side of the window.