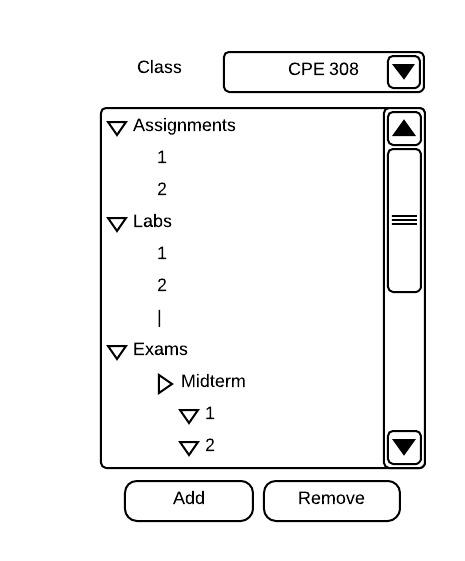
After creating a class, the instructor chooses to create an item. At this point the gradebook looks like Figure 2.2.12. The instructor chooses the 'Manage Item' in the Item menu command from Figure 2.1.2. In response, the system displays a dialog of the form shown in .
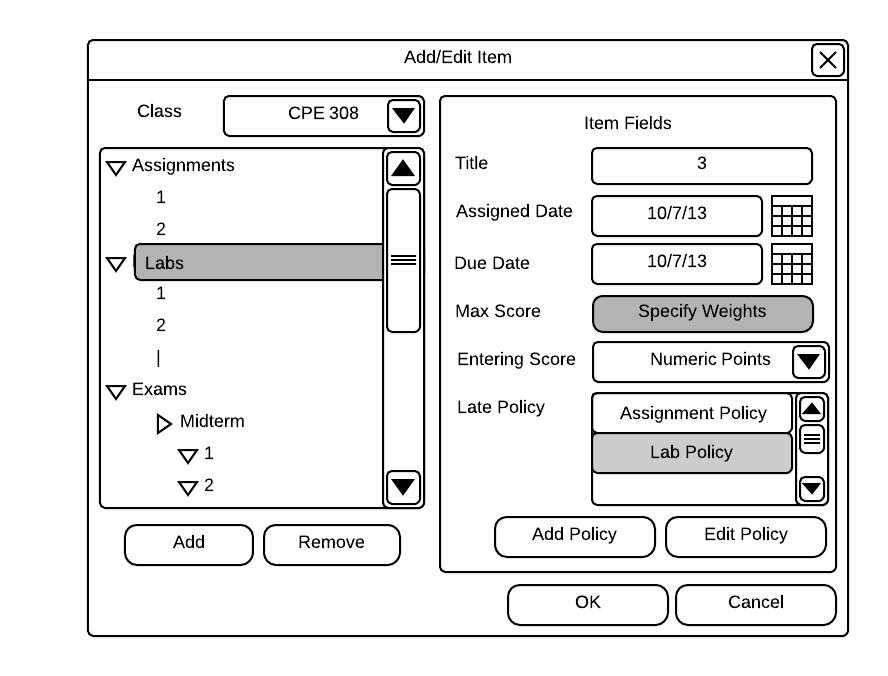
Empty Add/Edit Item Dialog
The class field is a drop-down menu for instructors to select a registered class that needs a new item. See Section 2.2 for the steps on creating a class. Immediately after clicking the desired class, the area located directly under the class drop-down menu is filled with the different roots the instructor wants the sub-item to be a part of (see ). If there is no item to be selected, the instructor has the option to create a new category via the Add button.
Populated Categories
The Add button is a powerful functionality of the gradebook. When an instructor clicks the button without selecting an item, the dialog message shown in pops up asking for a one-line string that specifies the name of the category. However, if an instructor selects a category prior to clicking on the Add button, a leaf is created within the category.
Create Category Dialog
The Remove button in Figure 2.4.1.1 is also a powerful functionality of the gradebook. When an instructor clicks the button after selecting an item, the item is permanently removed from the gradebook after displaying a dialog of the form in . If a parent item is selected and then deleted, all children items are removed as well. The result of a deletion of items affects the total sum of points in the class. In the case where an instructor specified "Fixed and Divided" or "Fixed and Weighted" in the class creation of Section 2.2, the points are reallocated to the parent item. Note: All items have a super parent called "Classwork" which cannot be deleted.
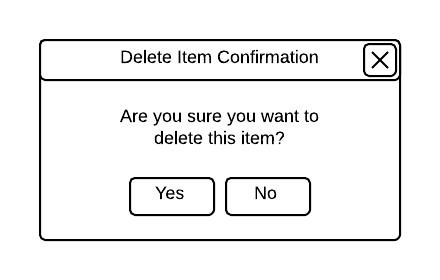
Alert Message Dialog
After selecting a category and then the Add button, the item's fields need to be specified. The text field "Title" is a one-line string that briefly describes the item. The Assigned Date is the date on which the assignment is assigned and the Due Date is the day the assignment is due. For easier use, the instructor may click on the calendar icon to select a day from a popup calender without having to worry about formatting. See .
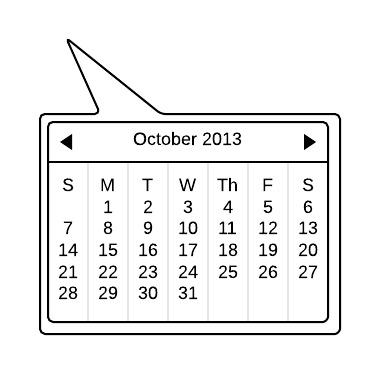
Calendar Popup
The max score is represented with a button named Specify Weights. Clicking this button brings the dialog in .
Empty Specify Weights Dialog
The very first time an instructor clicks the Specify Weights button for a category, it looks like . The first two lines of the dialog has two display fields. The first one tells the instructor the number of points the current item is worth and the second tells the instructor of the total points the parent item is worth. As noted before, every item created in the gradebook has the parent "Coursework" which has a specified number of points in the conditions of "Fixed and Divided" and "Fixed and Weighted" from the class-creation process. In the third case in which the gradebook is "Sum of Coursework", the instructor only specifies the number of points the item is worth (see ).

Populated Add/Edit Item Dialog of Sum of Coursework
The two input fields in the dialog is labeled "Percentage" and "Number". The instructor can specify a percentage of the total points of the parent item or a specific number. In either case, both fields are be populated with values based on the input data of the other input field. The fully populated dialog in shows an input of 10 in the "Percentage" field auto-populated the "Number" field with the integer value 40.

Populated Specify Weights Dialog
The next component of the Add/Edit Dialog is the "Entering Score" drop-down menu, which is fully described in Section 2.4.1.1.
The final component is the Late Policy, which is fully described in Section 2.4.1.2.
After all fields are completed, the resulting dialog is .
Populated Add/Edit Item Dialog of Fixed Coursework
After the user clicks the OK button, the gradebook is reflected with the change as shown in .
Note: The total score is unaffected when adding a new item until at least one grade of the item has been entered.
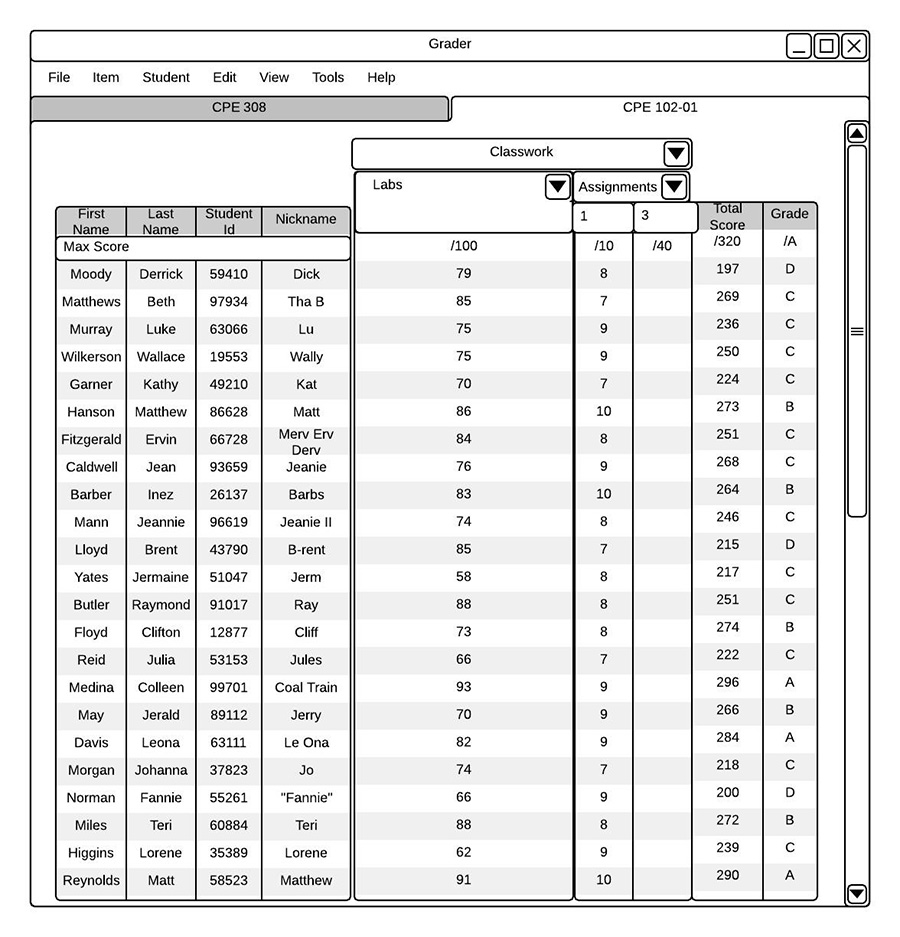
Mainview After an Item is Added
In order to edit an item, instructors select an item in the pre-populated window under the class drop-down menu which auto-populate the "Item Fields" with the appropriate information. From there, instructors are free to edit any of the fields.
Note: Extra credit is an option to the instructor as it is just another item within the gradebook. In order to create an extra credit item, specify the max score as 0 and enter a positive score as the score earned.