
Figure #1 (select a target UserID)
Section 2.7 Remote Access Assistance
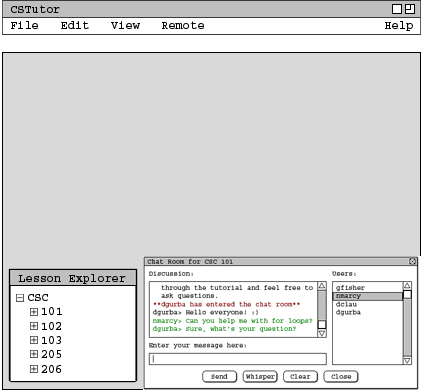
In this scenario, Student (with UserID as "nmarcy") is defined to be the person who needs help and the Helper (with UserID as "dgurba") is the one who wants to help and will take control of the Student's session. When a Student needs help, she/he just asks it publicly in the Chat room who is free or able to help her/him. This Student gives full access to the person who wants to help. The Helper sees and controls the Student's session as if she/he is sitting at the other station. It's assumed that two users are in a network or have internet access, and both are chatting in the Chat room before and during the controlling session.
In the Chat room, Helper(dgurba) sees a message from the Student(nmarcy) who needs help (see Figure 4 in using the Chat room scenario). To begin, the Helper clicks on "Take Control" from the Messaging menu (Messaging-->Take Control). The system responses by displaying a pop up asking which user does she/he wants to take control from, see Figure #1. The Helper selects a UserID from the drop down list, then click "OK" to continue, or "Cancel" to undo this step.

Figure #1 (select a target UserID)
After the Helper clicks "OK", the system responses by displaying a pop up at the Student's screen saying that there is a person (Helper) wants to remotely control this Student's session, see Figure #2.

Figure #2 (control request)
A student can either accept or decline this request.
If the Student clicks on the "Decline" button. The system responses by closing this pop up on the Student's screen and also displaying a message on the Helper's screen confirming that a Student has denied the controlling request, see Figure # 3.
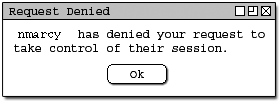
Figure #3 (request denied)
If a Student wants to accept this request, she/he clicks on "Accept" button in Figure #2, the system responses by displaying a message to confirm this action, see Figure #4.
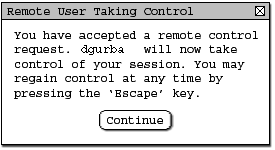
Figure #4 (controlled accepted)
The system also responses by displaying a message on the Helper's screen confirming that the Student has accepted the request for control his/her session, see Figure #5.
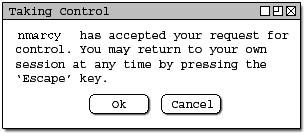
Figure #5 (control accepted confirmation)
Now, The Helper clicks on "OK" in Figure #5 to start taking control of Student's session or clicks on "Cancel" to not taking control of Student's session and both users return back to work normally. This Helper clicks "OK", The system responses by displaying a Student's session side-by-side with the Helper's session on Helper's screen. See Figure #6.
In Figure #6, There are two windows on the Helper's screen. Figure #6A is the Helper's session and Figure #6B is the Student's session. It's assumed that the Helper is currently in the Chat room and viewing his/her record at the same time, and the Student in the Chat room at the moment. From now on, the Student and the Helper both are controlling the Student's session. Whenever a Helper does any action on the Student's window, the system responses by showing the same action in the window at the Student's terminal.
Figure #6A (Helper's session)
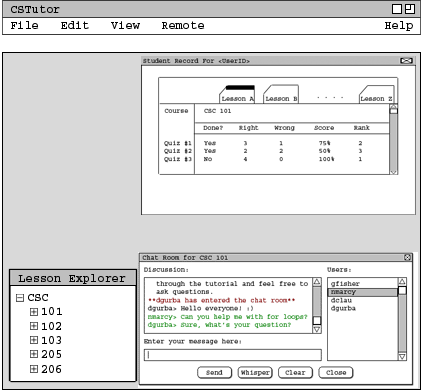
Figure # 6B (Student session)
The Helper or Student can end the controlling session at any time by press "Esc" key on their keyboard, the system responses by displaying a confirm message on both user's screen, see Figure #7. The Helper now no longer can control the Student's session and the Student's session window is disappeared on the Helper's terminal (Figure 6B is no longer there on Helper's screen).

Figure #7 (controlling session ended)
This concludes the scenario of using the remote access assistance feature.
Prev: using a chat room | Next: FAQ Board | Up: functional | Top: index