2.1 User Interface Overview
Upon starting CSTutor, the user sees the following command menu (Figure 210-1):

Figure 210-1
From the command menu the user selects from the following options:
Figure 210-2 shows the File menu.
Connect: Brings up authentication window as seen in Section 2.7.1 which is required for students to populate Explorer with course listings and view Lesson content.
Post: Available to instructor only. Allows instructor to post updated Lesson content to server. If instructor is not connected to server, an authentication dialog, seen in Section 2.7.1, pops up.
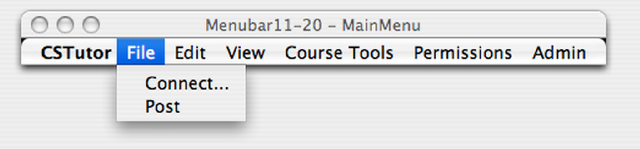
Figure 210-2
Figure 210-3 shows the Edit menu.
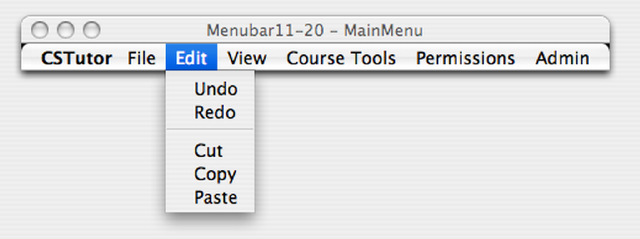
Figure 210-3
Figure 210-4 shows the View > Statistics menu.
My Grades: Shows assessment statistics for the Student.
Progress Report: Shows assessment statistics for the Instructor
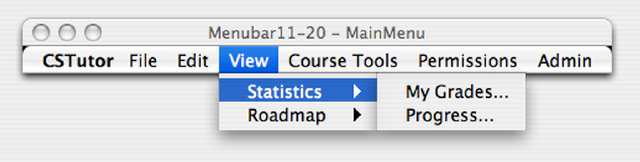
Figure 210-4
Figure 210-5 shows the View > Roadmap command menu.
Show Roadmap: Makes the roadmap window visible if it's not currently visible.
Show Page Titles:Toggles the titles on/off below the thumbnail images .
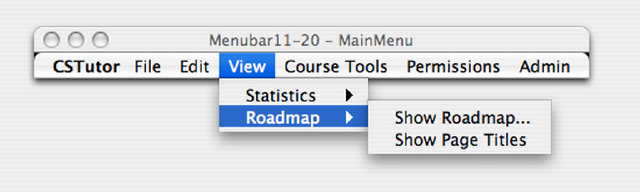
Figure 210-5
Figure 210-6 shows the Course Tools menu. This menu allows instructors to add content to their courses.
Open Lesson Manager: Allows user to manage Lessons (see Section 2.4.2).
New Lesson:Opens up a window to allow instructor to add a new Lesson to their course (see Section 2.4.2).
Modify Lesson: Opens a window to allow details of Lesson to be modified, such as adding content and rearranging content (see Section 2.4.2).
New Quiz: Opens up a window to allow instructor to create a new Quiz (see Section 2.4.3).
Modify Quiz: Opens up a window to allow instructor to modify a Quiz that they have already created (see Section 2.4.3).
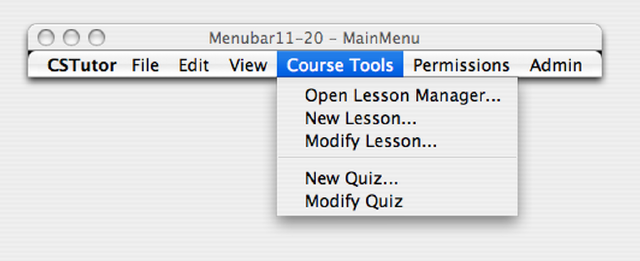
Figure 210-6
Figure 210-7 shows the Permissions menu.
Add Unit Permissions: Allows instructors to add Permissions to their course.
Edit Unit Permissions: Allows instructors to edit Permissions set on their course.
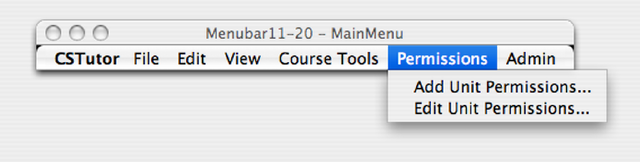
Figure 210-7
Figure 210-8 shows the Admin menu. This will only be available to Administrators of CSTutor.
New Course: Allows Admin to add new Course to CSTutor.
Manage Courses: Allows Admin to manage which courses are seen in the Course Explorer and maintain course rosters.
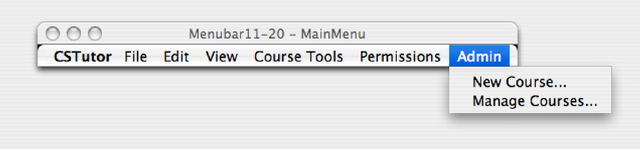
Figure 210-8
To view Lesson content, a user will first have to authenticate to a server, by selecting File > Connect (see Figure 210-1). Once a user authenticates, the Course Explorer window opens, showing the two top-level categories for organizing courses. Under My Courses the currently logged in user sees all CS classes they are currently enrolled in. Under All Classes the currently logged in user can view all CS courses offered. Courses that the currently logged in user doesn't have access to will not appear in the Course Explorer. Figure 210-11 shows one example of how the course Explorer appears to a student enrolled in CPE101 and CPE102. If a user is not part of any classes nothing will appear under My Courses until that user has been added to the course roster. Under My Courses and All Courses, courses are organized by Course Title then by Course Instructor then by Lessons.
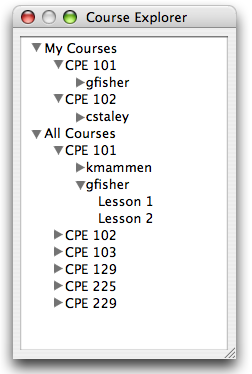
Figure 210-11
Underneath the Course Instructors will be all the Lessons available for the course. A Lesson can be thought of as a folder in the sense that it holds the following content (listed below). Figure 210-11 shows an expansion of the Course Explorer for both My Courses and All Courses.
- Page: Contains information on a particular topic (i.e. Writing your First Java Program or Understanding Loops). Pages can also contain embedded Quizzes. A Page can also contain Code Blocks, which are interactive snippets of code that can be loaded into the interactive compiler.
- Quiz: Provides an assessment for particular subject material. Quizzes have the ability to suggest reading or areas that students should focus on.
From the Course Explorer the user can now select which Lesson they want to view by clicking on the Lesson which will open the Roadmap for the user to navigate. For information about the Roadmap see Section 2.2.