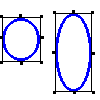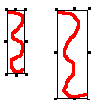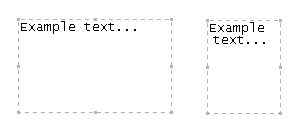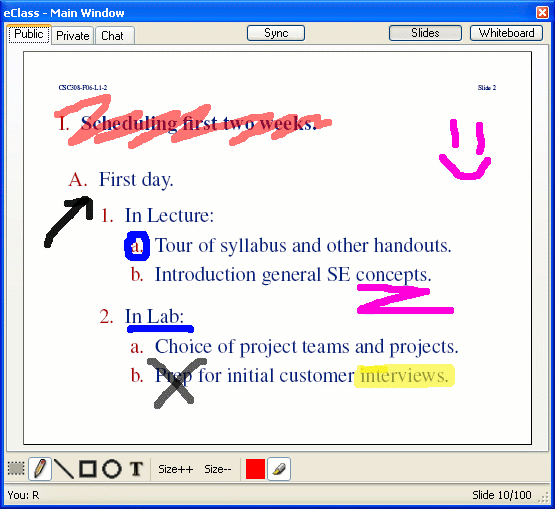
Figure 2.6.1: Drawing pane with example drawings.
To draw on a slide, the user chooses a tool, a thickness, and a color from the Drawing panel, shown in Figure 2.6.1 along with an edited slide. The drawing window has drawing tools, buttons to adjust thickness, a color chooser button, and a highlighter button.
The available tools are edit, pencil, line, rectangle, ellipse, and text. The size slider adjusts line thickness and font size. The available colors are in a palette, reachable by clicking on the color button. Color choices are limited for simplicity and to ensure visibility. The highlighter button sets whether the colors drawn are see-through.

All drawing is done in the Main Window, discussed in detail in Section 2.5. When the user clicks and drags the mouse in the Main Window, a drawing is created with the current color and thickness. The drawing's shape is determined by the selected tool.
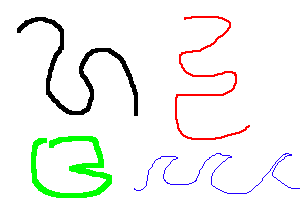
To draw something freehand, the user selects the pencil tool. Drawings created by the pencil tool consist of a list of lines representing mouse movements between when the user pressed and release the mouse. Figure 2.6.2 shows examples of pencil drawings.
To draw a straight line, the user selects the line tool. Drawings created by the line tool consist of one line, beginning where the mouse was pressed and ending where the mouse was released. While the user clicks and drags the mouse, a preview is shown of how the line will look if the user releases the mouse then. Figure 2.6.3 shows examples of line drawings.

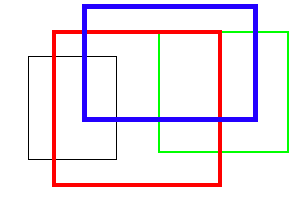
To draw an axis aligned rectangle, the user selects the rectangle tool. Drawings created by the rectangle tool consist of a rectangle defined by the diagonal between the point where the mouse was pressed and where the mouse was released. Figure 2.6.4 shows examples of rectangle drawings.
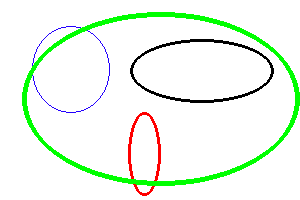
To draw an ellipse, the user selects the ellipse tool. Drawings created by the ellipse tool consist of an ellipse contained by a rectangle as defined above. Figure 2.6.5 shows examples of ellipse drawings.
To draw text on the screen, the user selects the text tool. Drawings created by the text tool consist of a text box (a rectangle as defined above) and a string for user entered text. Once the user has created the text box by releasing the mouse, a cursor is placed at the upper left of the text box. The user may now edit the text inside the box as if it were a normal text field. When the user is finished, they click outside the text box or select another tool. Figure 2.6.6 shows examples of text drawings.

To edit existing drawings, the user selects the edit tool. The user can then select one or more drawings to edit. The user can either click and drag a selection rectangle around the drawings to be edited, or he can select drawings individually by clicking on them. Holding the shift key during either method adds the newly selected drawings to the current selection. When a drawing is selected, control points appear, showing which drawings are selected and allowing those drawings' dimensions to be changed.
Once drawings have been selected, the user can change their properties. The user can change the drawings' color by selecting a new color from the palette. The user can change the drawings' thickness/font size by adjusing the size slider. The user can change whether the drawings are "highlighter" (translucent) by toggling the highlighter button. The user can change the drawings' dimensions by dragging their control points. In the case of text, the text box's dimensions are changed and the text is reorganized to fit inside this new box. The user may also delete all selected drawings by pressing either the backspace or delete key.
Figure 2.6.7 shows an example of a selected drawing having its dimensions changed.
