2.3.2 Expanding and Collapsing
The lecture outline is displayed as a tree of expandable and collapsible topics. Instructors and students use the outline preview sidebar to expand and collapse the outline. The instructor uses the outline preview sidebar to show and hide outline elements from the public view. The instructor can show and hide individual outline elements or select an outline depth. The system generates slide breaks such that it fits as much information as possible on each slide given the screen resolution, and desired font size of the outline. The instructor can modify these slide breaks so that the content of a given slide may be greater or less than the system would have chosen. In the case that the content overflows the size of a slide, the system adds a scrollbar to the side of that slide.
2.3.2.1. Expanding and Collapsing a Branch of the Outline
To expand a branch of the outline, a user clicks the plus sign next to a branch. In response, the system displays all of the outline elements that are children of the expanded branch. Elements that are children of the expanded branch show up as "hidden" and appear in grey, as shown in figure 2.3.2.2. The contents of a hidden outline element appear only in the private view of an instructor's slide viewer. The system also changes the plus sign next to the expanded branch to a minus sign, as seen in Figure 2.3.2.2. Outline elements are hidden by default.
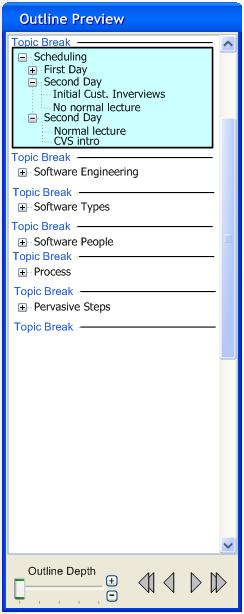
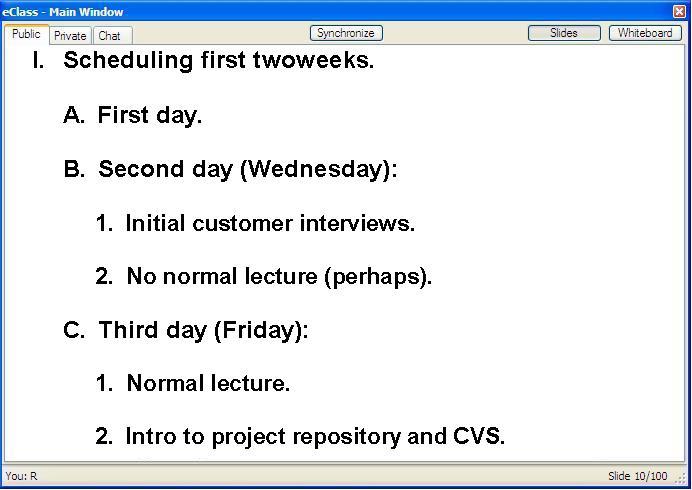
Figure 2.3.2.1: Before Expansion
|
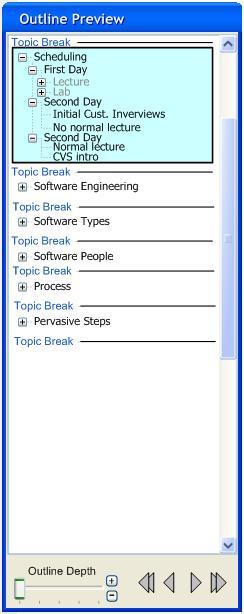
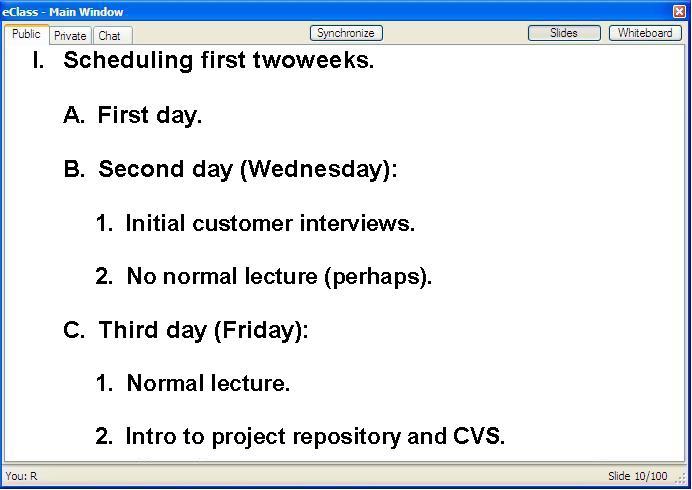
Figure 2.3.2.2: After Expansion
|
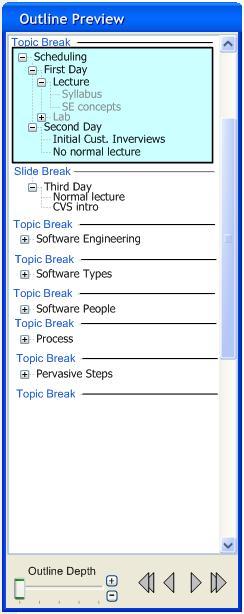
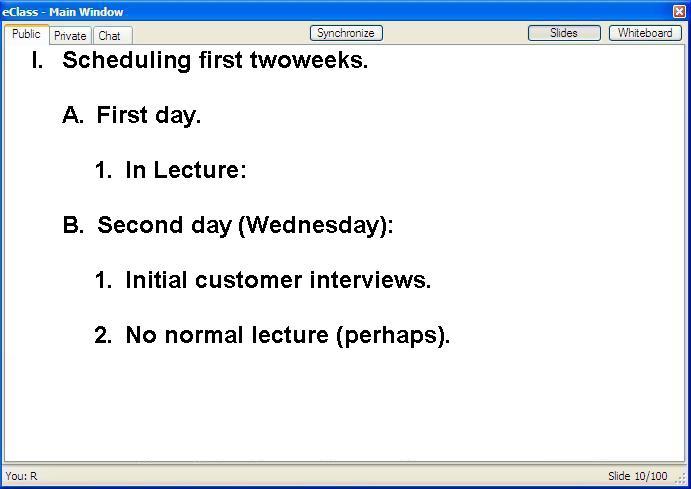
Figure 2.3.2.3: After showing a child element
|
To collapse a branch of the outline, an instructor clicks the minus sign next to the branch he wants to collapse. In response, the system hides all of the outline elements that are below the outline depth of the expanded branch and changes the minus sign to a plus sign. The system then regenerates the slidebreaks. The positions of the slide breaks that come after the closed branch are recalculated. Figure 2.3.2.5 illustrates the changes in the system after an element is collapsed. In this case, element "Second Day" does not get moved to the first slide since its children and the children of "First Day" cannot fit on the same slide. In Figure 2.3.2.6, the child elements of "Second Day" as well as "Third Day" can all fit on the same slide since the children of "First Day" are hidden.
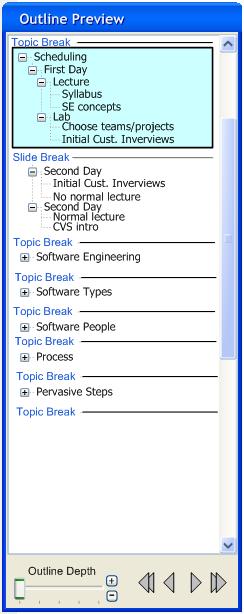
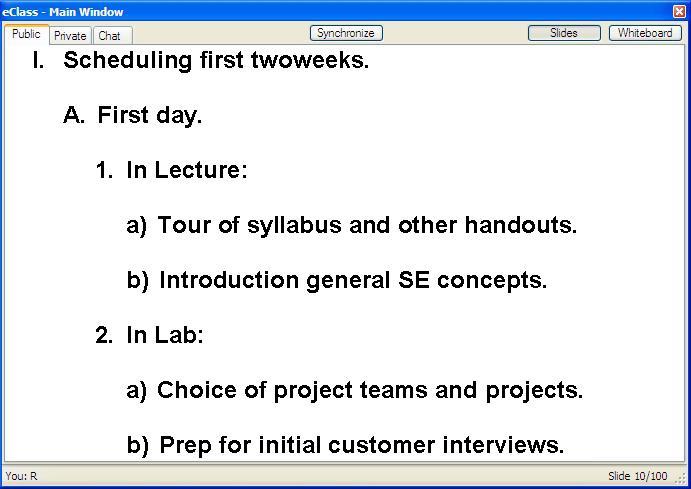
Figure 2.3.2.4: Expand
|
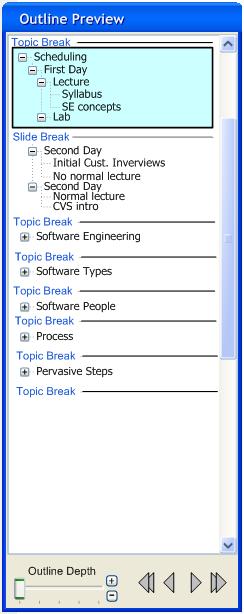
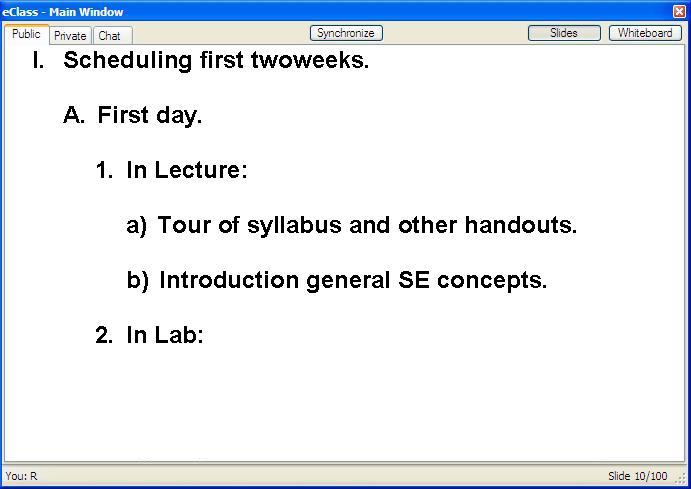
Figure 2.3.2.5: Collapsed without change in slide breaks
|
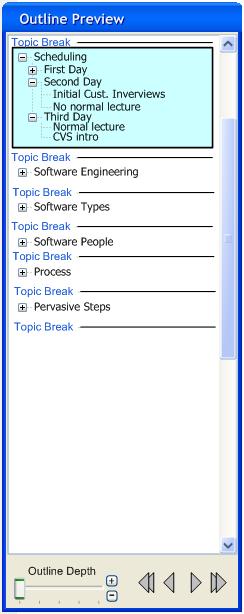

Figure 2.3.2.6: Collapsed with change in slide breaks
|
2.3.2.2. Showing and Hiding outline elements
To display an outline element, an instructor clicks on a grey outline element. In response, the system changes the color of the outline element from grey to black, as seen in Figure 2.3.2.3., and makes it display in the public view of the slide viewer window. The system also expands the outline element. The system regenerates the slide breaks to account for the change in visible lecture items.
To hide an outline element, an instructor clicks on a black outline element. In response, the system changes the color of the outline element from black to grey and removes it from the display in the public view of the slide viewer window. The system also collapses the hidden outline element and sets all of the outline elements below the hidden element to "hidden". The change in the interface appears in the transition from Figure 2.3.2.3 to Figure 2.3.2.2. The system then regenerates the slide breaks to account for the change in visible lecture items.
2.3.2.3. Changing Outline Depth
To quickly change the outline depth to a different level of outline depth, an instructor clicks and drags the outline depth slider. Upon release of the slider, the system opens all outline elements down to that depth and hides all the elements below that depth. The system expands the branches at the selected outline depth to show their contents. The system disables so that they are not shown in the public view. The system generates the slide breaks and selects the slide that contained either the last outline element clicked by an instructor to be shown or, if no element has been clicked, the root element of the previously selected slide. Figure 2.3.2.7 in comparison with Figure 2.3.2.8 shows the changes to the system after the slider was dragged.
To show the next deepest outline depth, an instructor clicks on the plus sign on the slider control. In response, the system sets the outline depth slider to the next deepest outline depth and acts as though the instructor released the slider.
To hide the deepest outline depth, an instructor clicks on the minus sign on the slider control. In response, the system sets the outline depth slider to the next highest outline depth and acts as though the instructor released the slider.
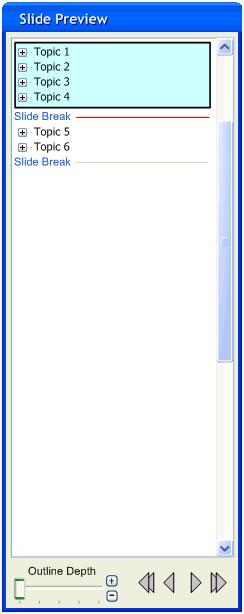
Figure 2.3.2.7: Old Selection
|
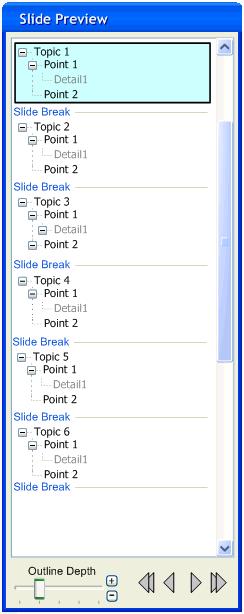
Figure 2.3.2.8: New Selection
|
Prev: basic-navigation
| Next: slidebreak
| Up: presenting-lecture
| Top: index