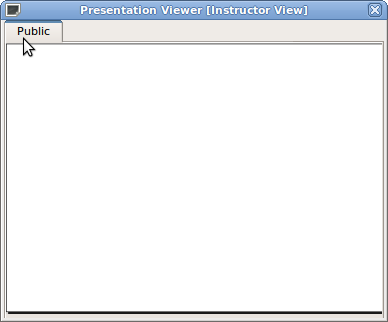
At first, a user will be presented with a blank slide. It is in this that new slide material will be inserted.
 |
| Figure 1: Blank Slide |
A user may insert elements by going to the insert menu and clicking "View XML" or clicking any of the options therein. A more comprehensive explanation of the ways to insert elements into slides is shown in 2.2.3 Summary.
The following shows an example of a completed slide using a heading, images, and line breaks, as outlined in 2.2.3.
![Presentation Viewer [Instructor's View]](images/pvinstructor.png) |
![Presentation Viewer [Student's View]](images/pvstudent.png) |
|||||||||||||||||||||||||||||||||||||||||||||||||||||||||||||||||||||||||||||||||||||||||||||||||
| Figure 2: Presentation Viewer from Instructor's Point of View | Figure 3: Presentation Viewer from Student's Point of View | |||||||||||||||||||||||||||||||||||||||||||||||||||||||||||||||||||||||||||||||||||||||||||||||||
|
The presentation viewer displays the current slide selected from the Slide Navigator. It is displayed by default upon logging in. 2.2.1 Using the Insert MenuTo create a lecture, the user begins by inserting a slide from the Insert menu. Once done, the new slide will show in the Slide Navigator and in the presentation viewer. To view the XHTML Editor, which shows the underlying XHTML code for the slide, the user selects the "XHTML Editor" option from the Edit menu.
The user then includes images by using the Images item in the Insert menu.
The user then inserts a video via the Video item in the Insert menu.
The user then adds an audio clip with the Audio item through the Insert menu. As this is an audio clip, showing images of this effect is not useful.
2.2.2 Importing a Lecture from an External SourceA slide show may also already exist from an external file. From the File menu, the instructor adds slide shows from an external file with the Import item, the file being one formatted with a compatible XHTML markup. To view the XHTML Editor, which shows the underlying XHTML code for the slide, the user selects the "XHTML Editor" option from the Edit menu.
When the user imports a slide show in this way, an XHTML view shows up to preview and edit the raw XHTML markup for the slide. This offers the user complete design capabilities for the slides. 2.2.3 Summary of Lecture FormatThe XHTML format alluded to in section 2.2.2 is an extension of the HTML format. One who is familiar with HTML can easily create slide shows from a text editor and have them imported that way. To view the XHTML Editor, which shows the underlying XHTML code for the slide, the user selects the "XHTML Editor" option from the Edit menu. There are new tags available in this implementation of XHTML, such as the <slide> tag, which denotes the beginning of a slide in the same way that <html> denotes an html page. The supported tags in this implementation of XHTML are as follows:
Unless otherwise noted, these tags are used and behave in the same way as they would in a normal web browser. |
||||||||||||||||||||||||||||||||||||||||||||||||||||||||||||||||||||||||||||||||||||||||||||||||||