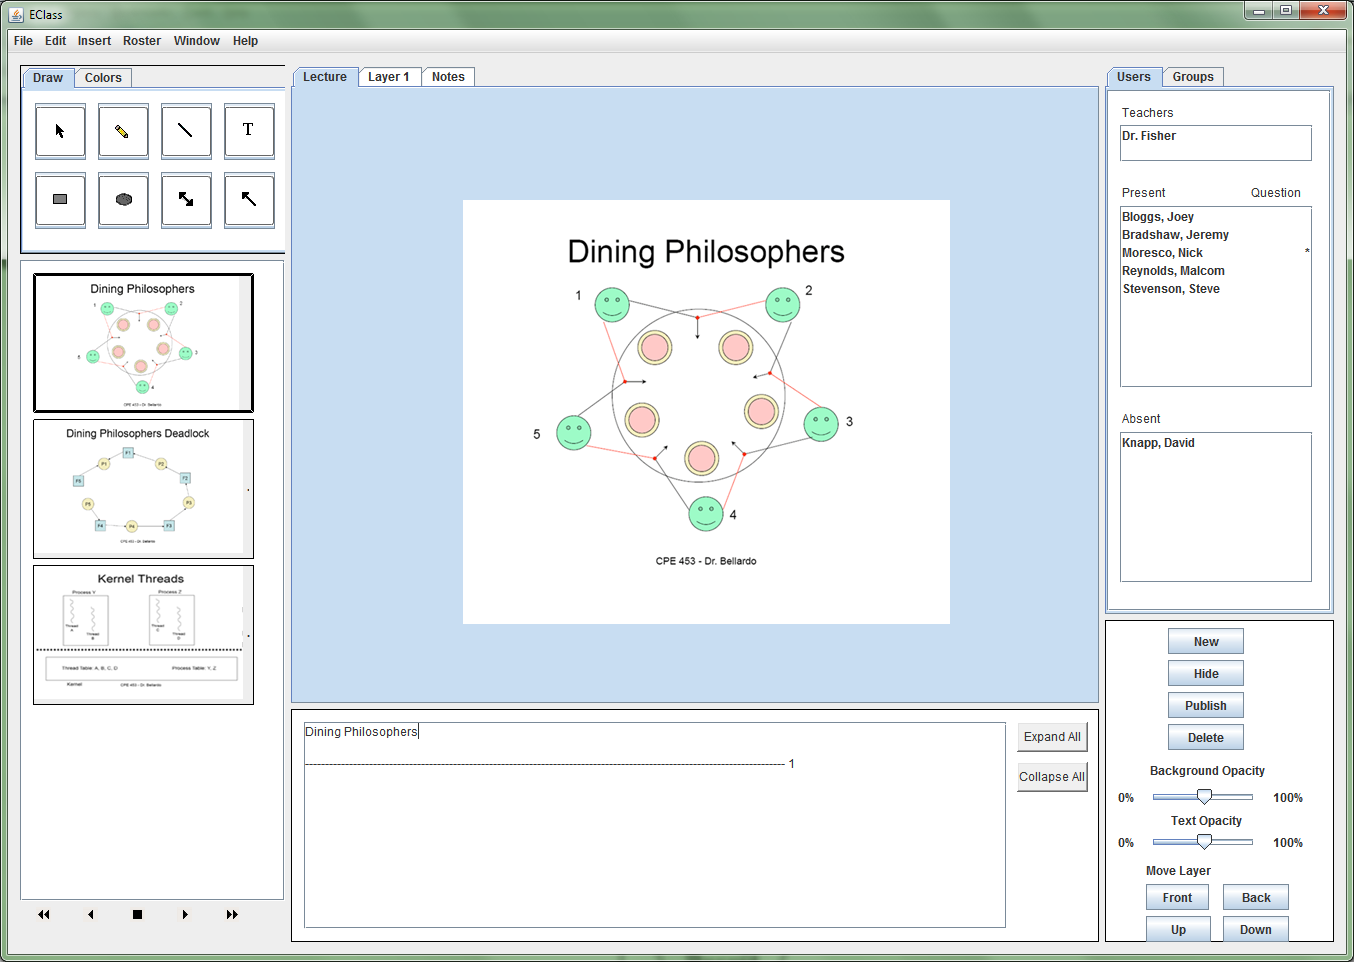
This section discusses the features available to the teacher while presenting a lecture. The two main gui components to presenting a lecture are the Presentation Viewer and the Slide Navigator. See A and F on Section 2.1.1, UI Ovierview.)
The slide navigator toolbar on the left side gives the teacher the ability to change the currenty active slide. The presentation viewer displays the current active slide. It is interactable, allowing the teacher to expand and collapse individual sections.
Once a teacher builds a lecture (see Section 2.2 on building lectures.) or opens a previously built lecture by chosing file->open, eclass displays the lecture on the screen and the teacher can begin presenting. Figure 2.3.0 shows what a typical lecture might look like.

Figure 2.3.0: A typical lecture with three slides.
|
The Slide Navigation Window displays small thumbnail images representing all the slides in order in the current presentation. Navigation buttons are also available to go
to the next, previous, first, or last slide. |
||
 |
 |
|
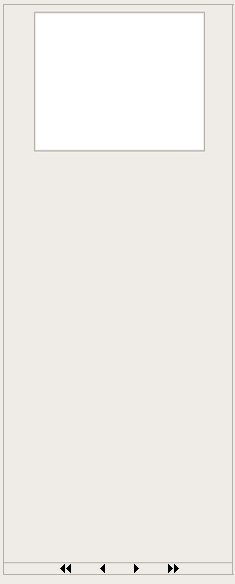
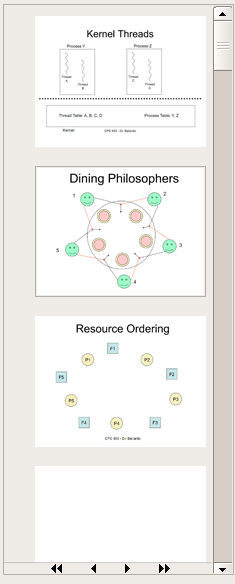
| Figure 2.3.1: Slides window with only one (empty) slide | Figure 2.3.2: Slides window with many slides | |
|
Ordinarily, a lecture will have many slides when a teacher is presenting. When the teacher adds more slides then can fit on the slide navigator at one time, a scroll bar appears to allow the teacher to scroll to the desired slide.
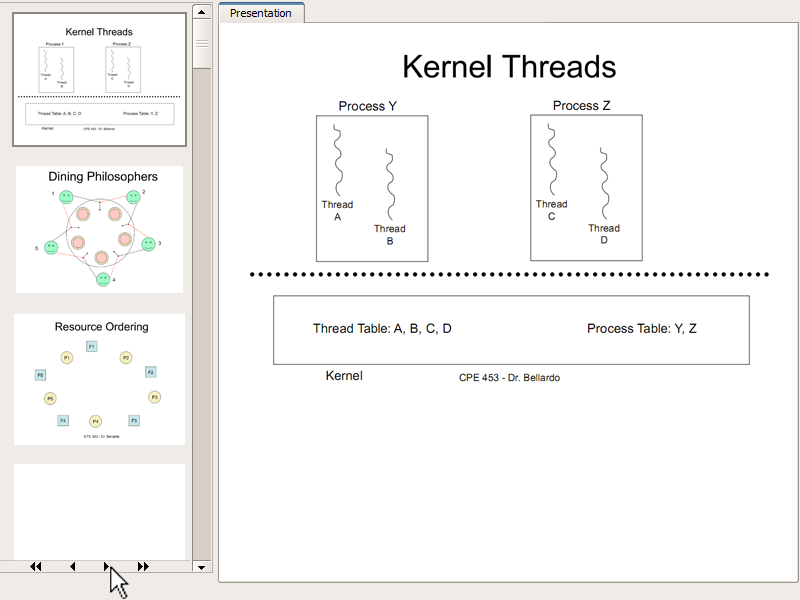
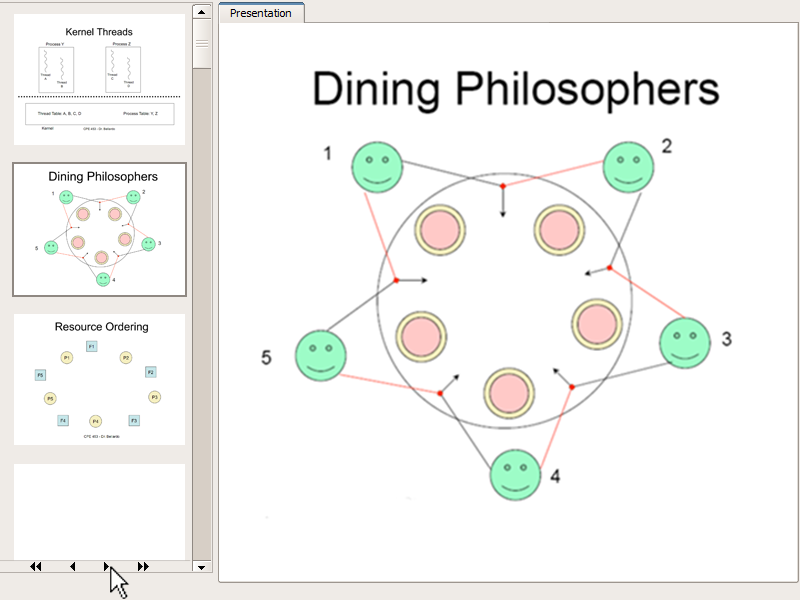
The currently active slide's thumbnail is outlined with a thicker line, indicating that slide is selected. When the user wants to advance the active slide, he or she clicks on the right-facing single arrow buttons and the program moves forward one slide. Simlarly, to decrement the slide, he or she clicks the left-facing arrow button and the program moves back one slide. Figure 2.3.3 and 2.3.4 show before and after screens for advancing to the next slide. | ||
 |
 |
|
| Figure 2.3.3: Click the "next slide" button... | Figure 2.3.4: And the slide advances. | |
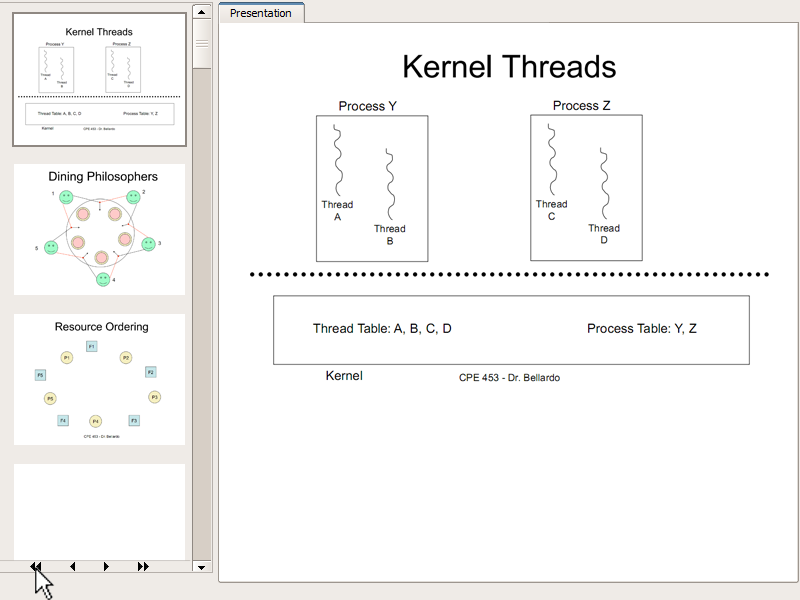
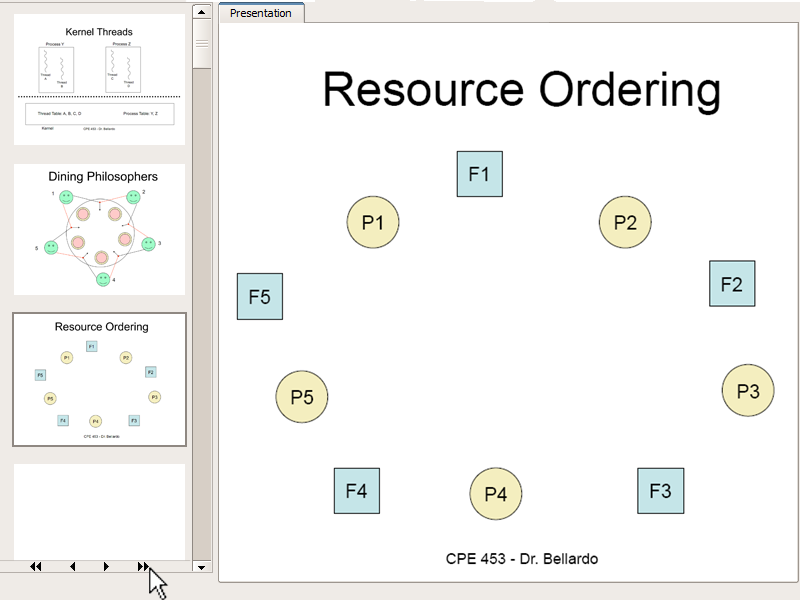
When the user clicks once on one of the double arrow buttons, the slide navigator changes the active slide to the first/last slide as shown in figures 2.3.5 and 2.3.6.
 |
 |
|
| Figure 2.3.5: Clicking the "first slide" button at any point returns to the first slide. | Figure 2.3.6: Similarly, clicking the "last slide" button at any time moves to the last slide. |
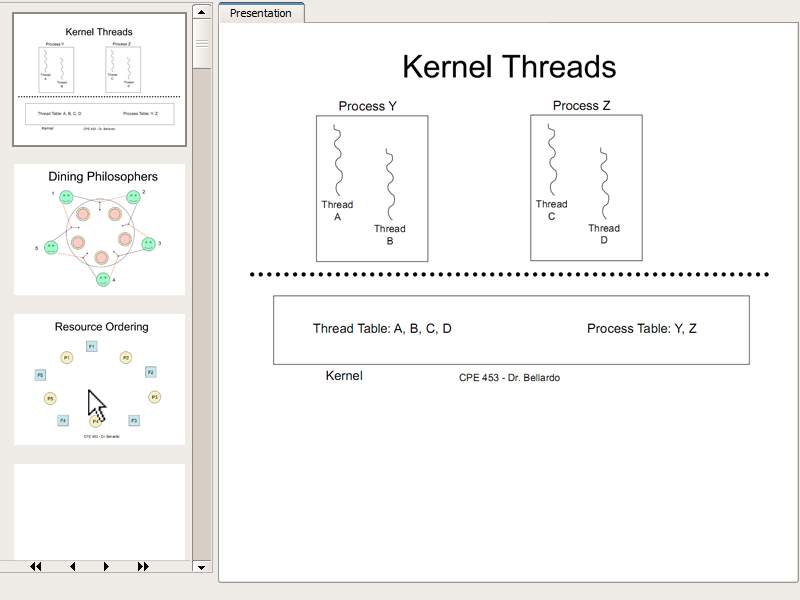
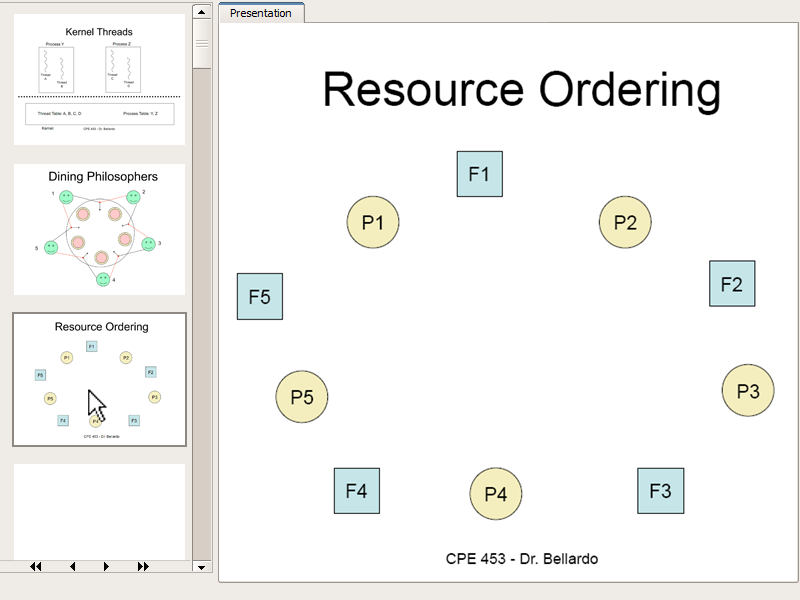
The teacher can also directly select an invidiual slide by left clicking on its thumbnail. That slide will then become the newly selected slide as shown in figures 2.3.7 and 2.3.8.
 |
 |
|
| Figure 2.3.7: Click on a slide thumbnail... | Figure 2.3.8: And intantly move to that slide. |
The presentation viewer is the main window in the eclass project. It displays the currently selected slide and any visible layers. (See Section 2.5.2 for layers info.) When there is more content on a slide then can fit in a single
screen, the presentation viewer becomes scrollable, enabling the user to add as much content as they desire to one slide.
The user may at any point expand or collapse elements of the slide show from the presentation viewer, making more room on the slide.
When the teacher double clicks on any headers on a slide(as defined by the header tag in the xhtml, see Seciton 2.2.3 for details), all the elements between that header and the next will collapse into the selected header.
The next header on the slide will move up to fill in the new space. Figures 2.3.9 and 2.3.10 show an example of collapsing the "Kernel Threads" header.
| Figure 2.3.9: Double click the "Kernel Threads" header... | Figure 2.3.10: And the topic collapses, moving up the "User Threads" header. |