Figure 2.2.1.1: The TinyMCE toolbar that would be integrated with the Lecture Editor to allow various WYSIWYG-related features.
Lectures can be added to the application in two ways. The user can either import a lecture by uploading a combination of an HTML file and/or images, or he can create a lecture from scratch by clicking the "Create New" button from the Lecture Manager screen. In both scenarios, the user modifies properties of the lecture with the Lecture Editor, a tool that allows modification, creation, and deletion of slides as well as the modification of general properties - title, description, and date. This editor offers two different interfaces that can be toggled with tabs:
The functionality of the Lecture Editor follows the functionality of TinyMCE, an existing WYSIWYG HTML editor available at tinymce.moxiecode.com except for a few added features discussed in this section. TinyMCE allows modification of colors, fonts, sizes, insertion of tables and other HTML elements. This vast list of capabilities that come standard with most WYSIWYG editors is what The Lecture Editor borrows from TinyMCE. One important borrowed capability is the transition from Design View to Code View and the required operation to render the HTML as a browser would.
Design View provides an intuitive GUI for inserting and nesting topics, differentiating slides, inserting images, modifying colors and sizes, and inserting general HTML elements on a large canvas. The specifics of the functionality are defined by TinyMCE.
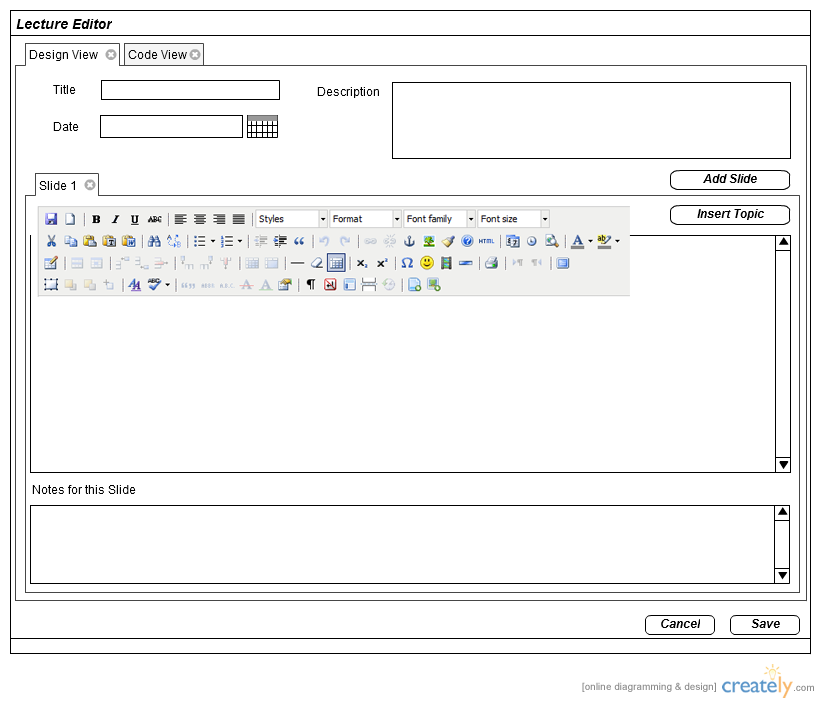
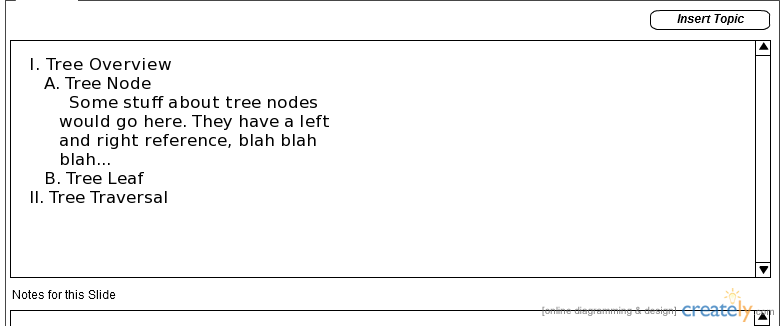
The fields at the top - title, date, and description are strings. The date, however, has a specific format and a visual selector that produces a string in this format. Beneath these general fields, there is a tabbed interface representing the slides themselves. Each slide is a tab, and tabs may be added with the "Add Slide" button. Slides may be removed by clicking the "X" on its corresponding tab. Below the slide tabs, there is a large canvas, which is the pixel-for-pixel view of how the slide will appear during runtime. In other words, the underlying HTML is converted from its textual form to its visual form and shown in this canvas.
At the bottom, there is an input for the notes for the current slide. This is simply a string that will be associated with the slide for personal reference by the user.
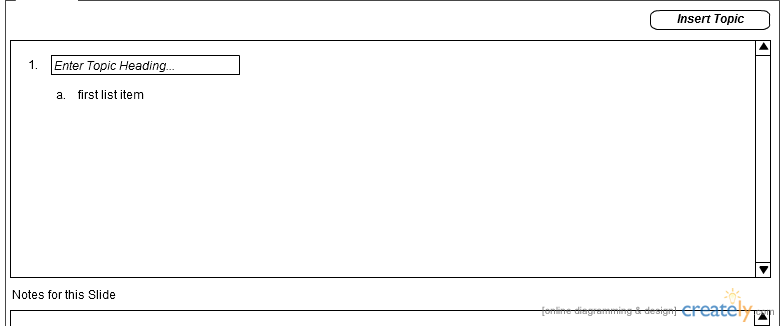
The toolbar above the canvas contains many more buttons defined by TinyMCE, but one button of interest is the "Insert Topic" button, which injects a new topic at the location of the cursor in the canvas and provides an editable textbox to specify the text of the topic. With each inserted topic, a subtopic appears one level below to start the next level of content. The user has the choice of converting this regular, textual subtopic into a new nested tree of topics or simply leaving it as static content.
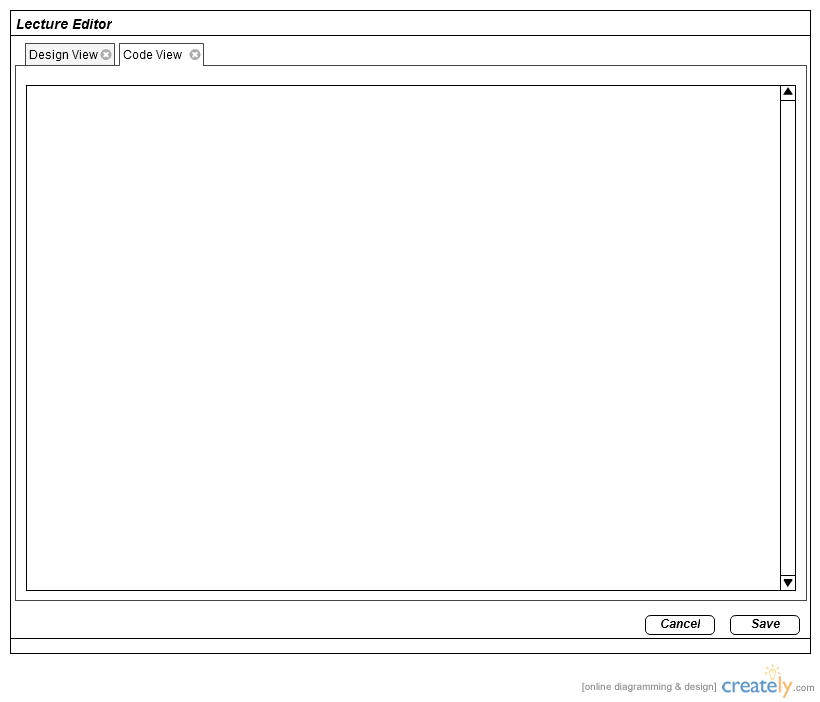
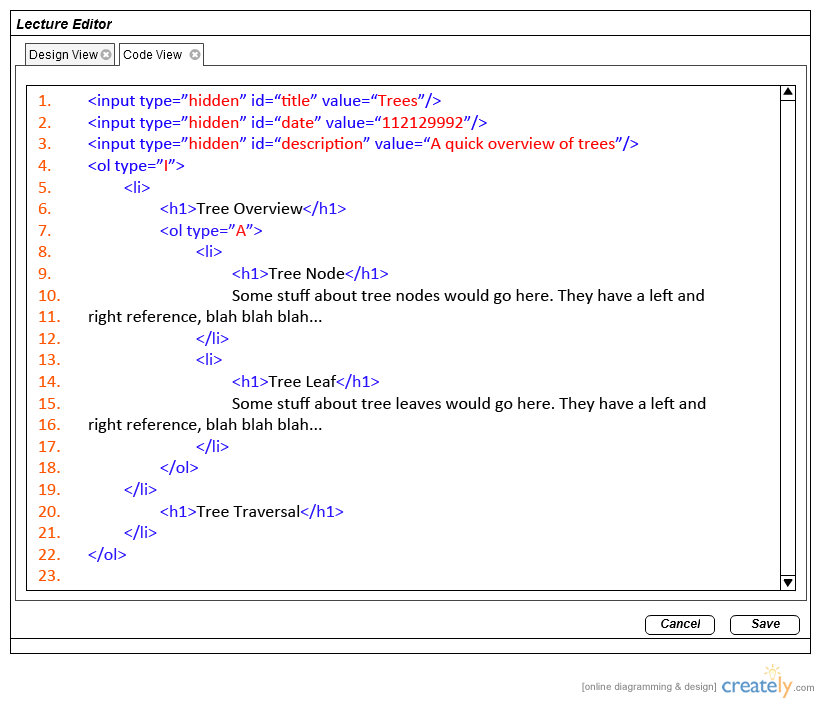
A subset of the Lecture Editor, Code View, offers the user more customizability and power to represent the slides exactly as desired. In Code View, the user edits the HTML of the slides file directly with no aid from the interface. This feature allows modification of CSS styles - colors, sizes, lists, and other elements not possible using only the visual editor. Again, the entirety of the functionality is defined by TinyMCE, which allows syntax highlighting and line numbering.