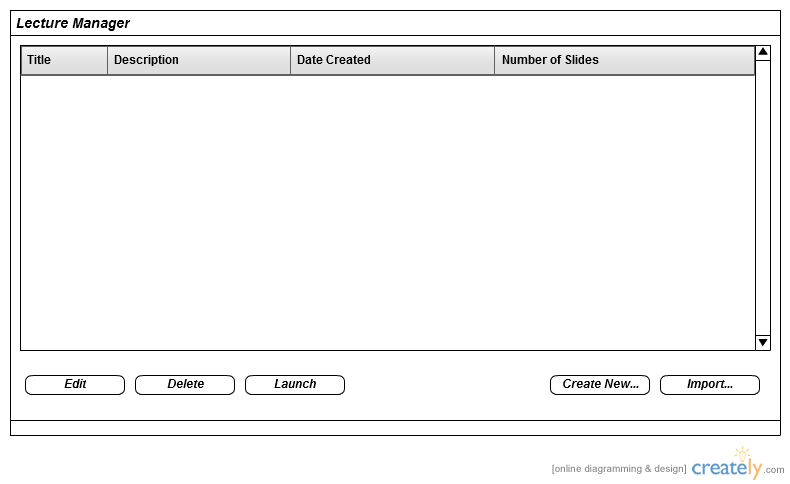
Figure 2.2.1: The screen upon opening the lecture management tool. This user has not created any lectures yet.
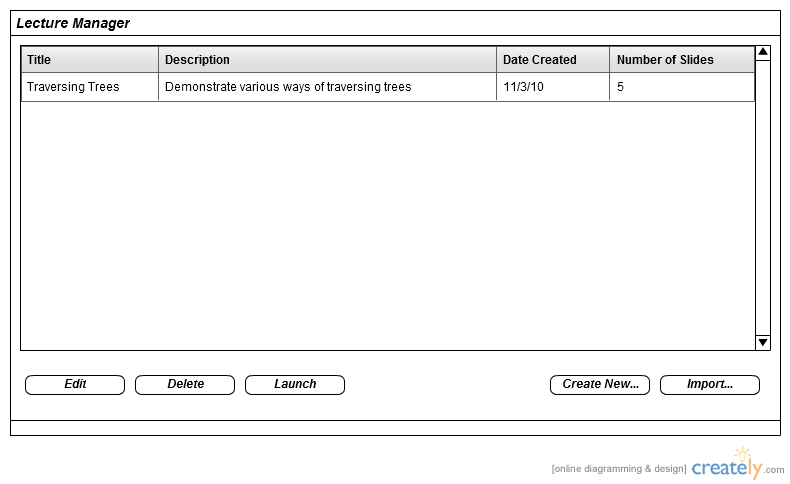
The user prepares and manages lectures using a built-in tool in the application. Upon opening this tool, a list of the user's lectures populates a portion of the screen. These lectures are derived from a directory on the user's computer. The user may then select a certain lecture and perform various operations on it. In addition, the user may opt to create a new lecture from scratch or import a pre-made lecture from their computer. The pre-made lecture can either be a directory of images, defined in 2.2.2.1, where each image is designated as a single slide, or a folder containing images and an HTML page referencing those images, defined in 2.2.2.2. In both lecture formats, the output of the import operation is the same - a specially-formatted HTML file and its referenced images, defined in 2.2.3.
When the user clicks the "Create New" button, the Lecture Editor, defined in 2.2.1, is opened, which allows input of properties specific to the new lecture and a slide editor tool to create and edit the individual slides. When the user is satisfied with the lecture, they click the "Save" button, which closes the Lecture Editor and returns to the Lecture Manager. The new lecture and its properties are generated into a HTML file and stored in a specific directory located on the user's computer. Upon the user's return to the Lecture Manager, the new lecture will be appended to the list of lectures. Similarly, when the user imports a lecture, defined in 2.2.2, the newly imported lecture will appear in the list of lectures and can then be edited, deleted, or launched in the same manner as a lecture created within the application.
The "Delete" button removes the selected lecture(s) from the directory of lectures as well as the immediate list of lectures on the Lecture Manager screen. The user may delete multiple lectures by holding CTRL or SHIFT while clicking items in the list. The "Edit" button opens the selected lecture in the Lecture Editor tool, defined in 2.2.1, to allow modification of its properties. Upon returning to the Lecture Manager screen after modifying a lecture, the affected lecture's properties are refreshed to show the changes. Lastly, the "Launch" button commences the lecture in an actual eClass, defined in 2.3.