Figure 2.7.2.1.1: Roster Menu
Figure 2.7.2.1.1 shows the roster menu.
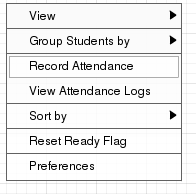
Figure 2.7.2.1.1: Roster Menu
To take attendance, the instructor clicks the Roster menu, and then clicks the "Record Attendance" option, as shown in figure 2.7.2.1.1. The contents of the roster will be saved to the attendance logs.
Figure 2.7.2.1.2 shows the roster menu.
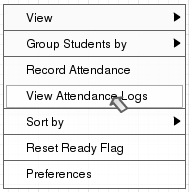
Figure 2.7.2.1.2: Roster Menu
To view the attendance logs, the instructor clicks the Roster menu, and then clicks the "View Attendance Logs" option, launching the View Attendance Logs window.
Figure 2.7.2.1.3 shows the View Attendance Logs window.
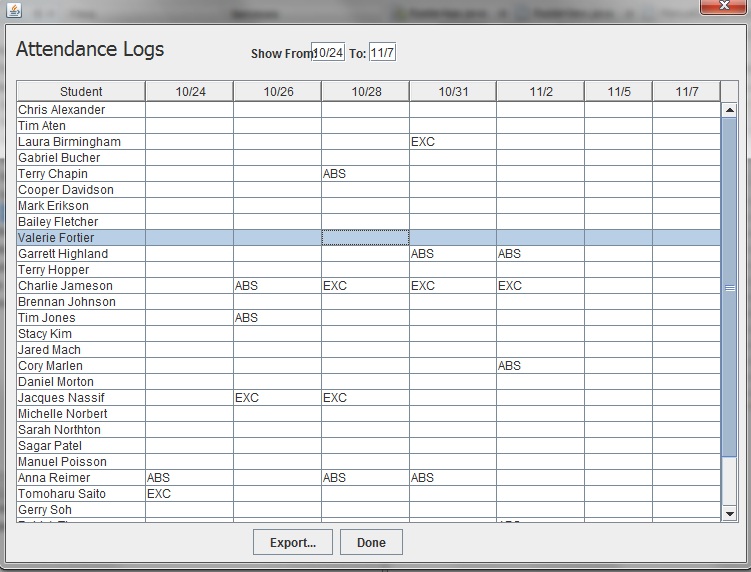
Figure 2.7.2.1.3: View Attendance Logs window
The view attendance logs window, shown in figure 2.7.2.1.3, shows the students along the leftmost column. All other columns are specific dates
when attendance was taken. If the cell is blank, that means the student was present at the time attendance was taken. If it has 'ABS', that means the
student was absent from class with no explanation. If 'EXC' is there, then the student was absent with some sort of approval from the instructor. 'EXC's
have to be added by the instructor by hand. If a student was absent, but had given the instructor a note the day previous announcing their absence, for example, the
instructor could, from this window, right click on the 'ABS' and choose to turn it into an 'EXC' instead.
Above the spreadsheet shown in the window, there are two text fields in which dates can be entered. These fields control what date through what date is
shown in the attendance log. Below the spreadsheet are two buttons: 'Export' and 'Done'. The 'Export' button opens a file save dialog through which
the user can save the attendance log to various formats such as CSV, Excel, etc. The 'Done' button closes the window, and any changes made to the attendance log
will be saved.