

| Requirements | Specification | Prototype | Design | Implementation | Testing | Administration | Documentation |
 |
 |
||||||||
|
|
Figure 6 |
|
|
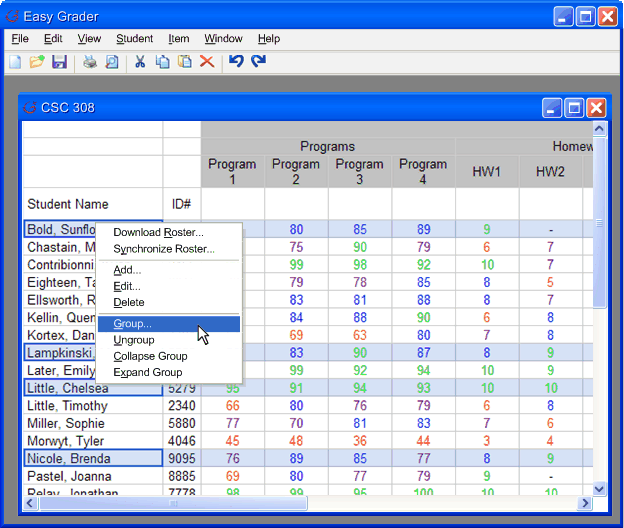
Student groups are designed to add an additional level of organization that teachers can customize. Their creation is
easy and quick. In Figure 6 you can see that the instructor has selected four students. This example uses four students, but groups can be created with any number of students (even one). The instructor right-clicks on one of the selected students and chooses the "Group..." option. The same operation could be begun with the Student->Group... menu item covered in section 2.1.1. |
|
|
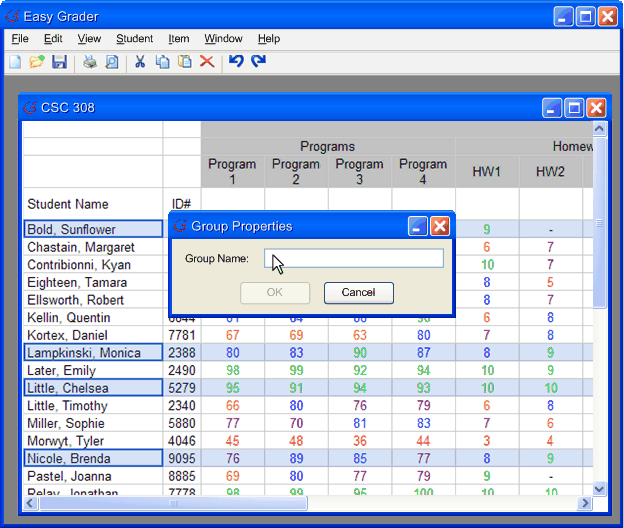
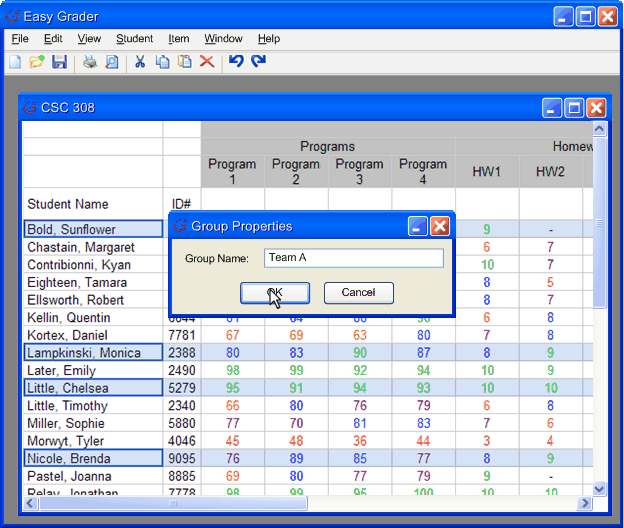
After the instructor selects "Group..." the dialog box marked "group properties" is created (Figure 7) and once the instructor enters a name
for the group (Figure 8) the instructor clicks the "ok" button. If a group with the same name as the one the instructor entered into "group
properties" already exists, the selected user(s) are placed in that group. Otherwise, the selected user(s) are placed in a newly created group.
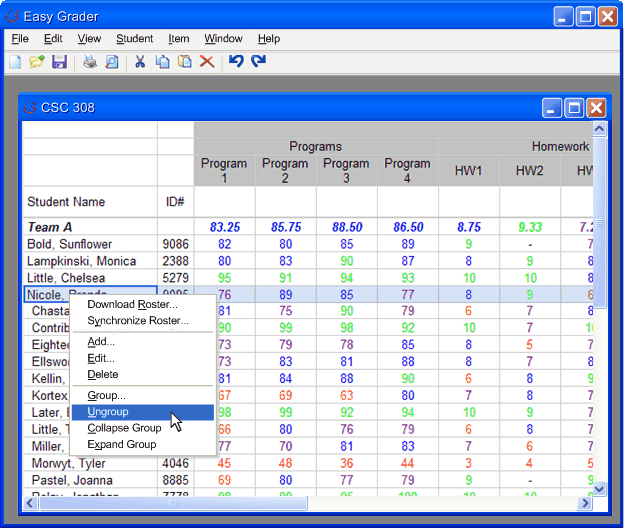
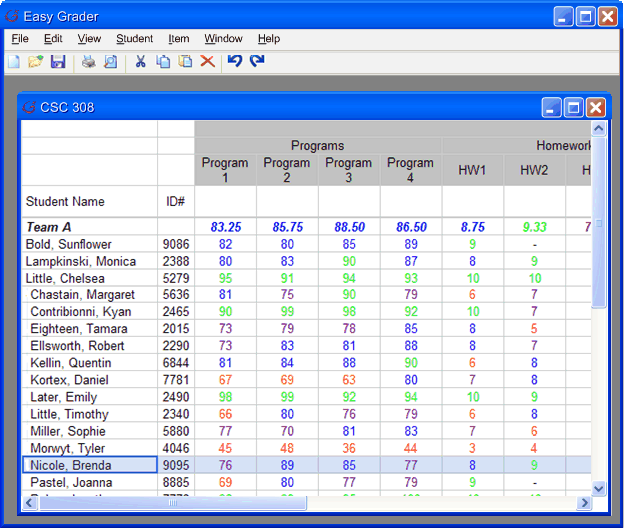
The group created by the instructor can be seen in Figure 9. Also note that ungrouped students are indented. |
|
Figure 7 |
Figure 8 |
|
|
| Students can also be removed from groups using either Student->Ungroup or the right click menu. In figure 9 the instructor has selected the fourth student in the group and is selecting "Ungroup" from the right-click menu. The results of this operation can be seen in Figure 10. If the instructor is adding or removing one student, the instructor does not need to select them before right clicking on them. To use the menu options, the student must be selected. |
|
Figure 9 |
Figure 10 |
|
|