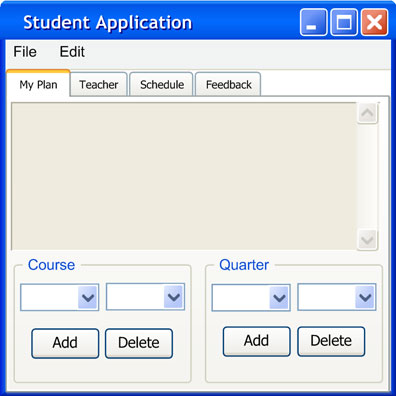
Figure 2.7.3.1: A new empty course plan
This scenario depicts a student adding quarters to be planned out. It's assumed that the student has already logged into the server and created a new blank plan by selecting File->New as described in section 2.1.3. The "My Plan" tab is initially empty as shown in Figure 2.7.3.1:

Figure 2.7.3.1: A new empty course plan
The main space of the tab contains the area for which quarters and courses appear. On the bottom of the tab are sections for adding or deleting courses and quarters. Adding and deleting courses will be discussed in sections 2.7.5 and 2.7.6.
In the quarter section of the tab, the first combo box contains a list of quarter names while the second contains a list of years. The user begins the course plan by dropping down the first combo box in the quarter section as shown in Figure 2.7.3.2.
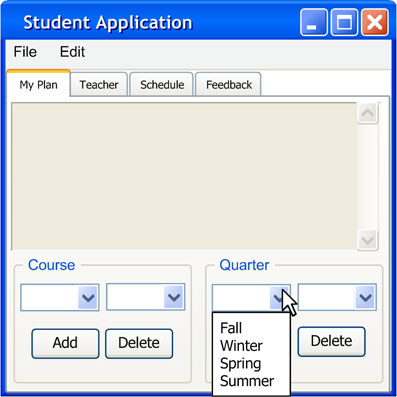
Figure 2.7.3.2: Drop down of quarter name combo box
At Cal Poly, the school year is broken down into quarters. So, only the "Fall", "Winter", "Spring", and "Summer" quarters are available. Since the user wants to start the plan on Fall 2005, the user selects "Fall" from the first combo box and "2005" from the second combo box as shown in Figure 2.7.3.3:
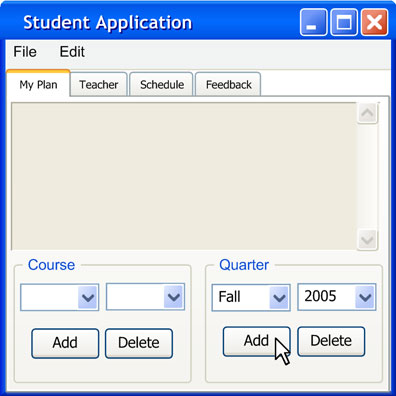
Figure 2.7.3.3: New quarter type selected
The quarter name "Fall" appears in displayed first combo box of the quarter section and the year "2005" is displayed in the second combo box. This means that the "Fall 2005" quarter is selected.
The user presses the "Add" button on the quarter section of the tab to add "Fall 2005" into the course plan. The system responds by displaying this quarter into the main plan area as shown in Figure 2.7.3.4:
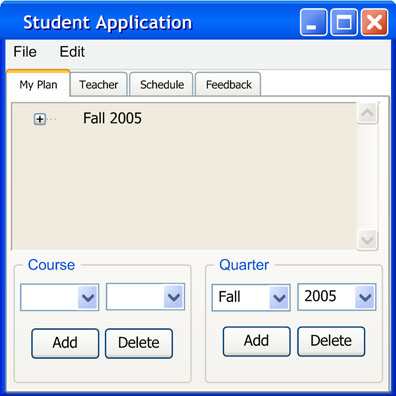
Figure 2.7.3.4: New quarter added
The user then proceeds the steps of selecting a quarter type and pressing "Add" to add more than two school years worth of quarters as shown in Figure 2.7.3.5:
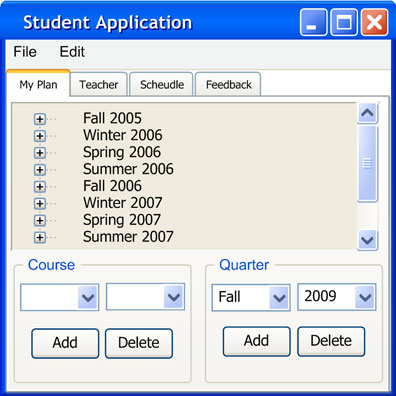
Figure 2.7.3.5: Multiple quarters added
The scroll bar of the main space of the "My Plan" tab is now enabled to scroll down the list of quarters.
Prev: Viewing Schedules | Next: Removing a Quarter | Up: functional | Top: index