2.8.1 Schedule Management - Administrator
The "Schedule Management" dialog is where an administrator can checkout schedules from the server. It can be reached via "Schedule Management" under the "Schedule" menu. When an administrator "checks out" a schedule from the server, the file is downloaded from the server onto his computer and it is is locked so that no one else can alter that file. When they check it back in and thus upload it onto the server, the files on the server are updated and unlocked so that others can check them out and edit them. Schedules that have been checked out from the server can still be viewed by other users, but they cannot check them out and since the version on the server is not updated until the schedule is checked back in, the version that they can view is not the up-to-date version that is found on the administrator's computer, but the version that was on the server when he checked the schedule out.
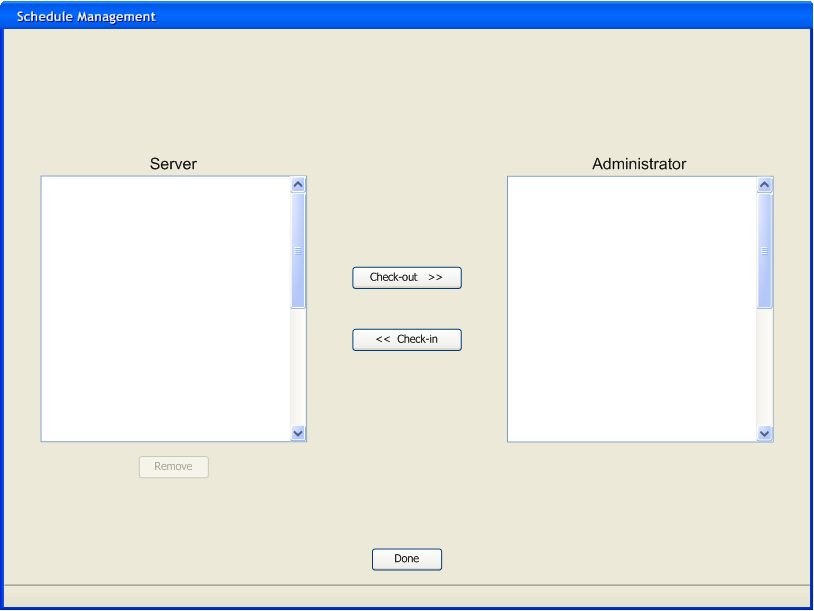
The schedules currently on the server are in the list box on the left under “Server” and the schedules currently checked out from the server by the administrator that’s logged in are on the right. Figure 2.8.1-1 shows the initial dialog if there are no schedules on the server and the administrator has generated none on his computer. If the administrator clicks on the "Done" button at any time, the dialog closes and the display returns to what it was before the administrator opened the "Schedule Management" dialog. "Check-out >>" and "<< Check-in" are enabled, but do not do anything unless a schedule is selected. "Remove" is disabled as long as no schedule in the server list is selected.
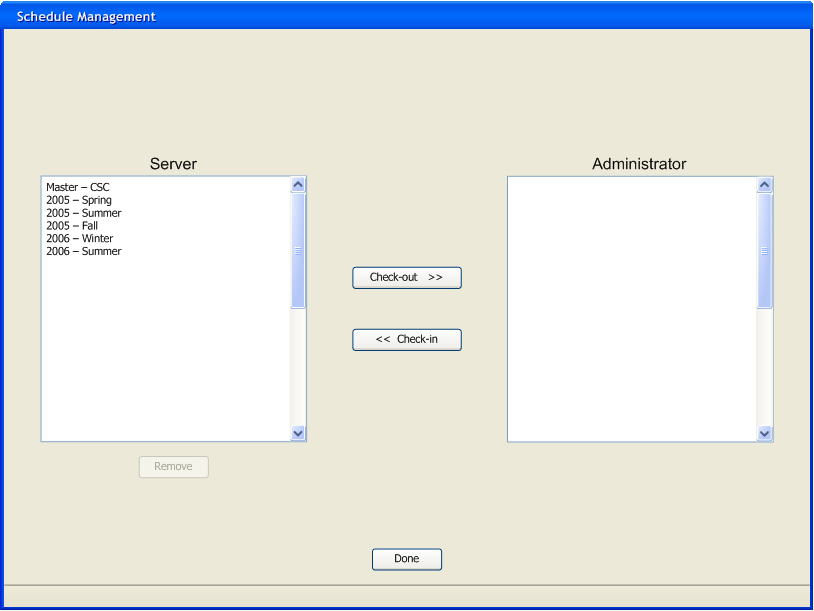
Figure 2.8.1-2 shows the "Schedule Management" dialog with schedules on the server, but the administrator has none checked out and has generated none on his computer that he has not yet checked in. The schedules are listed in chronological order: the year of the term followed by a dash, followed by its season as shown in figure 2.8.1-2. The master schedules are listed in alphabetical order, with "Master" followed by a dash, followed by the name of the schedule. The master schedules are listed prior to the schedules for specific terms.
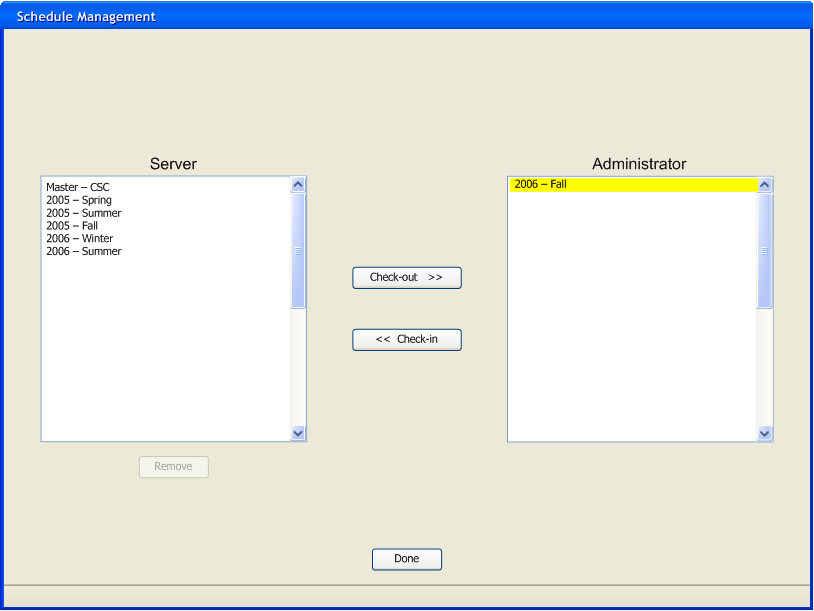
Figure 2.8.1-3 shows the "Schedule Management" dialog with schedules on the server and a schedule that the administrator has generated but not yet checked in. The administrator has no schedules checked out. The schedule in the administrator list box is highlighted in yellow to signify that it is a schedule that the administrator has generated on his personal computer but has not yet checked in to the server. As such, it is not on the server and no one else can check it out or even view it.
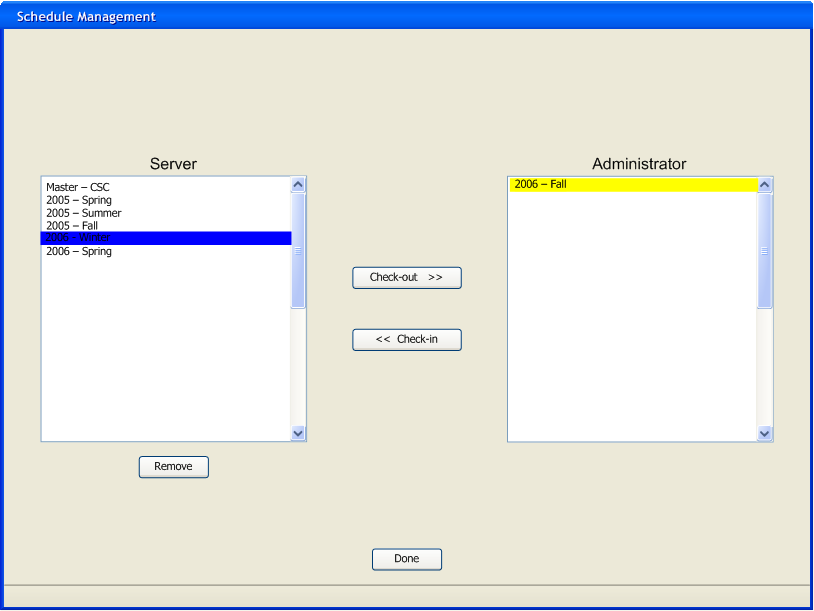
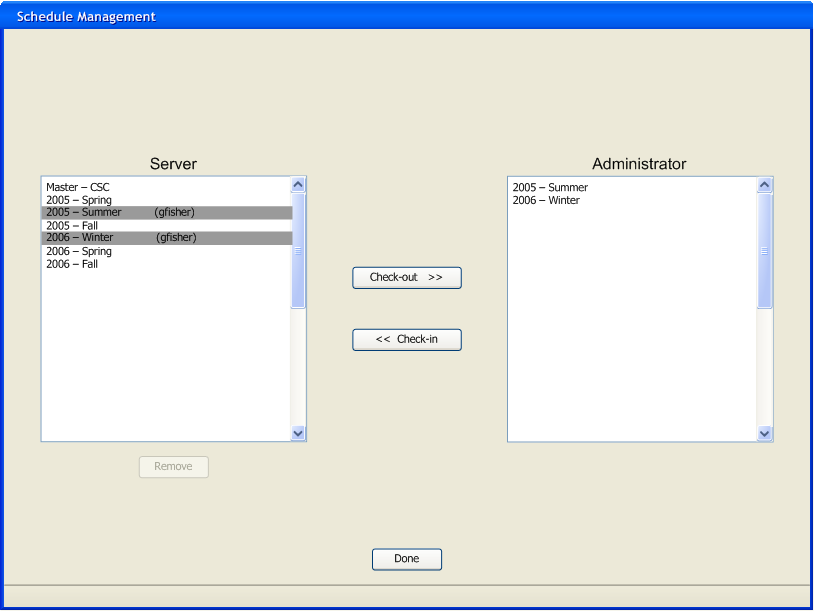
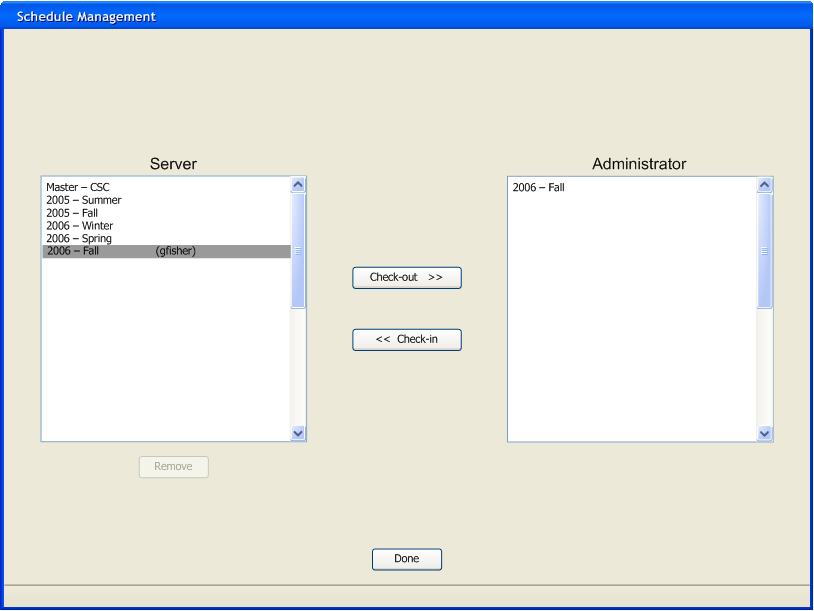
When the administrator clicks on a schedule, as in figure 2.8.1-4, it is highlighted in blue. "Remove" is now enabled because a schedule has been selected in the server list box. If the administrator clicks on "Check-out >>" then the selected schedule or schedules is/are checked out.
In figure 2.8.1-5, the administrator has clicked on "Check-out >>". The result in the server list box is that the schedule that has been checked out is now highlighted in gray with the ID of the administrator who checked it out listed in parentheses next to the schedule. As long as a schedule is highlighted in gray, the administrator cannot select it. All administrators that open this dialog see the schedule highlighted in gray and none of them can select it. It must be checked in again before anyone can select it, let alone check it out again.
Also, the schedule that was checked out is now listed in the administrator list box. This means that when the administrator opens that schedule, he can edit it, not just view it. The schedules in the administrator list box are displayed in exactly the same ordering as in the server list box. The master schedules are listed first in alphabetical order, followed by the schedules for specific terms in chronological order.
Also note that after the administrator selects "Check-out >>" or "<< Check-in", no more schedules are selected. Not only are the schedules that were being checked out or checked in no longer selected, but any schedules selected in the other list box are no longer selected. E.G. If the administrator were to have "2006 - Fall" selected in the administrator list box in figure 2.8.1-4 in addition to "2006 - Winter" in the server list box, and he pressed "Check-out >>", the result would still be figure 2.8.1-5.
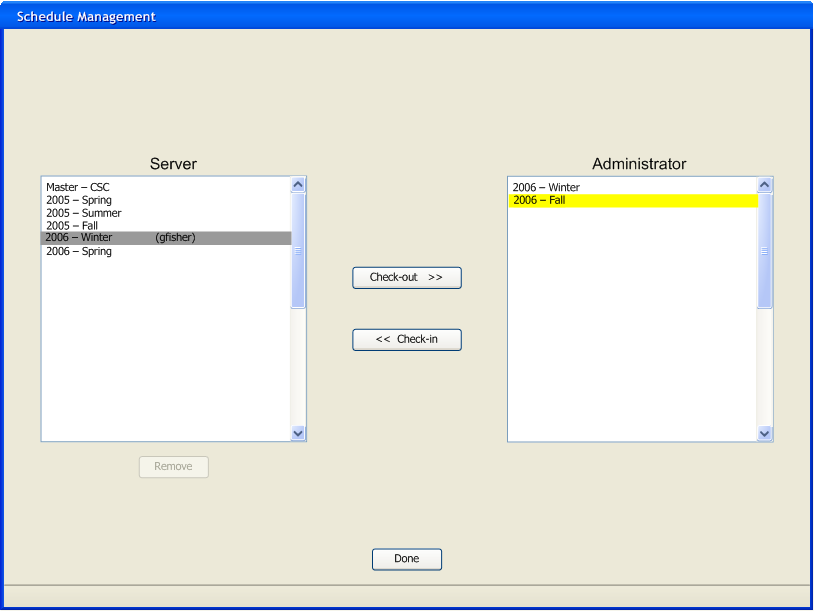
As with the server list box, when the administrator selects a schedule in the administrator list box, it is highlighted in blue. It is highlighted in blue even if it is a schedule that the administrator has generated but never checked in, like with "2006 - Fall" in figure 2.8.1-6. If the administrator clicks on the " << Check-in" button, then the selected schedule is checked in.

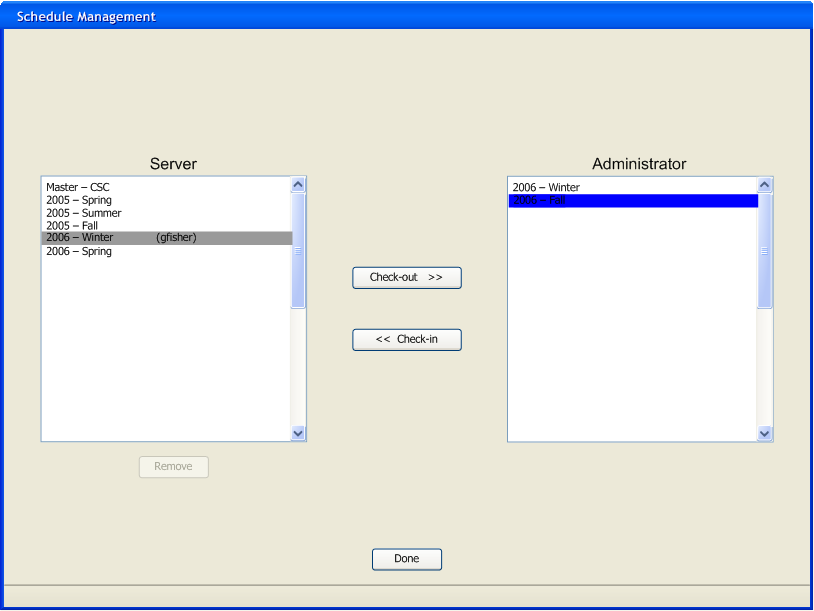
If the administrator clicks on "Check-out >>" when a schedule in the administrator list box is selected, it is unselected and no other changes are made, as with figure 2.8.1-7. The same would happen in the reverse case. If a schedule in the server list box were selected and "<< Check-in" was clicked on, then it would be unselected and no other changes would be made. If there are schedules selected on both sides, then if "Check-out>>" is clicked on, then the ones selected in the server list box are checked out and the ones in the administrator list box are unselected, but otherwise unchanged. If "<< Check-in" were clicked on instead, then the schedules selected in the administrator list box would be checked in and the schedules selected in the server list box would be unselected, but otherwise unchanged.

In figure 2.8.1-8 the administrator has once again selected "2006 - Fall" in the administrator list box and so it is once again highlighted in blue.
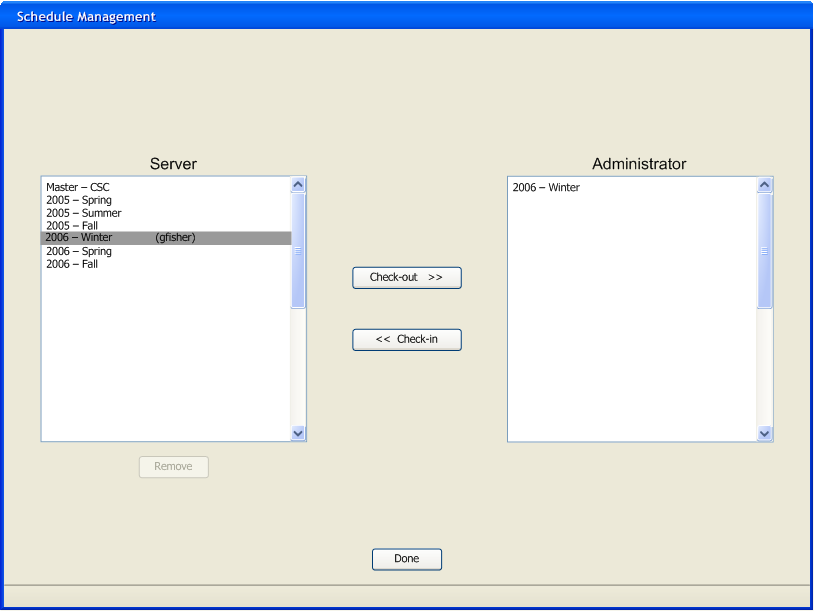
In figure 2.8.1-9, the administrator has clicked on the "<< Check-in " button and "2006 - Spring" has now been checked in. As such, it no longer appears in the administrator list box. As "2006 - Spring" was a new schedule that had never been checked in before, it was not listed in the server list box prior to the check in, but now that it has been checked in, it appears in the server list box.
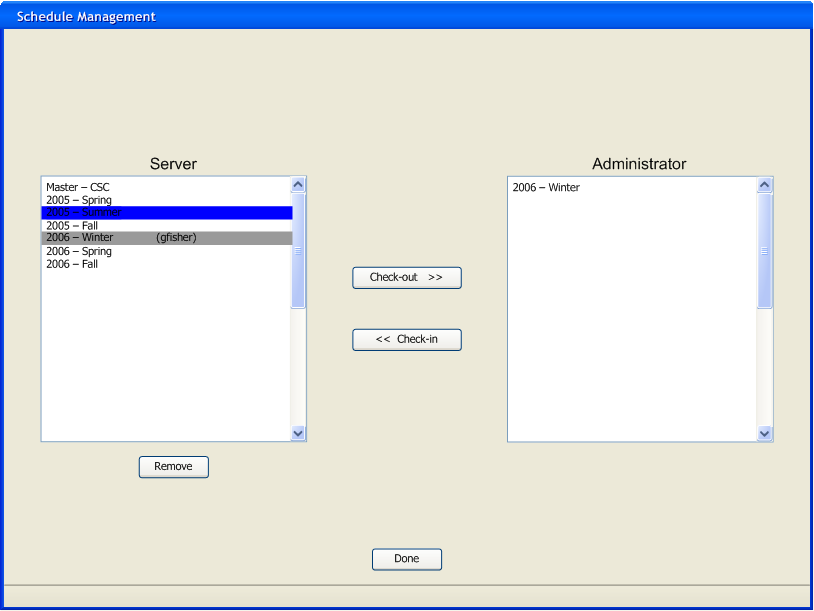
An administrator can have as many schedules checked out as there are schedules. In figure 2.8.1-10, the administrator has selected a schedule in the server list box. The fact that "2006 - Winter" has already been checked out has no impact on whether or not "2005 - Summer" can be.
The administrator clicked on "Check-out >> " so "2005 - Summer" has now been checked out. As such, it appears in the administrator list box and has now been highlighted in gray in the server list box. It also has the ID of the administrator who checked it out in parentheses next to it.
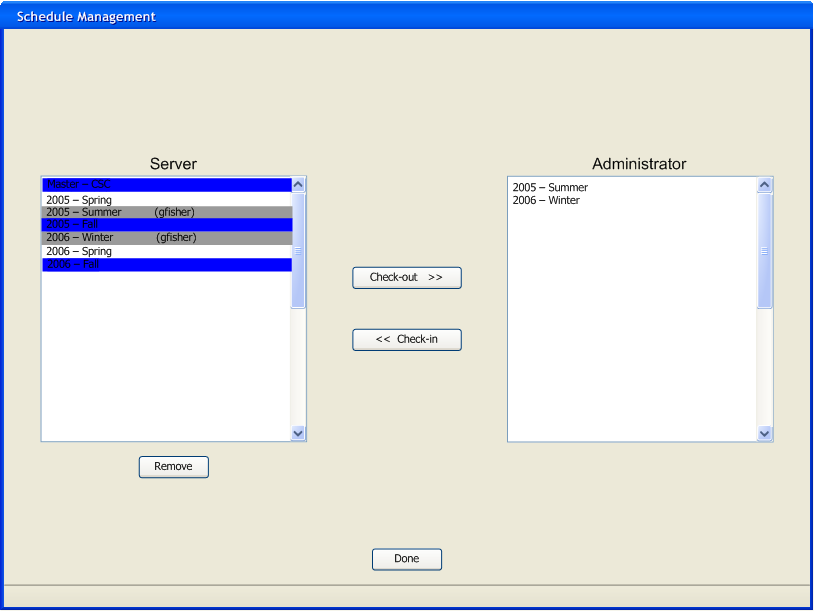
Multiple schedules can be selected and checked in/out at a time. In figure 2.8.1-12, the administrator has selected 3 schedules, including a master schedule. Checking in and checking out master schedules is identical to how specific term schedules are checked in or out. Checking in or out multiple schedules at a time is also the same as checking in or out only one.
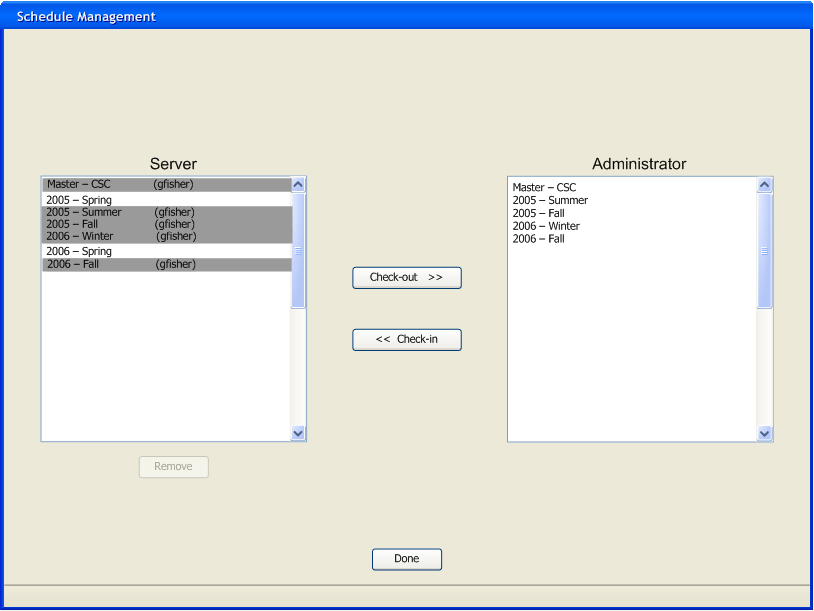
When the administrator clicks on "Check-out >>" when multiple schedules are selected, they are all checked out. Figure 2.8.1-13 shows the result. All of the schedules that were selected in the server list box are now in the administrator list box and they are all now highlighted in gray in the server list box with the ID of the administrator who checked them out in parentheses next to them.

When the administrator selects multiple schedules in the administrator list box, they are all highlighted in blue.
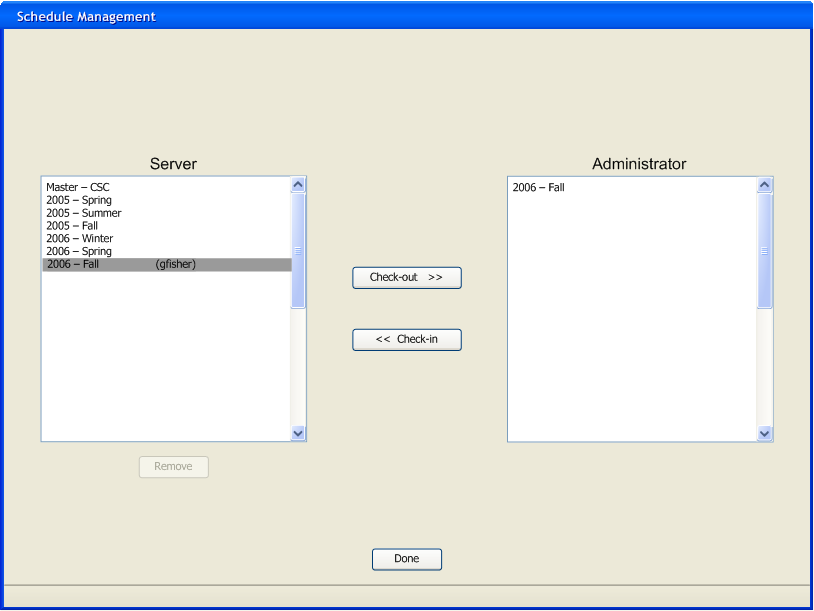
When the administrator clicks on "<< Check-in", all of the schedules selected in the administrator list box are checked in. They are removed from the administrator list box and they are no longer highlighted in the server administration list box.
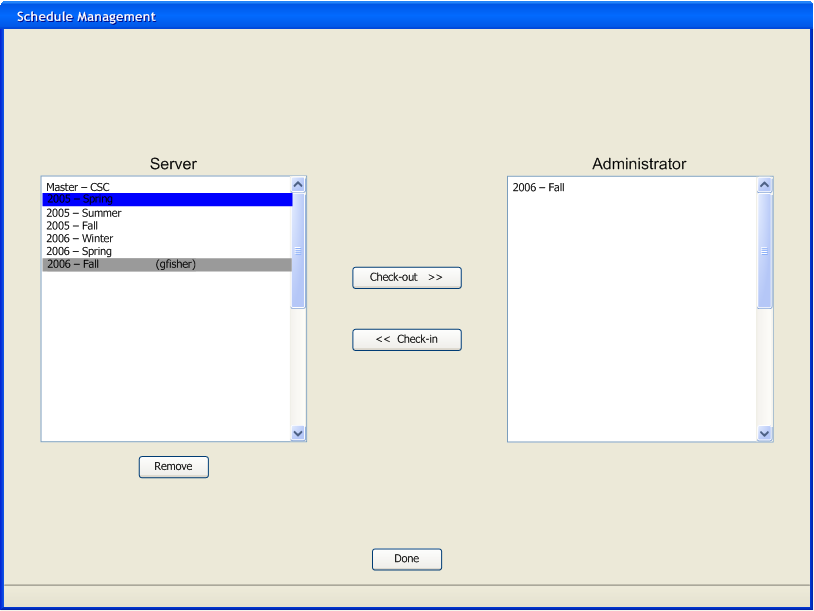
When the administrator selects a schedule in the server list box, the "Remove" button is enabled.
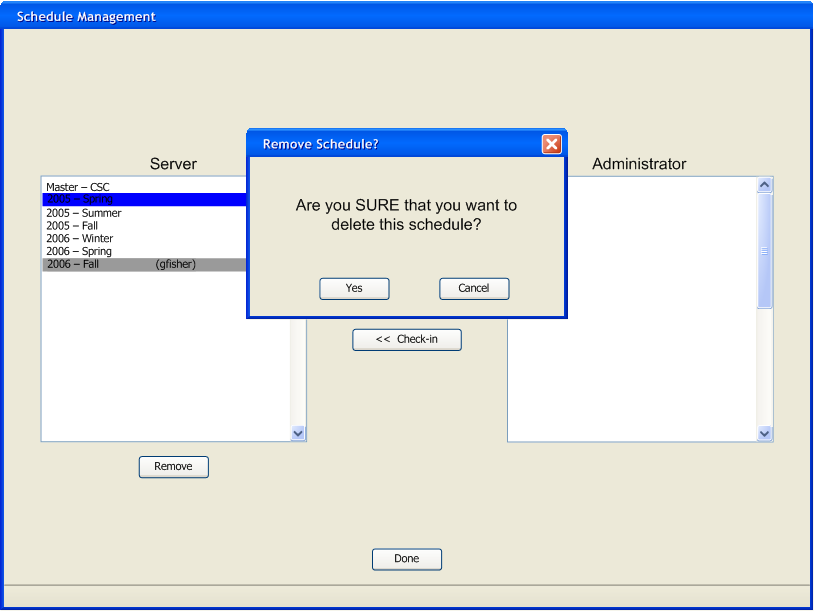
When the administrator clicks on the "Remove" button, he is asked whether he really wants to permanently remove the schedule. The dialog that pops up to ask is a modal dialog. If he clicks on "Yes" the schedule is removed. If he clicks on "Cancel" or closes the dialog, then nothing is removed and the schedule is no longer highlighted.

If the administrator clicks on "Remove", then the selected schedule is permanently removed from the server. It is deleted and cannot be retrieved. As such, it is also removed from the server list box.
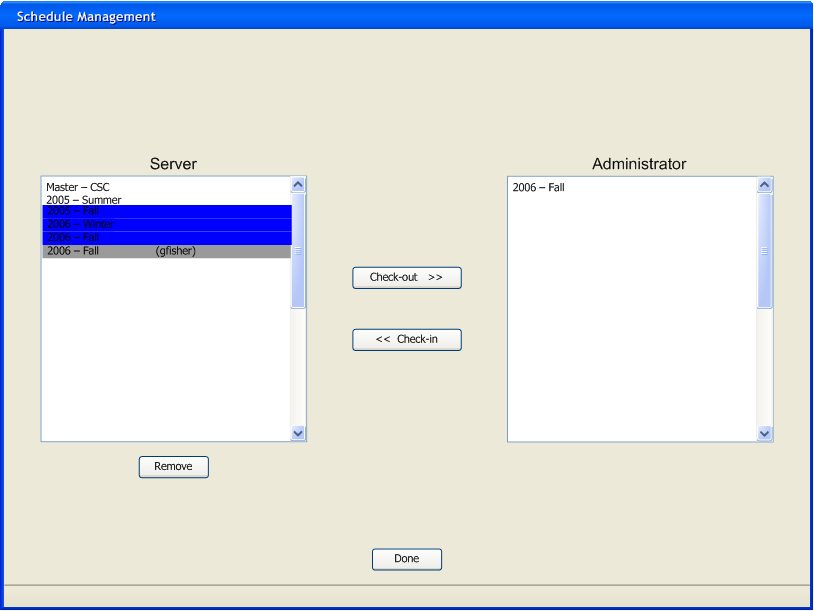
An administrator can remove multiple schedules at once. He selects them in the server list box and clicks on "Remove" to do so.
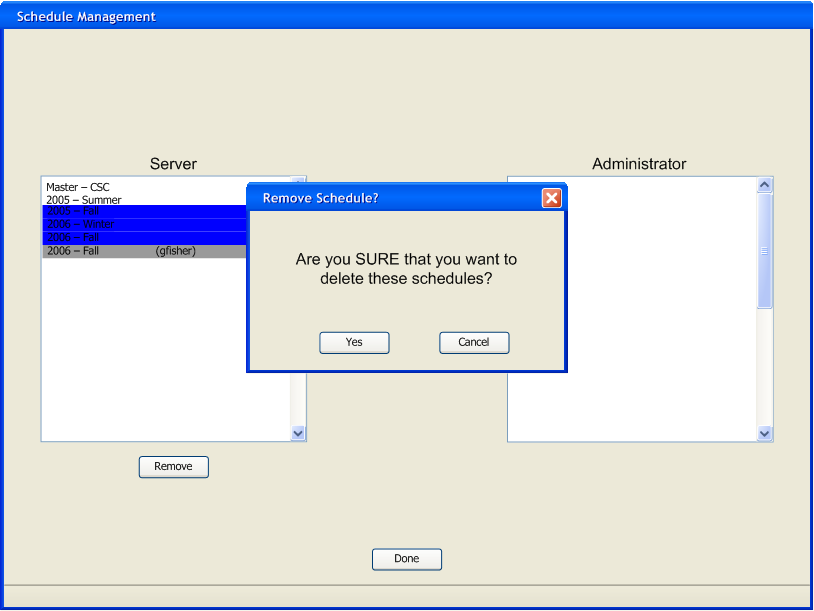
When the administrator has selected schedules for removal and clicks on "Remove" a modal dialog pops up to verify that he really wants to permanently remove them from the server. If he selects "Yes" then they are removed from the server and the server list box. If he selects "Cancel" or closes the dialog, then nothing is removed, but the schedules are no longer highlighted in the server list box. If schedules are ever highlighted in the administrator list box when "Remove" is clicked on, they are unselected, but otherwise unchanged. Checked out schedules cannot be removed since they cannot be selected in the server list box.
In figure 2.8.1-21, it shows what the window looks like after the administrator selects "Cancel" in the modal "Remove" dialog. The administrator clicks "Done" if he wishes to close "Schedule Management". When the administrator clicks on "Done", whatever schedules that are currently checked out, stay checked out, and whatever schedules are checked in, stay checked in. The administrator can now edit those schedules that he has checked out. No one else can check them out until he returns to "Schedule Management" and checks them back in.
Prev: [none] | Next: Schedule Management - Instructor | Up: Schedule Management Intro | Top: index