Once the user starts up the program for the first time, it is required to setup the program. up. The user is prompted with the following wizard seen in figure 2.2.1 - 1.
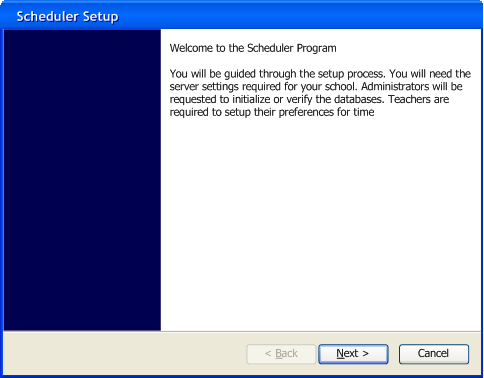
Figure 2.2.1 -1 : Welcome dialogue to the setup wizard.
The 'Next' button takes the user to the next screen seen in Figure 2.2.1 - 2. The cancel button stops the wizard, and no options are set. The user cannot connect to the server to pull schedules, if the wizard is exited. The program shows the wizard on ever startup if the wizard is not completed.
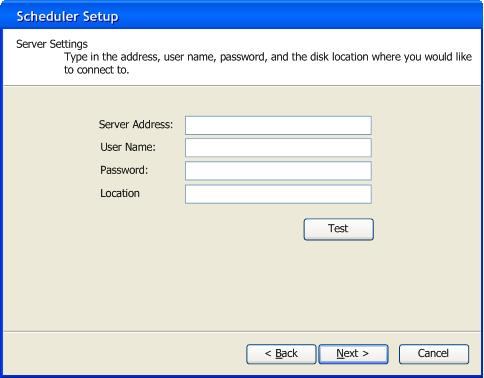
Figure 2.2.1 - 2: Server settings dialogue.
The server address is entered in the form of an Ip addresses such as, 211.225.55.6, or a domain name, such as hornet.calpoly.edu. The user name and password is what allows the user to logon to the server. The location is the place where the scheduler files exist. The format that the location should be, /folder/..../scheduler_files/. Clicking the 'Test'button will attempt to logon to the server and access the location the user typed in. If it is successful then, in green text 'Successful connection' will be displayed next to the test button. If the connection fails, then 'Connection Failure,' will be displayed in red text next to the test button. A filled in dialogue is shown in figure 2.21 - 3.
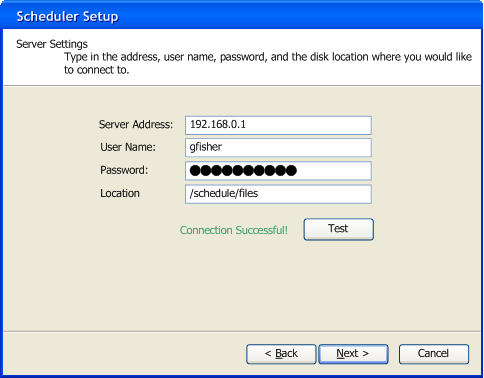
Figure 2.2.1-3: Properly formatted input for the server dialogue.
The user's inputted data is in the correct format, and a successfully connection.
When the user presses 'Next' the user will be shown the administrative setup, described in section 2.2.3, if the given instance of the program is the administrative version or the teacher setup, detailed in section 2.2.3, if the instance of the program is the teacher version.