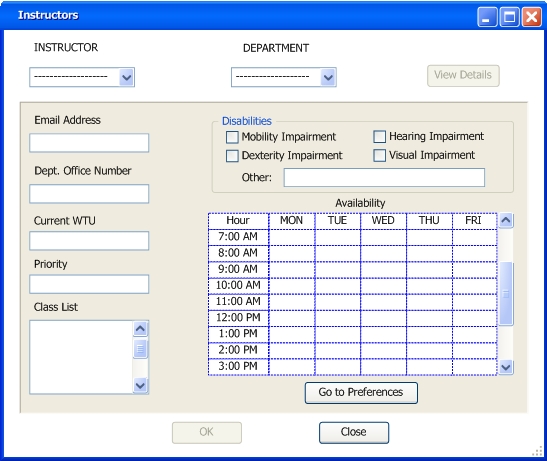
When the administrator clicks the "Instructors" button, a window like Figure 2.5.1.A.1 will pop up. Notice that the "View Details" button, and the "OK" buttons are disabled.

Figure 2.5.1.A.1: Instructor's Information Initial View
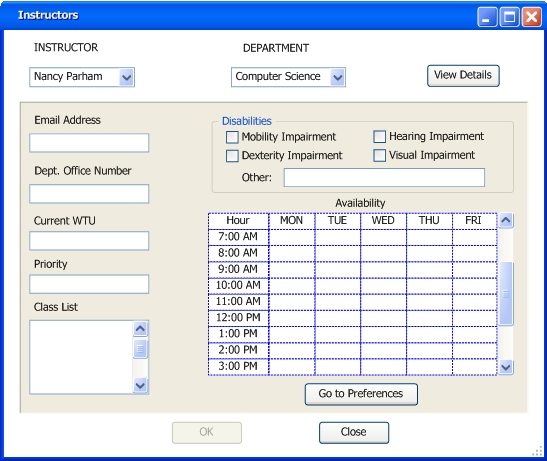
The administrator then selects the instructor's name and the deparment where the instructor works. Once the Instructor's name and the department have been selected the "Veiw Details" button will be enabled. See Figure 2.5.1.A.2.

Figure 2.5.1.A.2: Instructor Information 2nd View
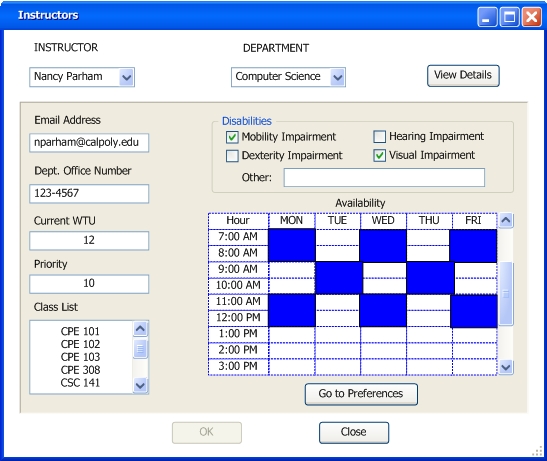
The administrator clicks the "View details" button and the bottom panel is updated with the selected instructor's information. See Figure 2.5.1.A.3. Notice that the "OK" buttons is disabled.

Figure 2.5.1.A.3: Instructor Information Updated View
Any of the text fields can be edited by typing directly in them. The check boxes can be enabled or disabled by clicking on them. Changing an instructor's priority will only affect the weight that is given to his or her preferences during the generation of the schedule. In order to modify and instructors "Class List" or "Availability" the administrator must click on the "Go to Preferences" button. The system will respond by displaying a window identical to Figure 2.2.0.1 corrensponding to the selected instructor. To modify an instructor's preferences follow the instructions discussed in section 2.2.
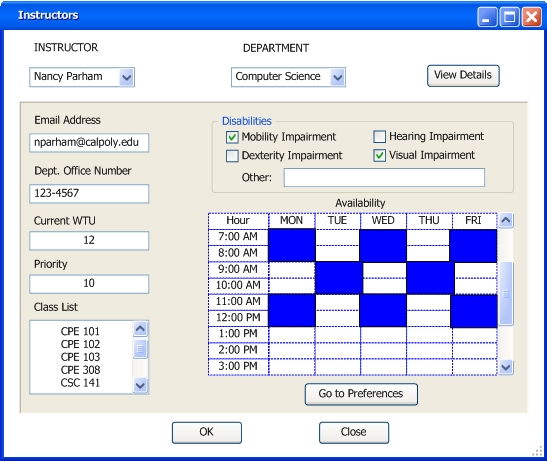
If the administrator makes any modifications the "OK" button will be enable. This lets the administrator know that changes have been made and might need to be saved. See Figure 2.5.1.A.4.

Figure 2.5.1.A.4: Instructor Information Final View
The administrator then clicks "OK" to save the chages, if any where made, or "Close" to close the window without saving. Two dialog widows may pop up depending on the administrator's previous actions. See Figure 2.5.1.A.5 and Figure 2.5.1.A.6.

Figure 2.5.1.A.5: |

Figure 2.5.1.A.6: |
|---|
The administrator will then continue with the process described in 2.5.1. Click Here to continue with the scenario.