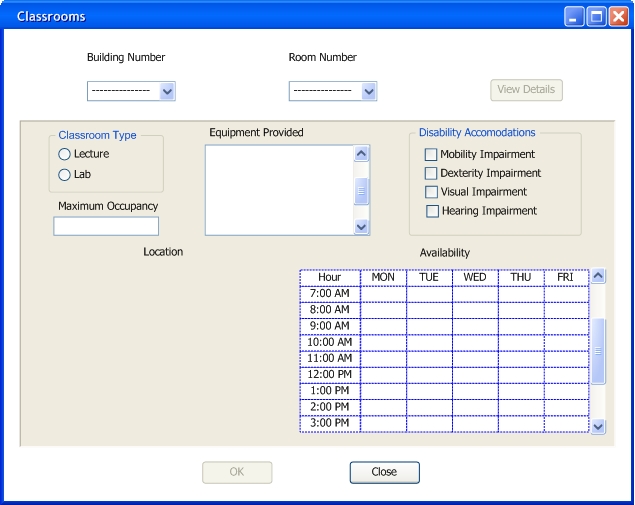
When the user clicks the "Rooms" button, a window like Figure 2.5.1.B.1 will pop up. Notice that the "View Details" button, and the "OK" buttons are disabled.

Figure 2.5.1.B.1: Classroom Details Initial View
The user then selects the classroom number and the building number. Once the classroom number and the building number have been selected the "View Details" button will be enabled. See Figure 2.5.1.B.2.
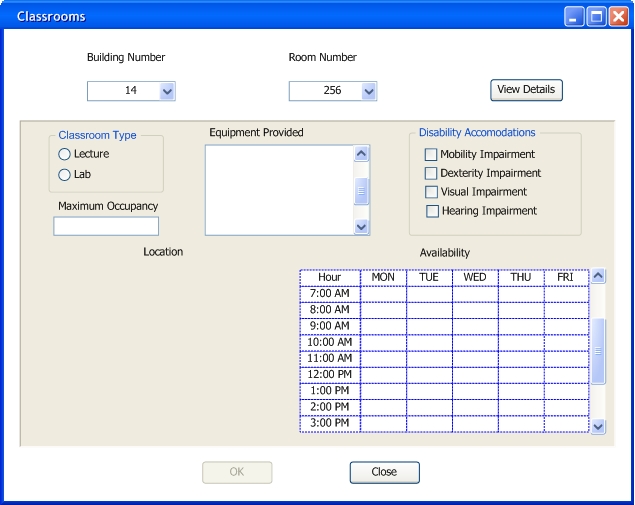
Figure 2.5.1.B.2: Classroom Details 2nd View
The user clicks the "View details" button and the bottom panel is updated with the selected classroom's information. See Figure 2.5.1.B.3. Notice that the "OK" buttons is disabled, and that the building is highlighted red in the "Location" map.
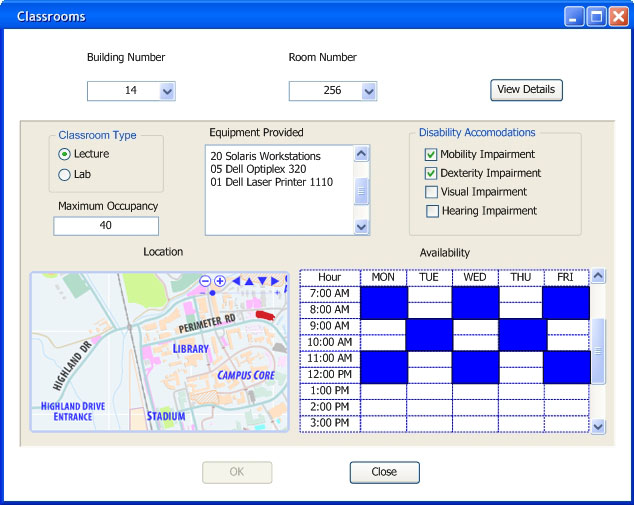
Figure 2.5.1.B.3: Classroom Details Updated View
Any of the text fields or text areas can be edited by typing directly in them. The check boxes can be enabled or disabled by clicking on them. The "Location" cannot be edited as it is copied directly from the permanent database and requires graphical and software changes. To edit the
"Availability" the administrator can click on the time slots to toggle them on and off, or click and drag to select an area (blue means unavailable, white means available).
If the user makes any modifications the "OK" button will be enable. This lets the user know that changes have been made and might need to be saved. See Figure 2.5.1.B.4.
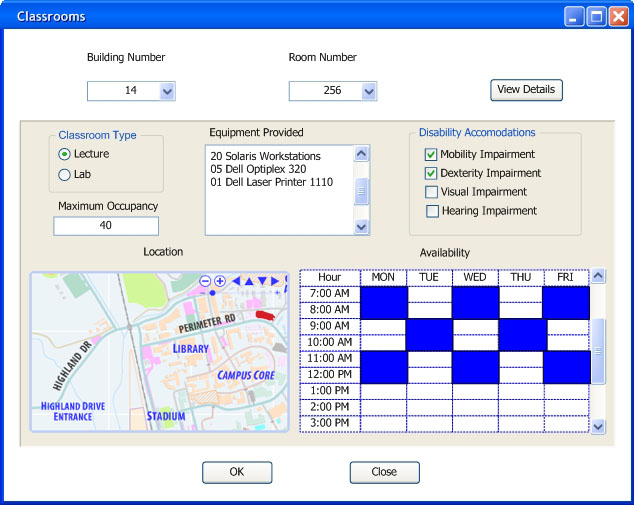
Figure 2.5.1.B.4: Classroom Details Final View
The user then clicks "OK" to save the chages, if any where made, or "Close" to close the window without saving. Two dialog widows may pop up depending on the user's previous actions. See Figure 2.5.1.B.5 and Figure 2.5.1.B.6.
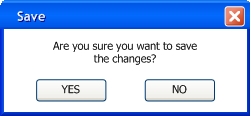
Figure 2.5.1.B.5: |
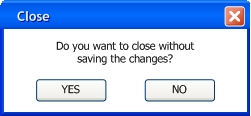
Figure 2.5.1.B.6: |
|---|
The administrator will then continue with the process described in 2.5.1. Click Here to continue with the scenario.