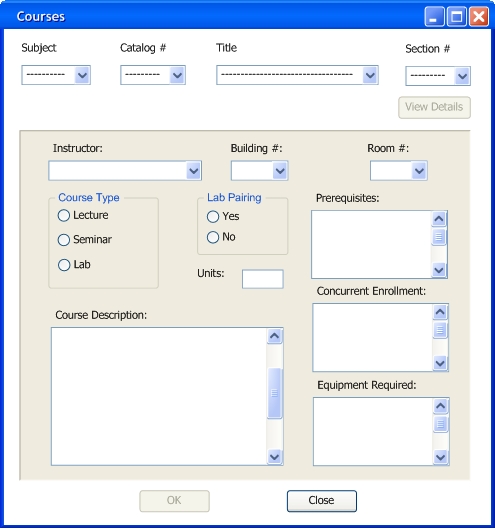
When the user clicks the "Courses" button, a window like Figure 2.5.1.C.1 will pop up. Notice that the "View Details" button, and the "OK" buttons are disabled.
Figure 2.5.1.C.1: Course Details Initial View
The user then selects the "Subject", "Catalog #" or the "Title" (the other one will be selected automatically), and the "Section #". Once the course has been selected the "View Details" button will be enabled. See Figure 2.5.1.C.2.
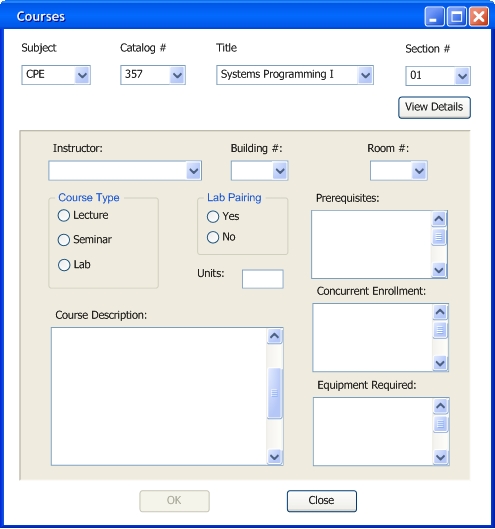
Figure 2.5.1.C.2: Course Details 2nd View
The user clicks the "View details" button and the bottom panel is updated with the selected Course's information. See Figure 2.5.1.C.3. Notice that the "OK" buttons is disabled.
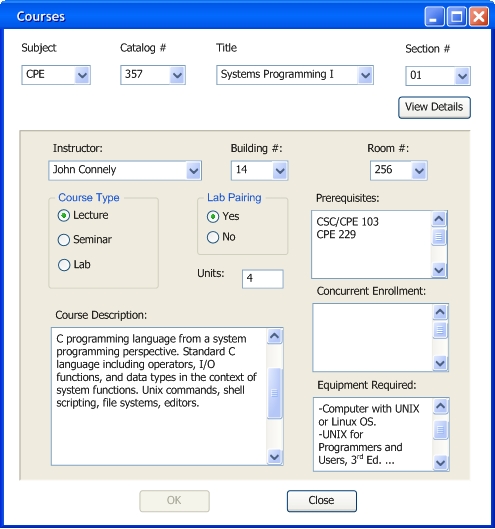
Figure 2.5.1.C.3: Course Details Updated View
Any of the text fields or text areas can be edited by typing directly in them. The radio buttons can be enabled or disabled by clicking on them. The "Instructor", the "Building #", and the "Room #" can be modified by choosing a different on from the combo boxes.
If the user makes any modifications the "OK" button will be enable. This lets the user know that changes have been made and might need to be saved. See Figure 2.5.1.C.4.
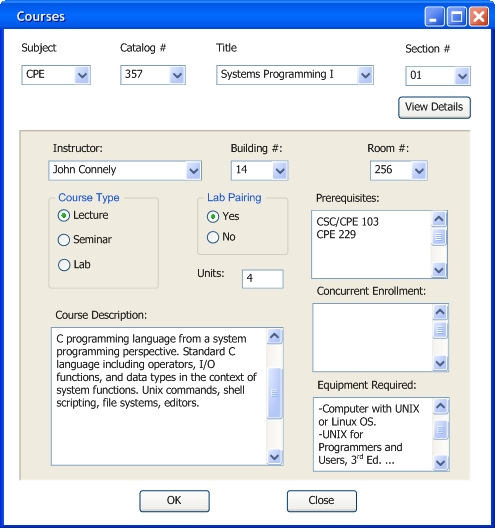
Figure 2.5.1.C.4: Course Details Final View
The user then clicks "OK" to save the chages, if any where made, or "Close" to close the window without saving. Two dialog widows may pop up depending on the user's previous actions. See Figure 2.5.1.C.5 and Figure 2.5.1.C.6.
Figure 2.5.1.C.5: |
Figure 2.5.1.C.6: |
|---|
The administrator will then continue with the process described in 2.5.1. Click Here to continue with the scenario.