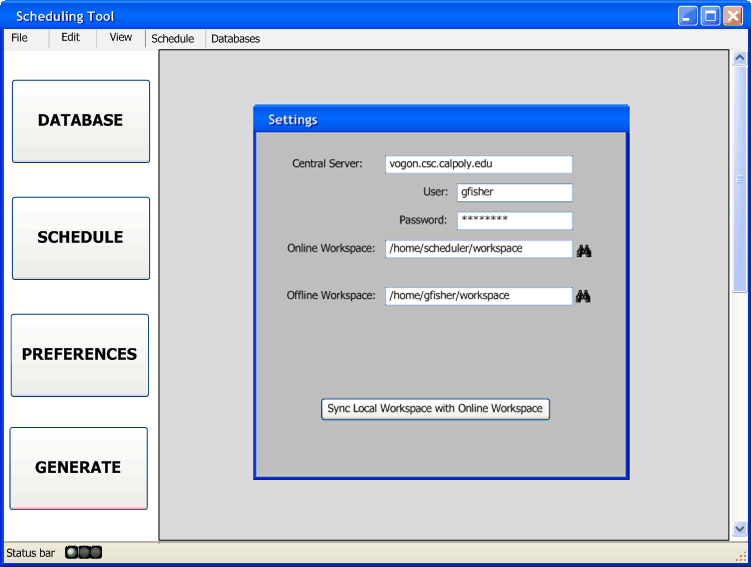
When the administrator is working on the schedule, the file being used is located on the server that the administrator specifies in the "Edit Settings" section. Here the administrator will be greated with a dialog box to specifiy the workspace, which is the folder which contains all of the schedules. They also have the ability to change what server all of the schedules will be stored on. For instance if the school descides to rename any of the servers, the administrator can go into the settings tab and redefine the location, and the scheduling tool will automatically repopulate the list of schedules to edit.

Figure 2.7.1: Select Settings from Menu
The administrator also has the ability to work offline. The administrator can specify a local workspace in which to work in. Here the administrator can still work on the schedule even if the network connection is down. After a network connection has been established, the administrator can then click the sync button in the "Edit Settings" section and the Scheduling Tool will automatically upload any modifyed files.

Figure 2.7.2: Settings Dialog Box
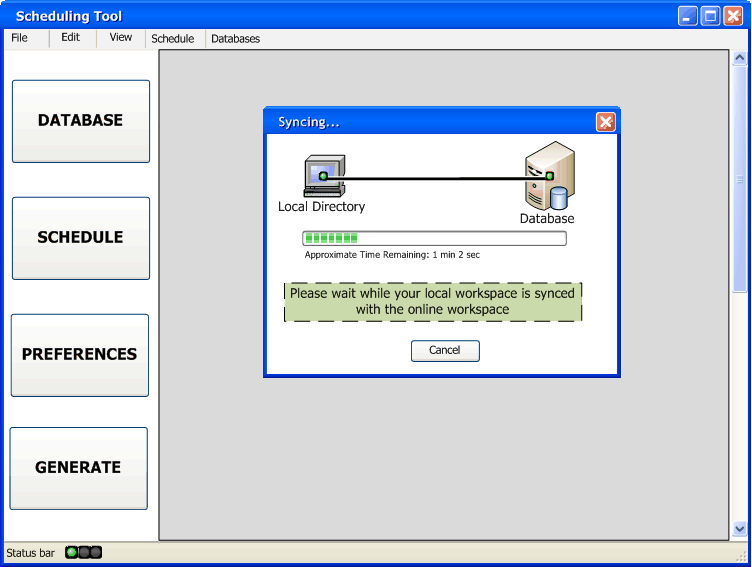
Once the user clicks on the button to sync their local workspace with Online workspace, a dialogue will pop up and display the time and percentage complete (Figure 2.7.3). This should not take more then a few minutes to sync workspace. For an instructor, syncing their workspace just changes there personal time/class preferences (if they are modified offline). For an admin this could mean complete scheudle changes. The login at the beginning of the program will determine what they will be able to modify and change when they upload to the online workspace.

Figure 2.7.3: Syncing Local Workspace with Online Workspace
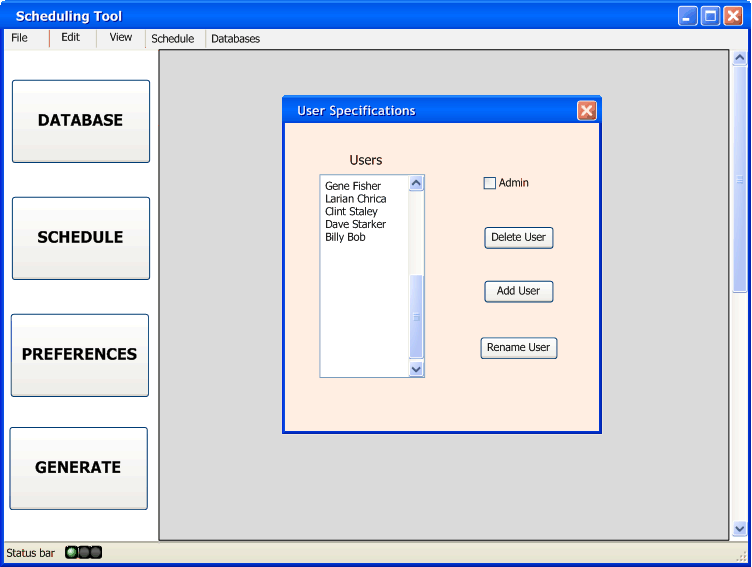
The administrator can also modify the privileges of other instructors in the User Specifications section (Figure 2.7.4). Here the adminstrator can add new teachers and allow other teachers to be administrators. This section pulls from a central file located on the central server where the database resides. This file handles all authentication, but through the user specification the admin can modify the file easier.

Figure 2.7.4: User Privileges Dialog
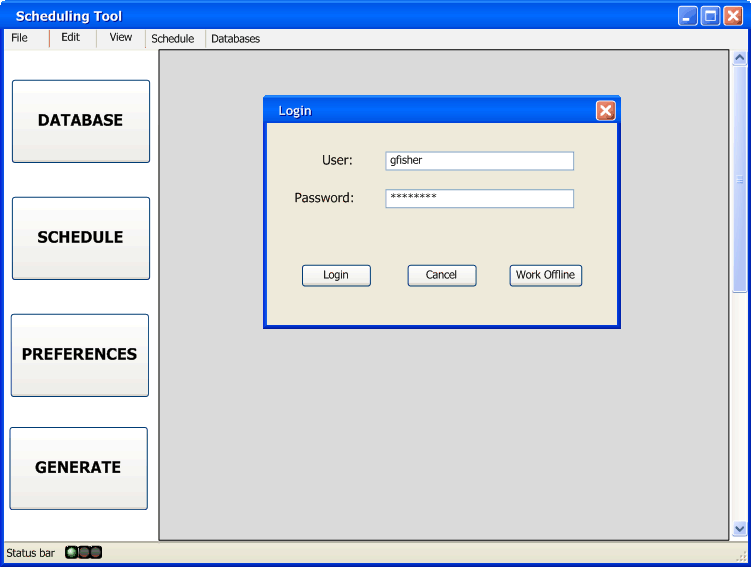
Figure 2.7.5 shows the login screen that every user will see when logging into the Scheduling Tool. All authentication is handled at the beginning of the program and once the user has authenticated, they will no longer have to authenticate in order to modify their preferences or the schedule itself (if they have admin privileges). This authentication is handled through the file located on the central server that houses the databases.
`
Figure 2.7.5: Login Prompt