2.9.1 Creating a New Workspace
Prior to doing any scheduling, the scheduler must create a new workspace. This workspace is most often be created on a shared server so that other schedulers can work on it also. To create a new workspace the user selects 'File > New' from the menu bar.
When the user does this, they are given the option, shown in Figure 2.9.1-1, to copy a workspace. If the user selects 'Blank', the program gives the user a blank copy of all databases. If the user selects 'Copy of the master database', the program gives the user a copy of all the master databases. If the user selects 'other quarter', the user then needs to either browse for the quarter name, or type in the quarter name, then the program gives the user a copy of that quarters' databases.
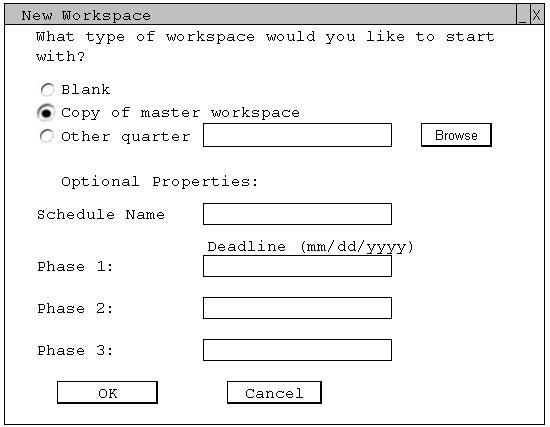
Figure 2.9.1-1: Local copy window.
Once the workspace is created, the user will be able to start creating a schedule or modifying course, instructor, or classroom information.
Prev: [none] | Next: open a workspace | Up: using workspaces | Top: index