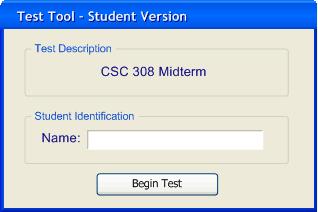
Figure 1: Test Tool Student Version opening screen
The Student Version of the Test Tool is a separate application the student uses to actually take a test. The student version displays questions one by one in the various supported formats (multiple choice, true/false, short answer, etc.).
If a student is taking a test in a proctored test session, such as in a computer lab on a LAN, the student version will automatically be started for him/her when the proctor distributes the test. The student must simply log in with his/her name and the test will begin. A slight variation of this student version provides a more specialized log in screen where the student may manually select a take-home or practice test. The take-home or practice variation of the student version should be readily available to the student to download and use on any machine of his/her choice.
An important requirement of this application is that the student not have access to any other resource on the computer during the testing session. This means that all other applications and processes must be blocked or unaccessable to the student. For example the student should not be able to start a web browser or navigate to any files locally or remotely. This also implies that certain keyboard operations or shortcuts will become disabled and that the application cannot be minimized. If the student closes the testing application, his/her test is automatically turned in and the testing session is terminated.
2.6.1. Opening Screen
In a proctored test setting each student sits down at a computer in a lab and waits for the Test Tool Student Version to begin. Once the test proctor has distributed the test to the computers on the LAN (in the computer lab), the opening screen will automatically appear for the student. The student does not have to take any action for the test tool student version to begin. The first part of the screen is the area where the test (selected by the proctor) name is displayed. The second area is where the student enters his/her name (i.e. similar to writing a name on a paper test). The Begin Test button remains disabled until the student enters his/her name. Upon clicking the Begin Test button the test is displayed and the student may begin answering questions.

Figure 1: Test Tool Student Version opening screen
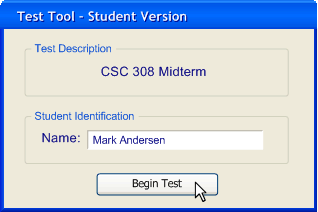
Figure 2: Student ready to begin proctored test
If the student is using the take-home or practice test variation, he/she may manually select a test by clicking the Browse... button. Doing so displays a file selection dialog where he/she selects available test files. Tests may be available via some network or Internet directory. This assumes an instructor has posted tests, made them available for viewing, and made known their location. Once the student selects his/her desired test, he/she may click the Begin Test button to begin the test. From this interface, the student may also open graded tests. If a graded test is selected, the Begin Test button will display the test but with correct answers filled in and instructor comments (if any) displayed below each test question. If the test is a graded test, the countdown timer is zeroed out and submitting (finishing) the test is disabled.
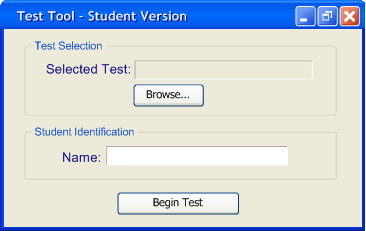
Figure 3: Test Tool Student Version with take-home
or practice test variation
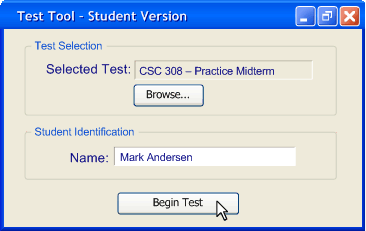
Figure 4: Student ready to begin a take-home or practice test
2.6.2. Testing Screen
Upon the student clicking the Begin Test button, the Student Version of the Test Tool will change to the testing screen where the student may begin answering questions.
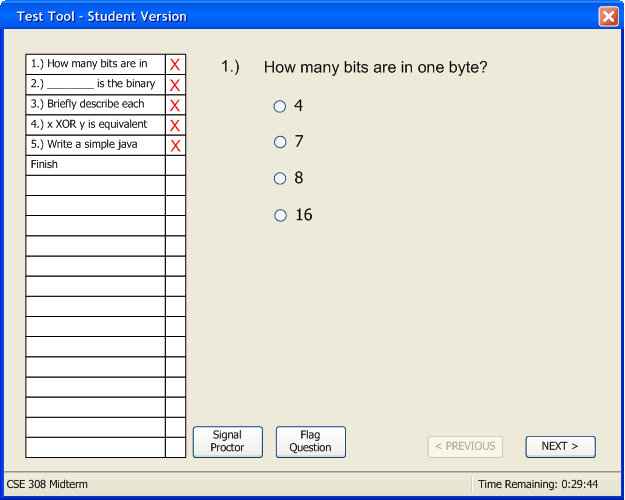
Figure 5: Main testing screen (with multiple choice question)
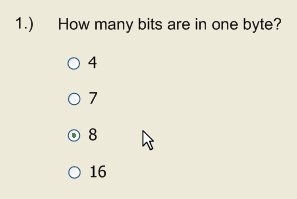
Figure 6: Multiple choice question answered
The test question is displayed prominently on the right side of the screen. Below the question text are input fields for the student to select or enter an answer. A multiple choice question gives the student a list of radio buttons with candidate answers beside them. A true/false question behaves similarly -- giving the student a choice to select the true radio button or the false radio button. A fill-in-the-blank question presents the student with a one-line text box where he/she can type in their answer. An essay-type question is similar to this but the text area is larger, offering multiple lines of input.
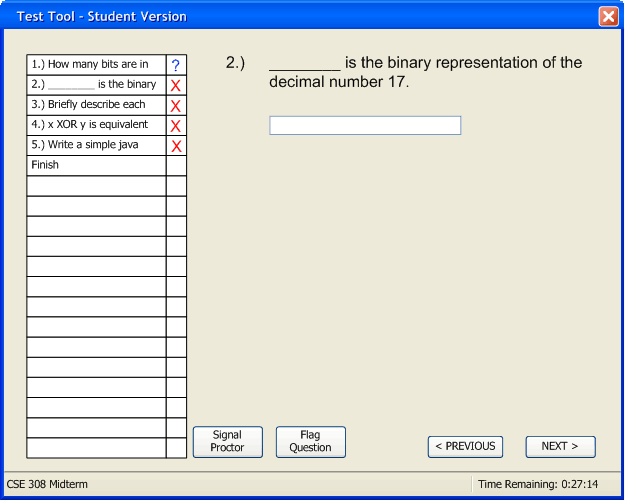
Figure 7: Fill-in-the-blank question
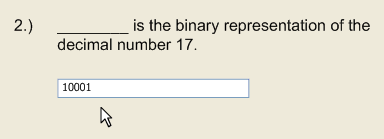
Figure 8: Fill-in-the-blank question answered
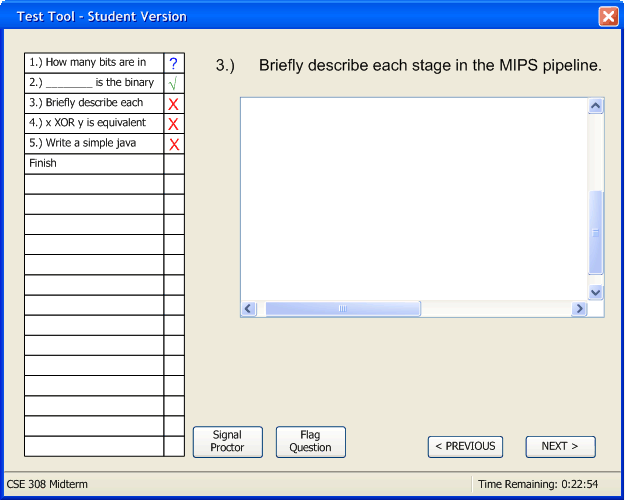
Figure 9: Essay question
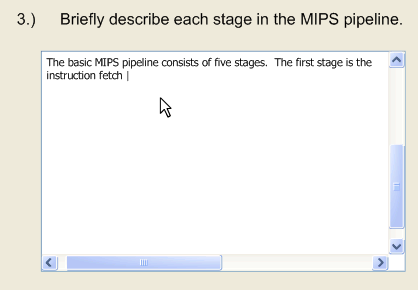
Figure 10: Essay question answered
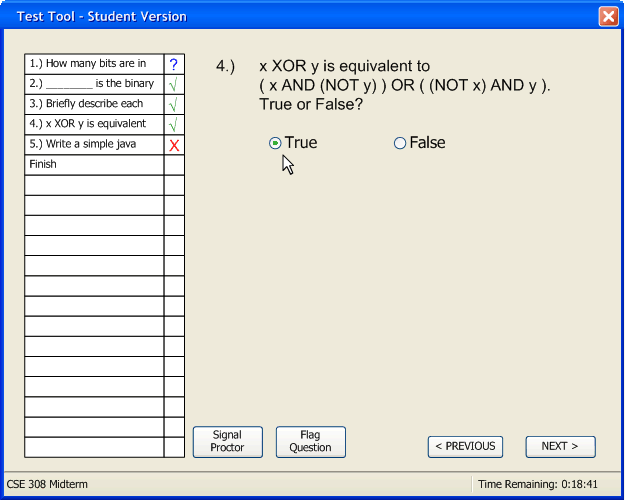
Figure 11: True/false question being selected
A programming (or coding) question allows the student to enter code, compile it, and run it. The upper text area is where the student enters code. The lower text area is where standard output is displayed. The Compile button allows the student to compile his/her code in the language the instructor specified when creating the test. The Run button allows the student to run his/her compiled code. The student's program output and any error messages generated during compile will be displayed in the lower text area. The Clear output button clears any text in the output text area. The student may continue compiling, running, and clearing until he/she arrives at the desired output. A running program will automatically terminate after five seconds of execution. This will avoid hanging up the Test Tool Student Version if the student erroneously creates a nonterminating loop.
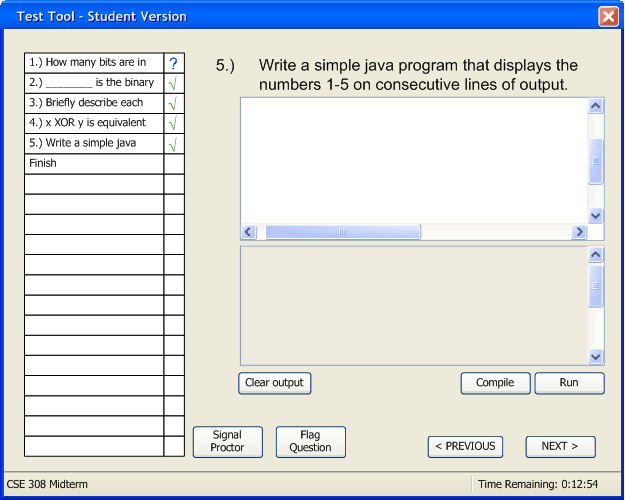
Figure 12: Programming question
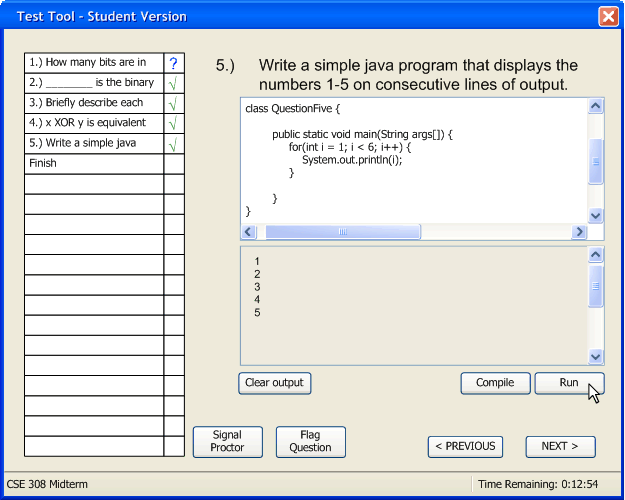
Figure 13: Programming question answered and run
On the left side of the screen is a list of test questions, in the order they appear. This acts as a visual cue for the student, allowing them to see how he/she is progressing through the test. A red "X" next to a question indicates that it has not been answered. A blue "?" indicates that the student has flagged that question. A green checkmark indicates that the question has been answered. The student may double-click on any test question to display it.
At the bottom of the screen are four buttons: Signal Proctor, Flag Question, < Previous, and Next >. The previous and next buttons displays the question before or after the current question. The previous button is disabled for the first question and the next button is disabled for the finish section. The flag question button places a blue "?" next to the question in the list on the left. This button will also undo/clear a flag on the current question. The flag proctor button sends a message to the proctor, indicating the student is in need of assistance. The flag proctor button is non-functional in a take-home or practice test.
At the very bottom of the screen is a status bar indicating the current test name and the remaining time.
2.6.3. Finishing a test
When the allotted test time runs out, the application is disabled -- the student will not be able to further make changes. At the same time, the student's test responses ("taken test") are saved to the network directory location specified by the proctor before the start of the test. If the test is a take-home test, the student is prompted for a location to save his/her taken test. This assumed the student has been instructed as to where to save his/her taken test.
If a student finishes before time is up, he/she may double-click the Finish item in the question list (or proceed there using the Next > button). This displays instructions and the option of turning in the test early.
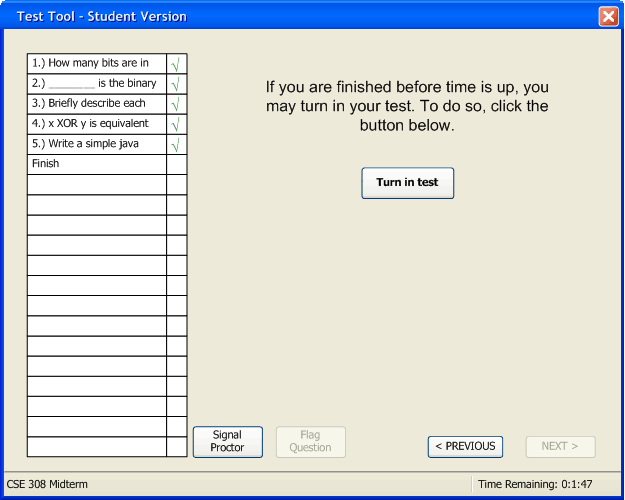
Figure 14: Turning in a test before time is up
Upon clicking the Turn in test button, the student's test responses are saved to the network directory location specified by the proctor as described above. For a take-home or practice test, the student is prompted for a location to save to, as described above.
Prev: Proctoring a Test | Next: Grading a Test | Up: Functional Requirements | Top: index