
| RequirementsSpecification< | Prototype | Design | ImplementationTesting | AdministrationDocumentation< |
|
| ||||||
|
|
|
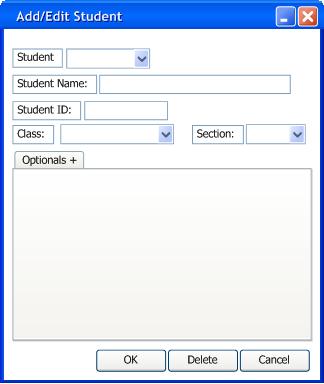
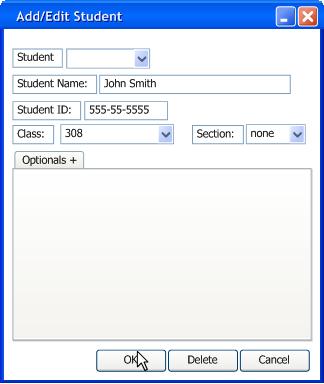
| Figure 22 | Figure 23 |
|
(refer to power point slide # 10 for roster image) |
|
Figure 24 |