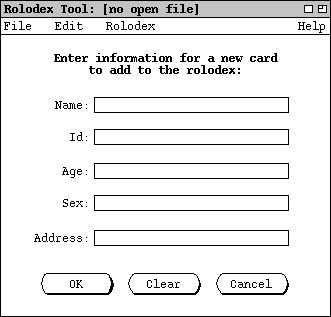
Figure 4: Add card dialog.
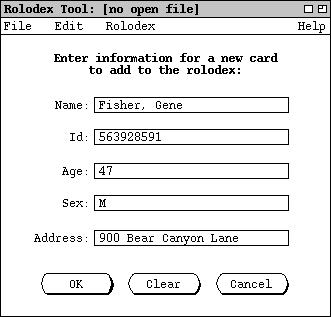
To add a new card, the user fills in information for each of the five fields in the add-card dialog. For example, Figure 5 shows the result of the user having typed in information for a new card.
When the user selects the Add command from the Rolodex menu,
the system updates the display area as shown in Figure 4.
Figure 4: Add card dialog.

To add a new card, the user fills in information for each of the five fields in
the add-card dialog. For example, Figure 5 shows the result of the user having
typed in information for a new card.

Figure 5: Add card dialog filled in.
To clear all of the typed information in the text edit boxes, the user presses the Clear button. This puts the add-card dialog in its initial state, as shown in Figure 4. To cancel the Add command entirely, the user presses Cancel. When Cancel is pressed, the entire data area is cleared, leaving it empty as in the initial rolodex display shown in Figure 1.
The system disallows two or more cards to be added with the same value of Id field. Aside from this duplication restriction, any of the other fields may be the same on two or more cards. For example, two cards may have the same name and age, as long as the Id fields differ. The Rolodex Tool enforces data-entry constraints on the values typed in for the card fields, such as the length of field values. These constraints are covered in Section 2.8 on data entry details and Section 2.9 on error conditions.
As cards are added, they are stored in an online working copy of the rolodex.
In order for the rolodex to be permanently saved in a file, the user must
invoke the File->Save command. When the user selects
File->Save from the state of the system shown in
Figure 5,
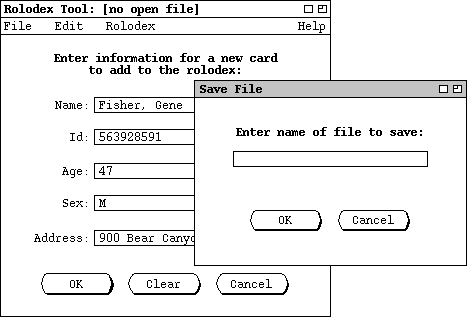
the screen appears as shown in Figure 6.

Figure 6: Initial file saving pop-up dialog.

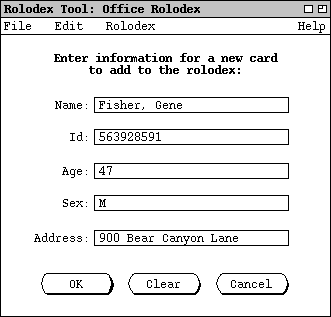
Figure 7: Confirmed initial save.