2.2.2 Creating Presentation Slides
The scenarios in this section explain how to create a basic lecture using the integrated drawing toolkit.
The scenario assumes the user has already logged into the program.
For scenarios detailing logging in, see Section 2.1.1.
After logging into the program an administrative user or teacher is greeted with the inital creation screen. To create a new presentation, the user selects "Create a New Presentation."
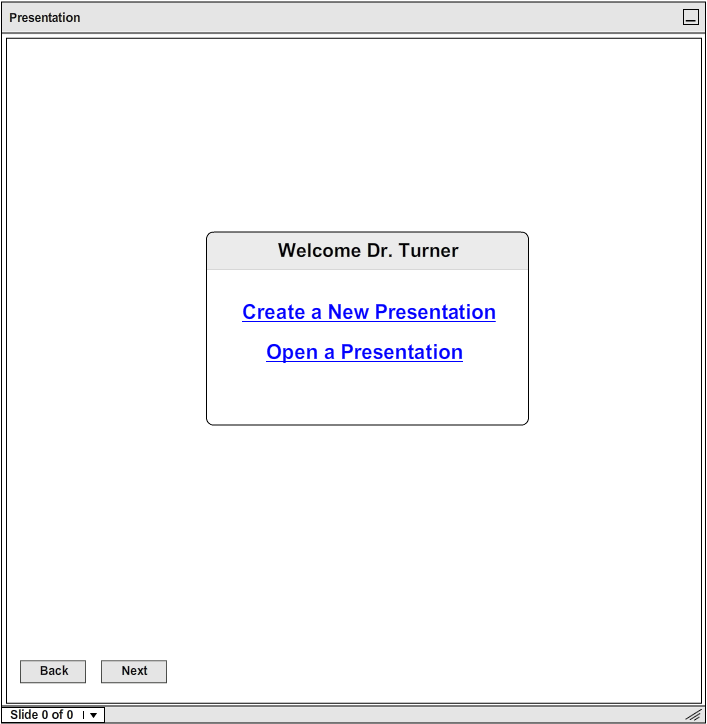
Figure 1: The Admin Starting Screen.
After clicking "Create New Slideshow" the presentor clicks on the presentation window where the text
"Begin Typing Here..." is displayed and can proceed to type Presentation slides.
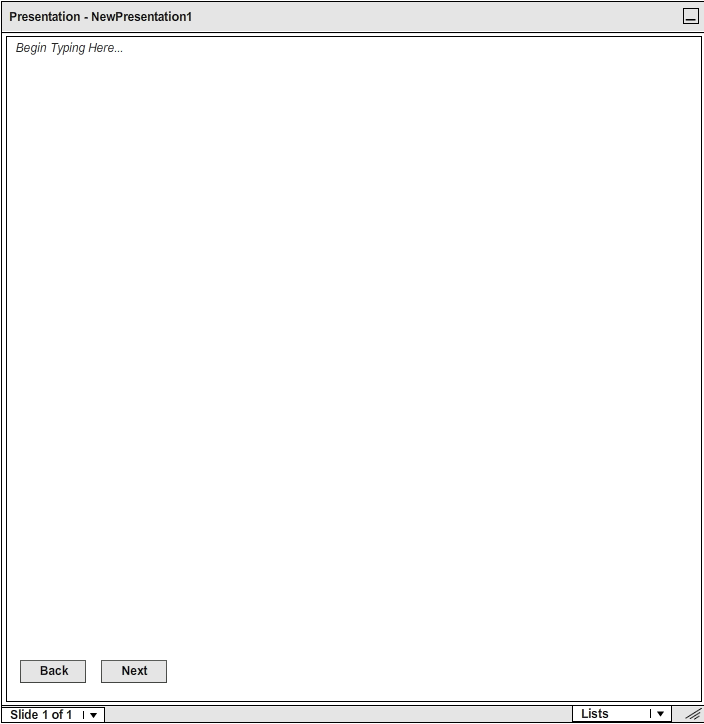
Figure 2: The Editable Presentation Window.
The user adds information to their first slide. The user adds some text, as well as using the available
Drawing Toolbar to add a Note, and draw a rectagle around it. Further details of the drawing toolbar features
can be found in Section 2.5.
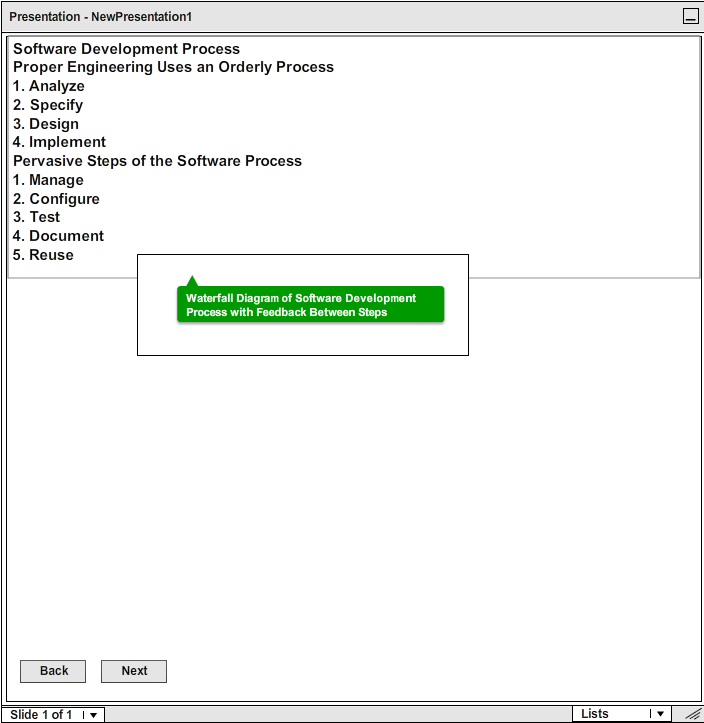
Figure 3: Sample Presentation Window.
In addition to the drawing toolbar features, the user can also use the "Lists" dropdown menu to add
elements to the slide. This list contains options for adding a new topic, subtopic, bulleted topic (as
a continuation of whatever style was previously implemented), and adding an image.
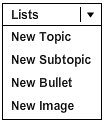
Figure 4: The Lists options.
The user completes the first page. To continue working on the next page, the user selects "Next" to create
the next slide. They are once again greeted with a blank slide, indicating to "Begin Typing Here..."
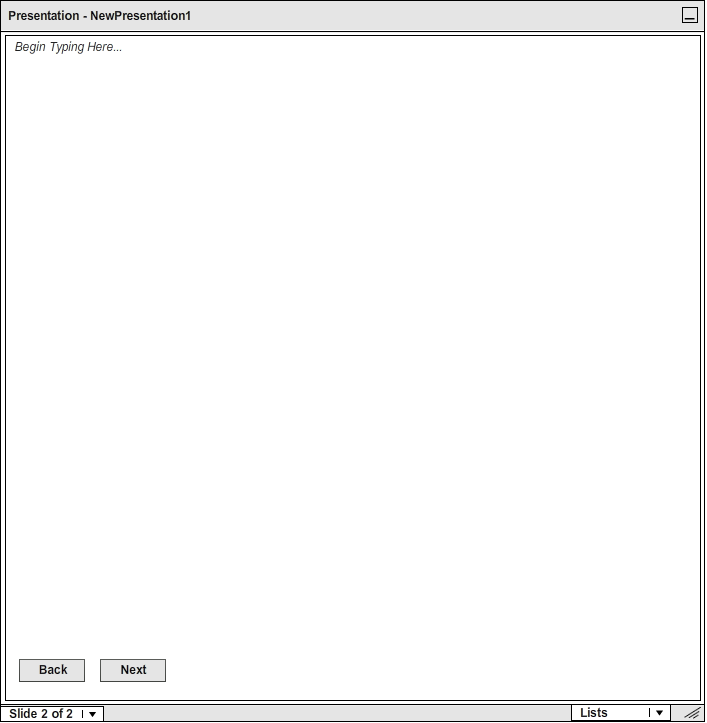
Figure 5: A new blank slide.
The user continues to make more slides, but remembers they had some information on the second slide they
would like to see if they need to clarify or reiterate on their new slide 6. To navigate, the user can
select the "Back" button until they reach the second slide, or they can use the drop-down list. These
options are displayed in Figure 5.
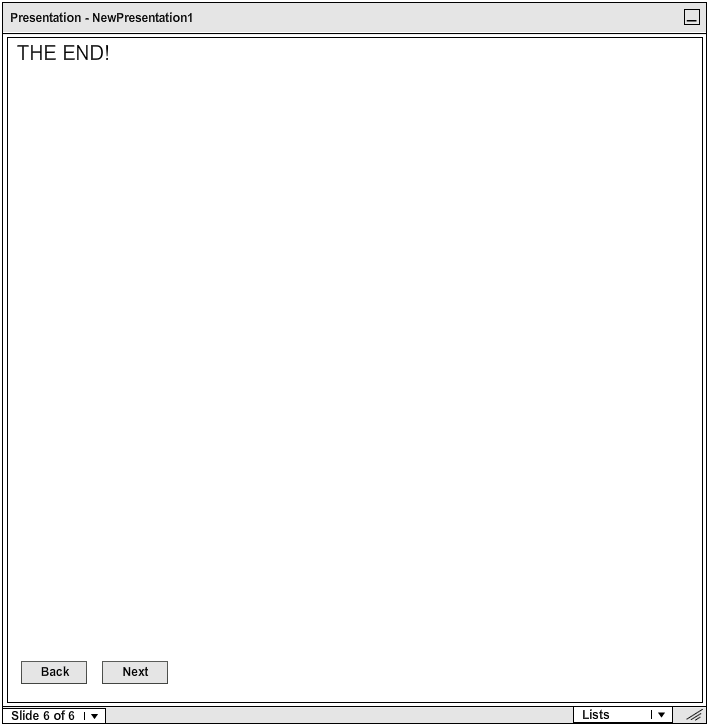
Figure 6: Navigation Options.
The user has completed work on their slides. To save the presentation, the user selects "File" from the
menu bar and then "Save..." causing the system to display the dialog seen in Figure 6.
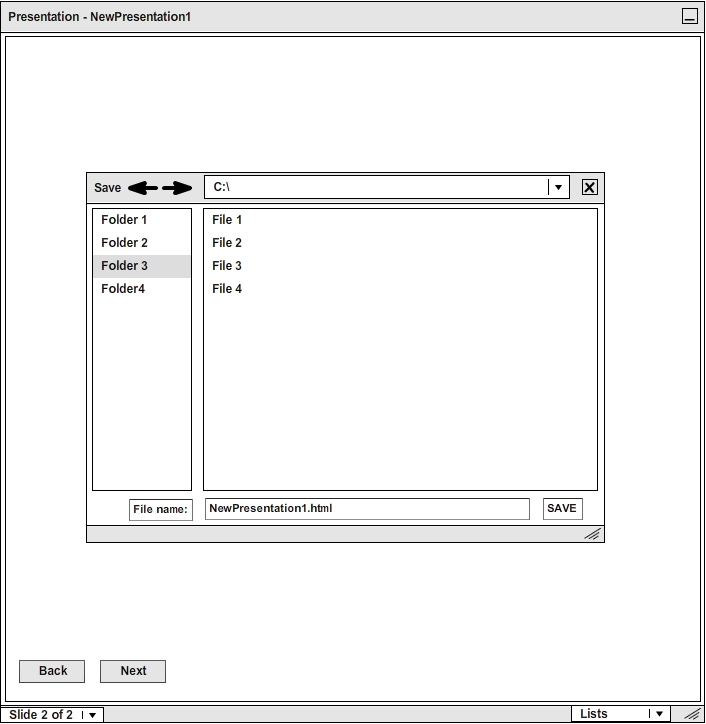
Figure 7: Save Dialog.
By default, the presentation is saved as "NewPresentation#.html" The user can simply change the file name
while saving the file. This will also update the Presentation Heading as seen in the program. The user
decides to name their presentation "Introduction," typing Introduction.html for their file name.
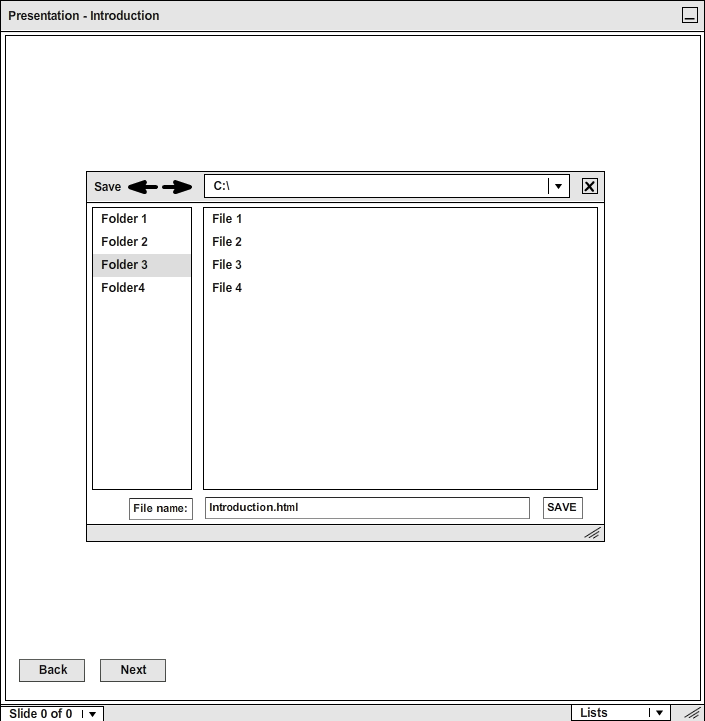
Figure 8: Renaming the Presentation.
The presentation is now ready to present. See Section 2.3 to begin
your presentation, or continue to the next section to see how to modify your presentation in HTML.
Prev: Importing a Presentation from an External Source
| Next: Details of Presentation HTML Format
| Up: Creating a Presentation Index
| Top: Functional Requirements