The scenario in this section illustrates the administrative function related to creating a schedule.
An admin can create a schedule in two different ways:
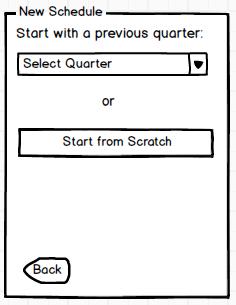
Figure 1: This view lets the admin choose how you want to start a new schedule.
When the admin clicks the Select Quarter dropdown menu, the admin can choose from a list of previously generated schedules to use as a base schedule for the new schedule.
When the admin selects a quarter, a new schedule is created based off of all the constraints and properties from the selected schedule. After this new schedule is created, the admin is directed to the editing a schedule view for this new schedule.
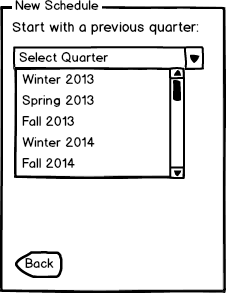
Figure 2: A list of previously generated schedules from different quarters to start off with.
![]()
Figure 3: This view is the default Scheduler view that is displayed immediately after creating a new schedule from scratch.
When the admin clicks on the Start from Scratch button, the admin sees this blank schedule screen.
The default schedule title input field is set to Untitled Schedule, the Schedule View is left blank with instructions on how to populate the area via Generate a Schedule, and the Schedule View dropdown is automatically set to the default Table View.
There are also two dropdowns that let you select the Quarter and Year of this schedule.
To publish this schedule, you can click on the Publish button.
Continue to Editing a Schedule for more details.