Scenarios in this section illustrate functions available to faculty and/or test proctors with administrative privileges. These functions allow an administrator to setup the test server, proctor a test, and access shared question banks.
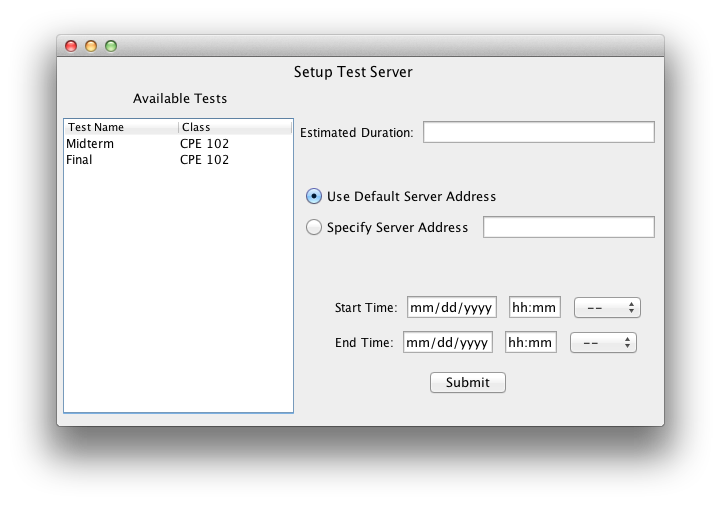
When the user selects the 'Setup Test Server' item on the Intro Screen, the system responds with the dialog shown in Figure 1.
Figure 1: Setup Test Server.
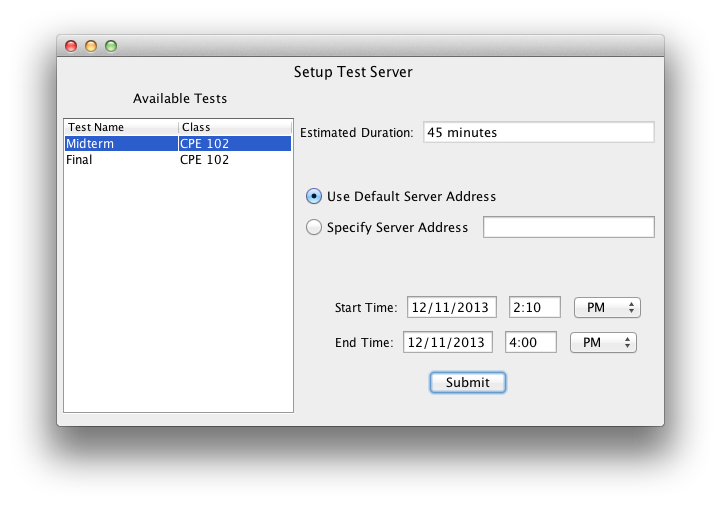
The user fills in parameters for the test server. The user chooses a test from the list of available tests, populated from the default test bank. The estimated test duration is shown for the selected test, based on the parameters given during the creation of that test. The user selects to upload the test to the default server or a specified one - perhaps a personal server. The system responds with the corresponding screen in Figure 2. The user also selects a start and end time for the test.
|
|
Figure 2: Test Server Settings.
When complete, the user clicks 'Submit' to finalize the settings. This brings the user to the Proctor Intro Screen, allowing the user to easily proctor the test he or she just submitted.
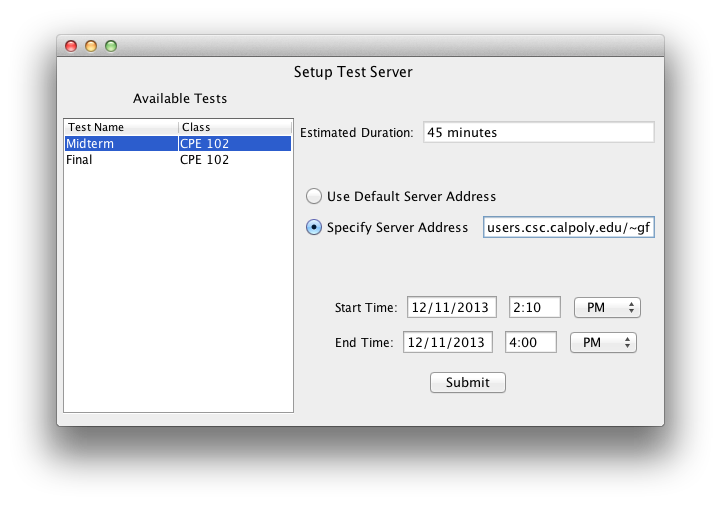
When the user selects the 'Shared Question Banks' item on the Intro Screen, the system responds with the dialog shown in Figure 3.
Figure 3: Shared Question Banks.
From this screen, the user is able to access shared question banks. The user is able to see all available question banks that have been shared by other faculty. After selecting a question bank from the available lists on the left, the user may download the bank by clicking 'Download Bank' or view individual questions in the pane on the right. The user is also able to upload their own question banks to share by clicking 'Upload Bank'. After selecting an available test in the list, a list of questions within that bank are displayed, as in Figure 4.
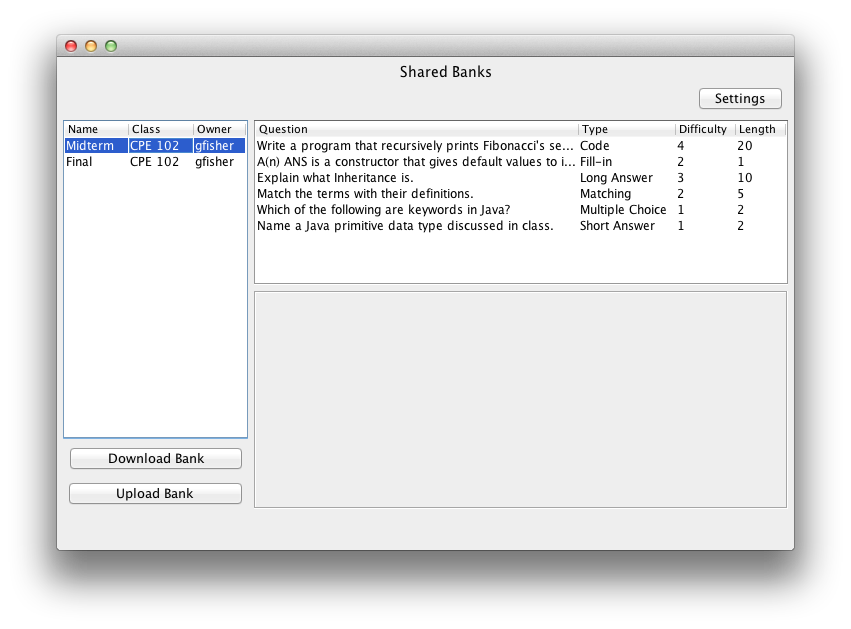
Figure 4: View Questions.
The user is presented with a list of questions in the specified question bank. Once a question is selected, that question appears in the space below, and the 'Download Question' button appears, as shown in Figure 5.
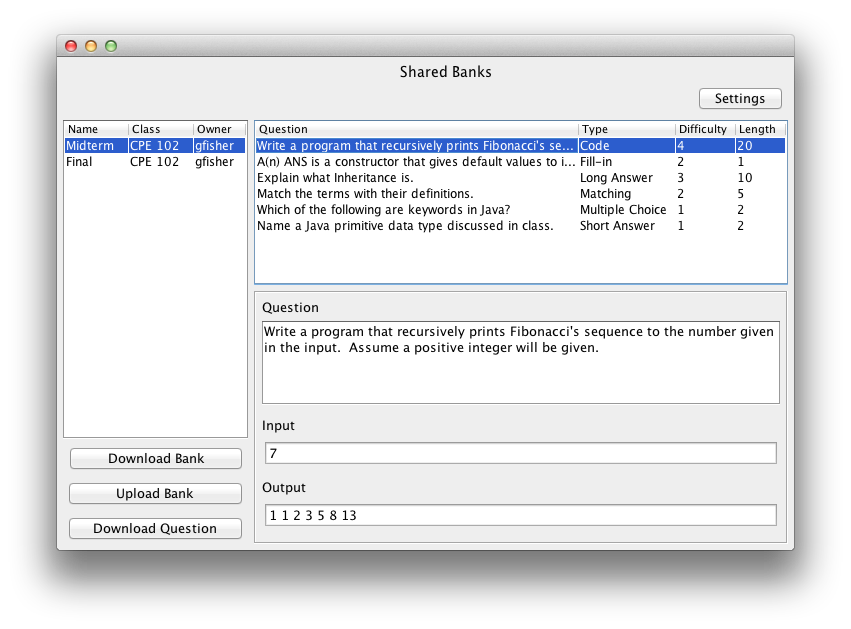
Figure 5: Download Question.
Instead of downloading the whole question bank, the user is able to select individual questions to download, by clicking 'Download Question'.
The user also has the ability to change his or her settings. The 'Settings' button in the top right corner causes the system to respond with the screen shown in Figure 6.
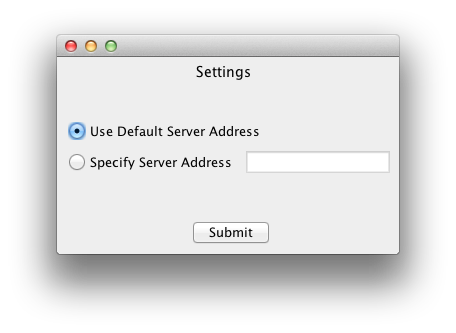
Figure 6: Shared Bank Server Settings.
Again, the user is able to specify whether to view shared banks on the default server or a specified one. When done, the user clicks 'Submit' to be taken back to the previous screen.