The scenario in this section show an instructor performing tasks using the image tool. The image tool is used to put the images or graphs into nodes of a lesson. The author might use images to help explain certain lessons or used to keep the attention of a user.
The user can either click on the image tool in the Node Tools toolbar or selecting Authoring -> Node Tools -> Image in the menu bar. In both cases a file browser will open with the default image folder.
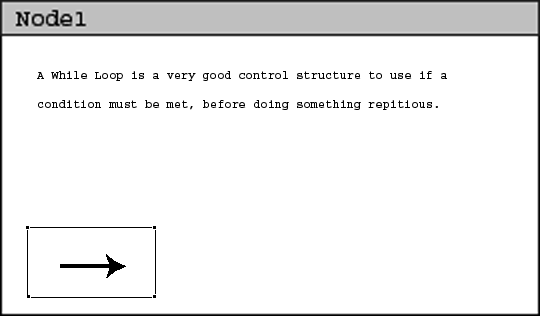
After the image has been chosen, the image is placed at the lower bottom left corner of the current node. As show in figure 1.

Figure 1: Result adding an image.
An user can easily move the image to different location by clicking on the move tool and dragging to the desired location, it is described in section 2.2.2.11.2.. The user may not move the images out of the node. If the user attempts to move the image into an out of bounds location then the image will automatically return to the last usable position. Also, the images cannot be resize inside the CSTutor tool.