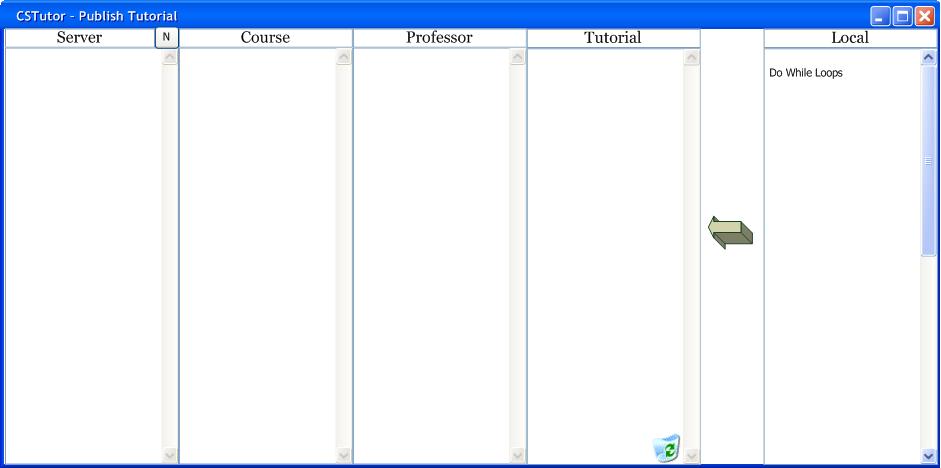
After the user selects the 'Save' button from the tutorial creation page or the add page screen, the system will respond with the screens in 2.3.5.1.a and 2.3.5.1.b:
Figure 2.3.5.1.a: Server Dialog
By default, everything is saved to disk in the default folder on the local machine. This allows the server handler to see the files on the disk. In order to save the file, the user would provide a name in the save dialog in Figure 2.3.5.1.b and clikc on the 'save'. The file would then be saved in the default directory and the system would respond by displaying Figure 2.3.5.1.c
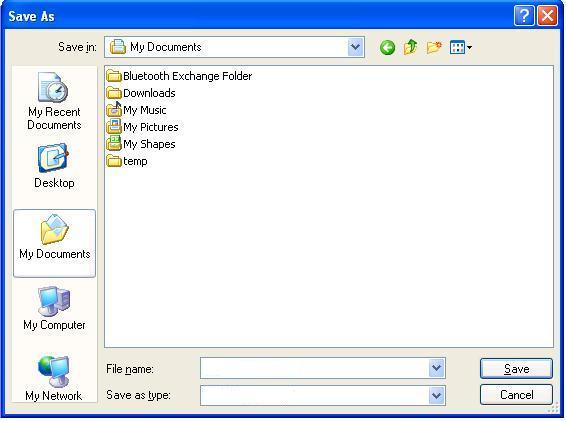
Figure 2.3.5.1.b: Saving Dialog
If the user wanted to save the files else where, they would use the save dialog in Figure 2.3.5.1.b to navigate away from the default path.
Figure 2.3.5.1.a shows that the user has decided to save their tutorial on their desktop. Once the user had entered a name for the file and clicked on the 'save' button,
the dialog box in figure 2.3.5.1.c would appear.
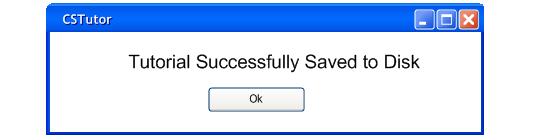
Figure 2.3.5.1.c: Confirmation Screen
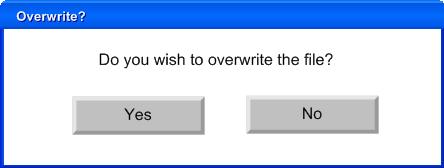
Figure 2.3.5.1.d: Overwrite Confirmation Screen
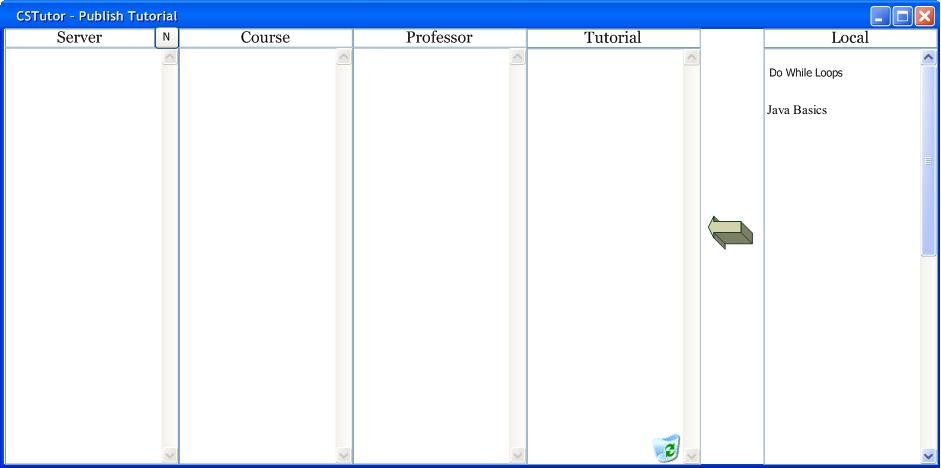
Figure 2.3.5.1.e: Tutorial Successfully Saved to Disk