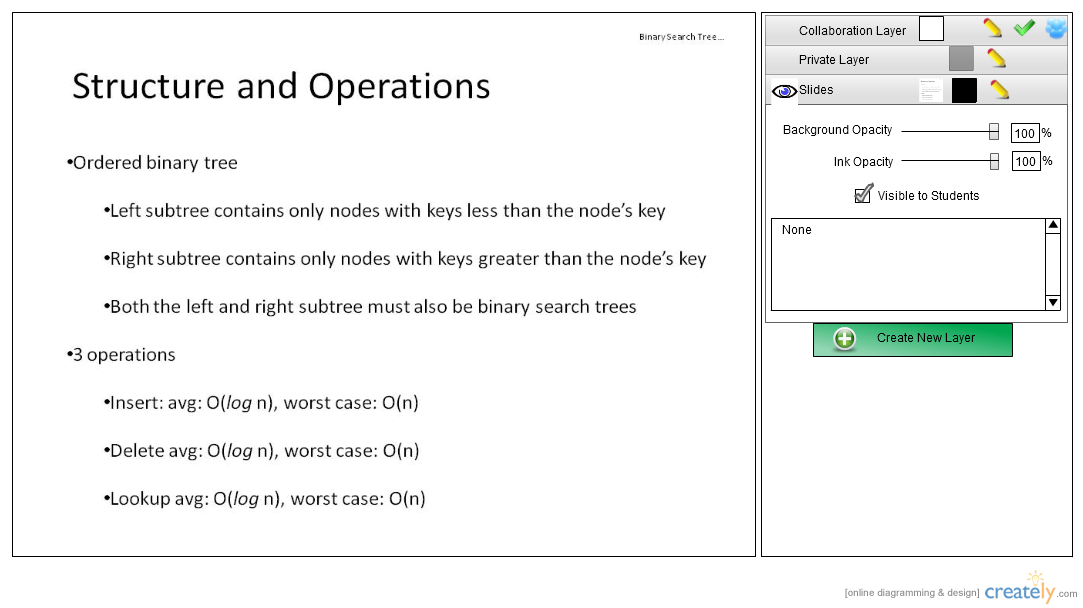
Figure 2.4.2.1: Original Slide
Figure 2.4.2.1 shows what a lecture slide would look like in the middle of the lecture. The following steps show the steps needed to change the layer properties. All the following operations can be done in both the student and instructor views of the application.
Figure 2.4.2.1: Original Slide
The user selects the top layer (collaboration layer) and changes the background to blue and draws a tree. For an in depth description on how to change the background visit the Drawing page.
Figure 2.4.2.2 shows the layer management widget with the lecture slide covered by a layer with a blue background. All of the properties associated with a layer are instantly visible all the time and
only editable when the layer is selected.
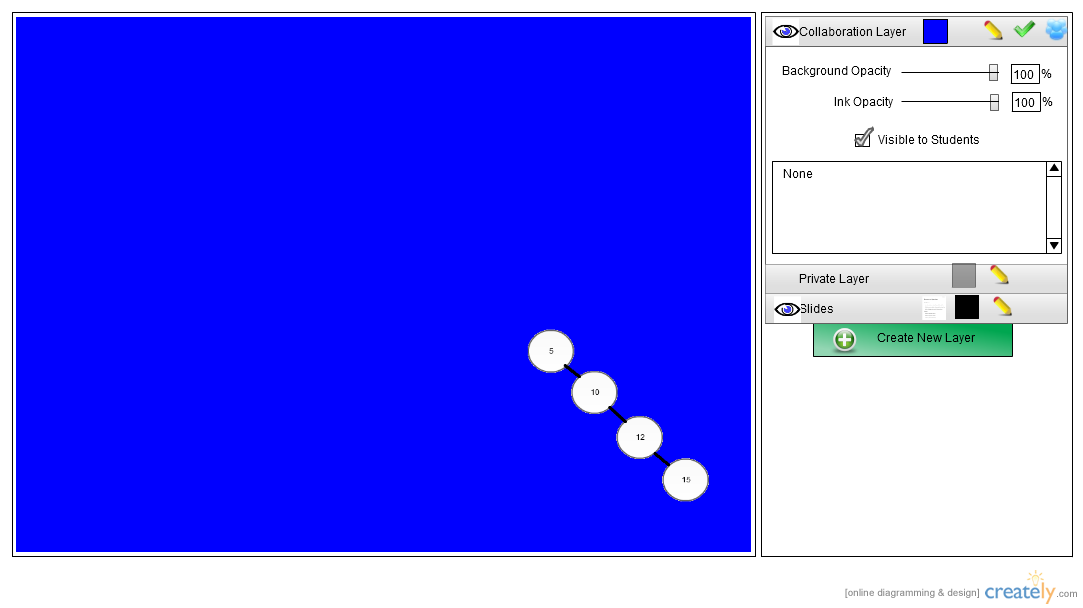
Figure 2.4.2.2: Layer Management Widget
Make Layer Invisible/Visible: To show and hide the selected layer the user will press the eyeball and the system will toggle between showing and hiding the selected layer.
Figure 2.4.2.3: Hidden Layer
Change Background Opacity: The user adjusts the slider or the number in the text box next to the slider and the background of the layer select will automatically change to the specified opacity.
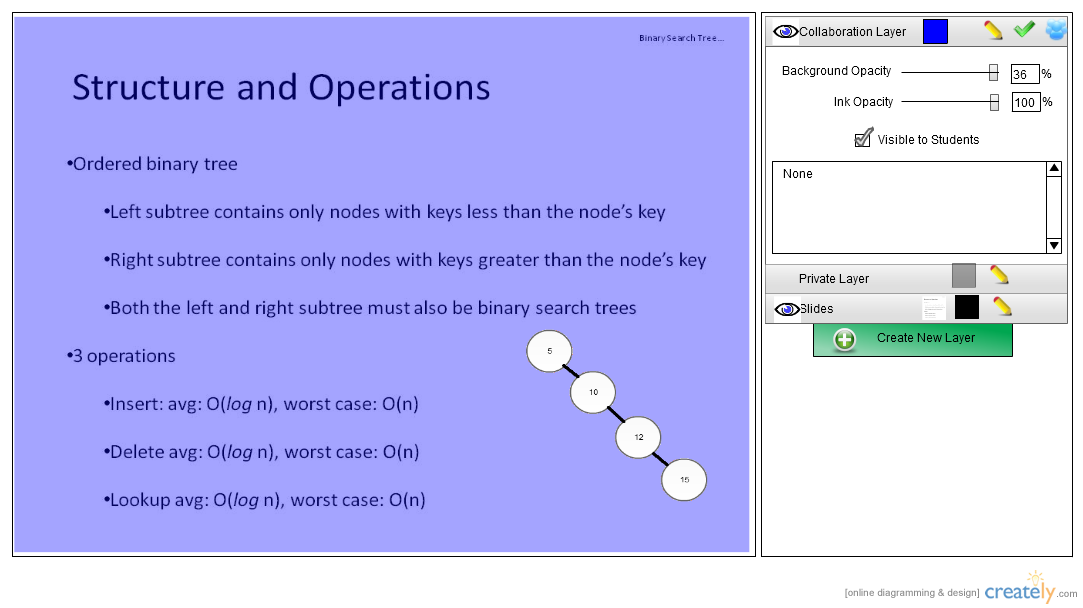
Figure 2.4.2.4: Change background to elss opaque
Change Ink Opacity: The user adjusts the slider or the number in the text box next to the slider and the ink in the layer selected will automatically change to the specified opacity.
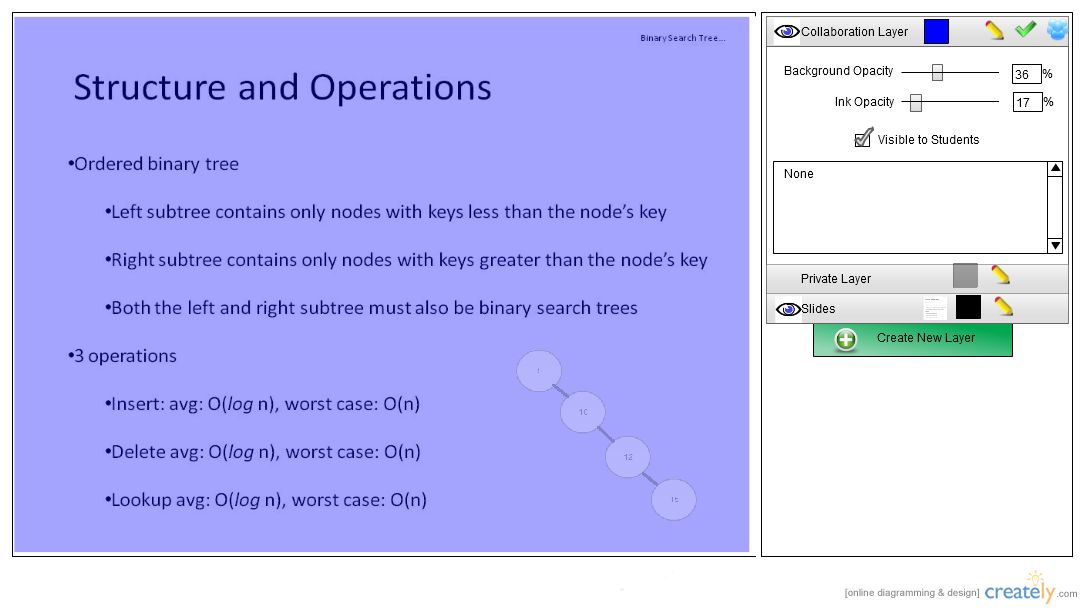
Figure 2.4.2.5: Change ink on layer to more opaque