When the Grader application opens, the "previous state" appears, consisting of all open gradebooks (if any). If this is the first time the instructor opens the application, the program automatically prompts the user to import one or more classes from a student database, such as the Student Information Services (SIS) database. This wizard is shown step-by-step below.
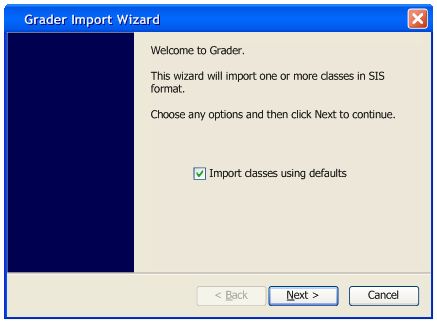
The wizard first welcomes the user. The user clicks "next" to continue, or "cancel" to exit the wizard. Alternatively, if the user checks the "Import Defaults" checkbox before clicking "next," all steps in this wizard are bypassed, and all classes import according to defaults (classes import into separate gradebooks). Figure 2.2.1 shows the welcome screen.
Figure 2.2.1: Import Wizard Welcome
If the instructor does not select Import Defaults, the following occurs. After the instructor clicks Next, the wizard automatically finds all classes that this instructor teaches and displays them in the dialog. The instructor uses the checkbox next to each class to select whether or not to import that class. The instructor checks the Merge Sections box to merge multiple sections of the same class into one gradebook. For example, if the instructor checks the box and there are two "CSC308" classes and one "CSC101" class, the two "CSC308" classes merge into one gradebook. Merge Sections only merges selected classes in the list.
After the user selects classes, the user clicks Next to add these gradebooks (and merge, if applicable). Alternately, the user clicks Back to view the welcome screen, or Cancel to exit the wizard. This is shown in Figure 2.2.2.
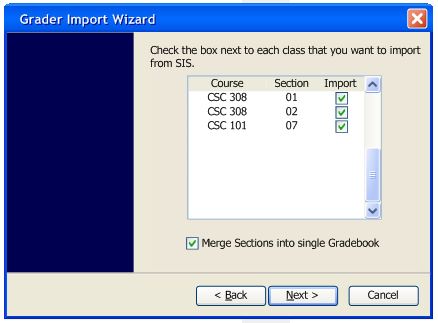
Figure 2.2.2: Import Wizard File Select
After the user clicks Next, a list of successfully imported classes appears, as well as a list of any classes that could not be imported. Each line represents one gradebook. If the instructor selected Merge Sections on the previous screen, the merged classes are shown on one line, separated by commas.
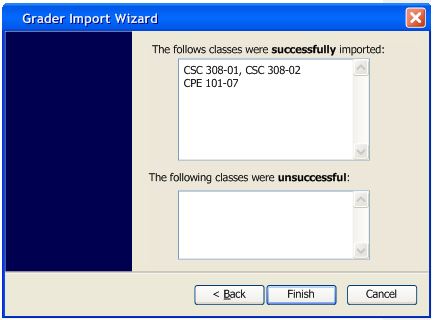
Figure 2.2.3: Import Wizard Finish
After student information imports, the system displays a pre-populated gradebook with imported student information. New students are added to this gradebook as described in section 2.3.2. Sections 2.3.3 and 2.3.4 describe the process of modifiying and deleting a student, respectively. Figure 2.2.4 shows a gradebook after import.
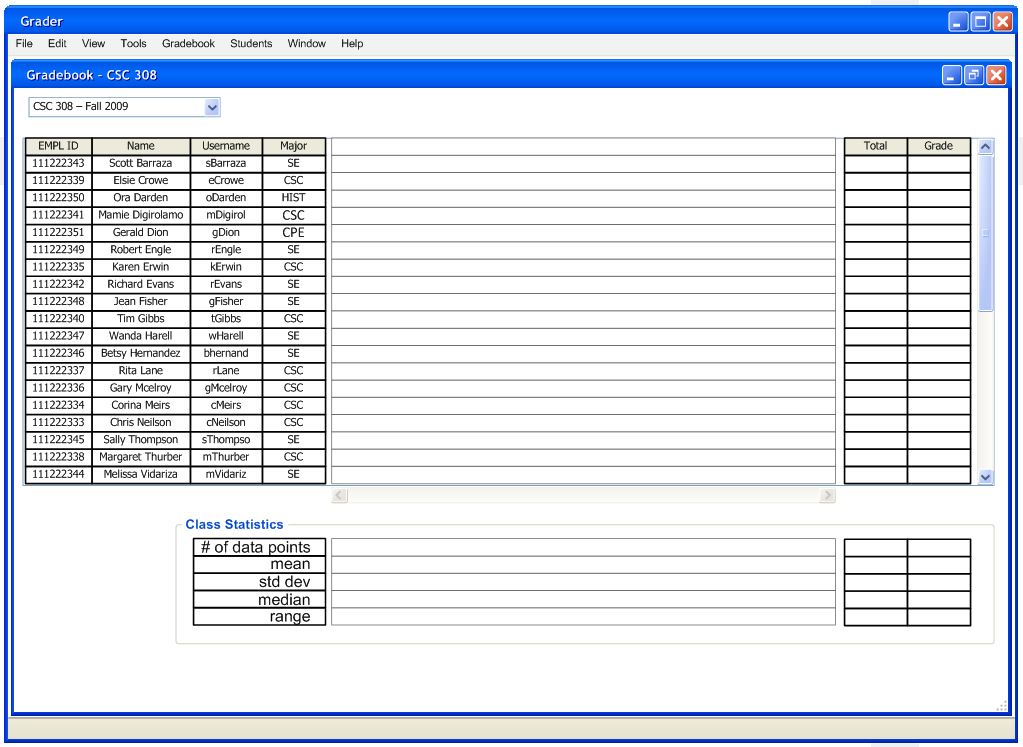
Figure 2.2.4: Pre-populated Gradebook
After the instructor adds additional students, the instructor adds assignments and categories. A brief overview follows, with detailed information in section 2.4. To add a category to the gradebook, the instructor clicks the Category & Item Manager menu command under Gradebook. The Category & Item Manager opens, as shown in Figure 2.2.5.
![]()
Figure 2.2.5: Category & Item Manager
The instructor clicks the New Category button to add a new category to the gradebook, as shown in figure 2.2.6.
![]()
Figure 2.2.6: Adding a New Category (Empty)
The instructor fills in the required information then clicks Create, as shown in Figure 2.2.7.
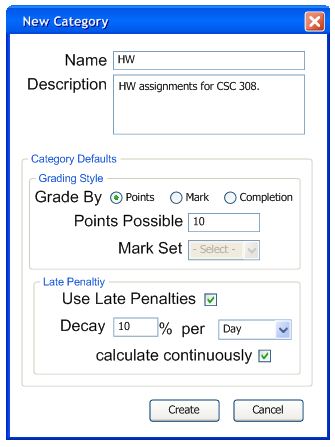
Figure 2.2.7: Adding a New Category
After multiple categories are entered, the instructor adjusts the weight for each category, then clicks save, as in Figure 2.2.8.
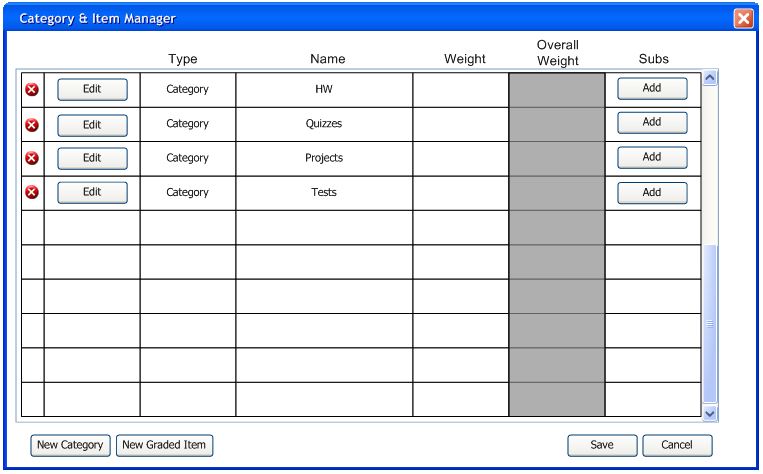
Figure 2.2.8: Manager With Multiple Categories
To add items, the instructor follows the same process as above, using the New Graded Item button rather than the New Category button. After the instructor adds multiple categories and items (and subcategories, as described in section 2.4.1), the instructor clicks Save to apply these changes to the gradebook. A sample gradebook with student information, categories, and items is shown in Figure 2.2.9.
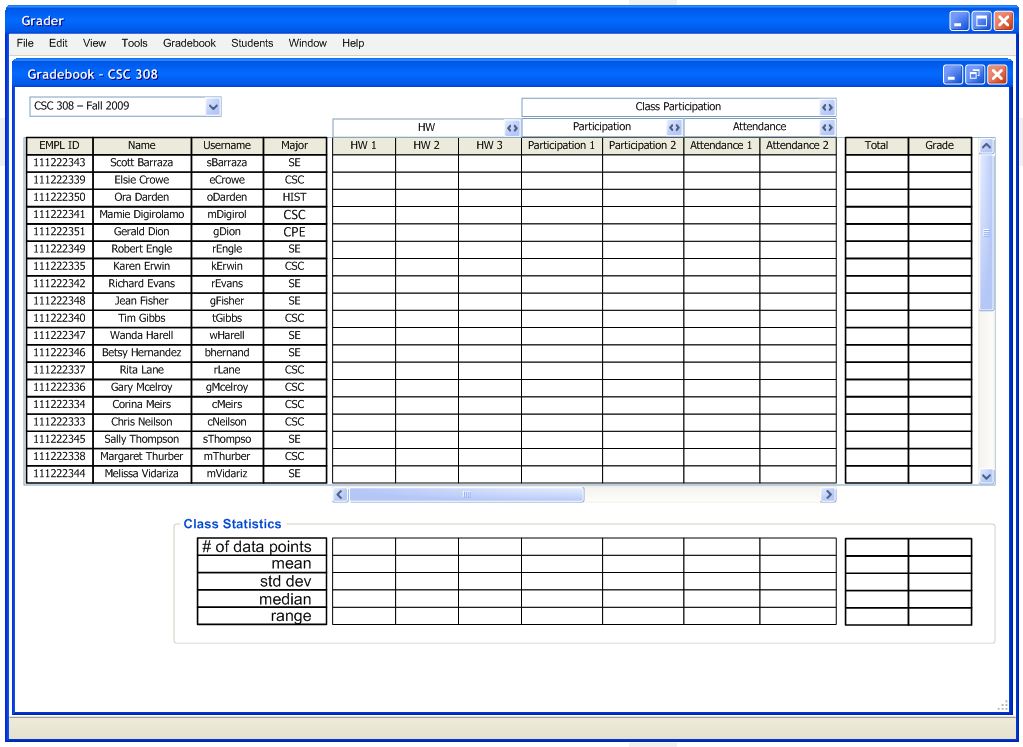
Figure 2.2.9: Gradebook With Students, Categories, and Items