This introductory scenario shows an individual user, who has logged in as a user, setting up their preferences for their teaching schedule. Setting user preferences is the most important operation that a user needs to perform with the Scheduling Tool. In this scenario, the user has just logged in for the first time, therefore, all of their preferences are blank, and their calendar has no schedule.
Figure 4: Initial Instructor Screen
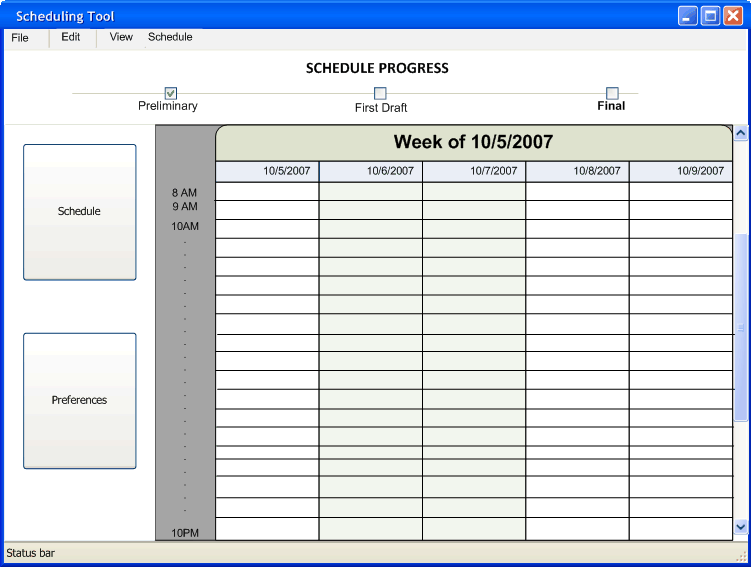
This first screen, as seen in FIGURE 4, is what the user will see upon logging in. The calendar is currently blank for a possible number of reasons, but the main reason is because the user has not set any of their preferences, therefore, the administrator schedule generator will not post a schedule for that user. However, if all the user's preferences have been filled and the administrator has generated a class schedule for the users, the user would see the course title, course room, course time, and the available seats.
Figure 5: Initial Instructor Screen
In order for the user is set their preferences, they will need to select the "Preferences" tab on the left hand side of the screen. Upon selecting the preferences tab, they will be presented with the screen as seen in FIGURE 5. The Course Preferences screen is the default screen to appear in the workspace. Above the "Course Preferences" line, there is a progress bar that shows what screen the user is at. The progress bar is present through out all the preferences screens. The only difference between each progress bar is that the indicator will change to the preference screen the user is looking at. The user can jump to an adjacent stage by clicking the navigation arrows that are at the ends of the progress bar or the user can jump to any stage by simply clicking on the stage on the progress bar itself. If the user is at the "Course" screen, the left arrow will be grayed out signifying that it is not possible to navigate to a left screen. If the user is at the "Map" screen, the right arrow will be grayed out signifying that it is not possible to navigate to a right screen.
Every course that the user is eligible for is listed in the Course Preferences screen. If the user needs a description of the course title, they can click the title and a window with the course description found in the course catalog will pop up. To the right of the course name is a drop down menu box where the user can select their familiarity with the course material. The scale ranges from 1, being the least familiarity, to 10, being the highest degree of familiarity. If the user moves onto a different preference screen all of the empty drop down menu boxes will be defaulted to 5. To the right of the drop down menu box is an "x" button. This button is for the user to declare that they are not familiar enough with the material to teach that course. Depending on the size of the Course Preferences window there might be multiple courses, drop down menu boxes, and "x" buttons in one row as seen in FIGURE: 5. A way of setting multiple courses with the same preference is the ability to highlight multiple items and enter in a number. After setting the course preferences the user can use the arrow to navigate to the next preference screen or select one of the screens on the progress bar.
Figure 6: Initial Instructor Screen
This screen shown in FIGURE: 6 is the "Time of Day Preferences" screen. The screen has a grid of the hour of day a class can be held vs. the day a class can be. The range of hours is from 7 AM to 10 PM. Every hour of every day has a drop down menu box with values ranging from 0 to 10. 0 means that the user is not able to work that time at all, and goes up in degree until 10, which means that the user would like to work at that hour the most. Just like the course preferences screen, the user is able to highlight multiple times and set the preference level by entering a valid number. After setting the course preferences the user can use the arrow to navigate to the next preference screen or select one of the screens on the progress bar.
Figure 7: Initial Instructor Screen
This screen shown in FIGURE: 7 is the "Daily Pattern Preferences" screen. Just like the time of day preference screen, the daily patterns have drop down menu boxes with values ranging form 1 to 10. The number have the same meaning as the time of day preference screen, except that the 0 is replaced with the ability to select the "x" button next to the drop down menu box (like in the course preference screen). If for some reason the pattern is unavailable due to what the user inputted in the time of day preference screen, it will automatically be grayed out. The available patterns are determined by the administrator, but if for some reason you want to request a special pattern there is an Other field to enter in the desired daily pattern. After setting the course preferences the user can use the arrow to navigate to the next preference screen or select one of the screens on the progress bar.